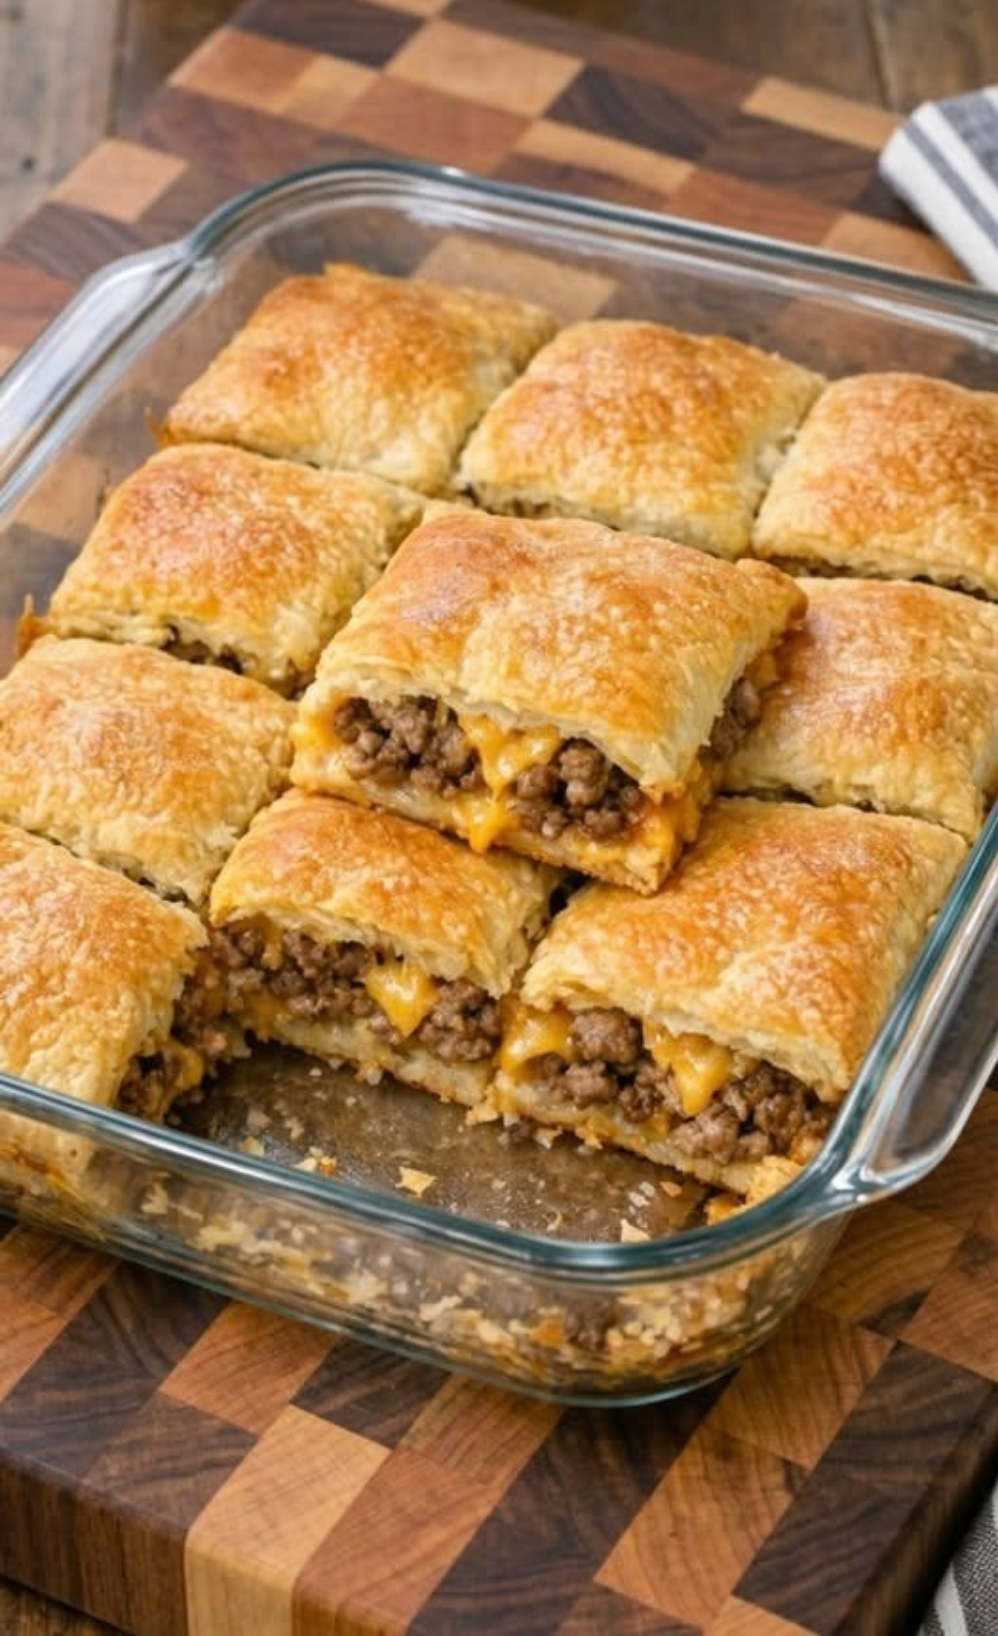
A Golden, Cheesy, Comfort-Filled Bake That Comes Together in Minutes
4-Ingredient Beef Crescent Squares are one of those easy, no-fuss recipes that deliver maximum comfort with minimal effort. They’re flaky, savory, cheesy, and hearty—basically everything you want from a quick family dinner or party snack baked into a simple square of golden crescent dough.
Think of them as:
- a cross between a beef hand pie and a cheesy casserole
- wrapped in buttery, flaky pastry
- baked until crisp on the outside and juicy inside
They’re simple enough for weeknights but satisfying enough to feel like comfort food.
Why This Recipe Works So Well
This dish succeeds because it balances three key elements:
1. Flaky pastry
Crescent dough bakes into a soft, golden crust with a slight crisp edge.
2. Savory beef filling
Seasoned ground beef provides richness and depth.
3. Melted cheese
Cheese binds everything together and adds creamy, gooey texture.
The combination makes each bite layered and satisfying.
The 4 Core Ingredients
A classic version uses:
- ground beef
- refrigerated crescent roll dough
- shredded cheese (cheddar or mozzarella)
- cream cheese or a simple seasoning mix (depending on version)
Optional add-ins:
- onion or garlic powder
- diced onions
- Worcestershire sauce
- black pepper
- Italian seasoning
Step 1: Cook the Beef Filling
Start by browning the ground beef in a skillet.
What to do:
- cook until no pink remains
- break into small crumbles
- drain excess fat
Why this matters:
Removing excess grease keeps the crescent squares from becoming soggy.
Seasoning:
Add simple flavor boosters like:
- salt
- pepper
- garlic powder
- onion powder
This builds a savory base for the filling.
Step 2: Prepare the Crescent Dough Base
Unroll the crescent dough and press it into a baking dish.
Tips:
- pinch seams together to form a solid sheet
- press evenly into corners
- create a uniform base layer
This forms the bottom crust that holds everything together.
Step 3: Add the Beef and Cheese Layers
Now build the filling:
Layering order:
- cooked beef
- cream cheese (if used) or seasoning layer
- shredded cheese
The cheese melts into the beef, creating a rich, creamy filling.
Step 4: Top and Bake
You have two common options:
Option A: Full top crust
- place another layer of crescent dough on top
- seal edges lightly
Option B: Open-faced squares
- leave cheese exposed for a crisp, bubbly top
Bake at:
- 180°C (350°F) for 20–25 minutes
What to look for:
- golden brown dough
- melted, slightly bubbling cheese
- firm edges
Step 5: Cool and Slice
Let it rest for a few minutes after baking.
This helps:
- cheese set slightly
- squares hold their shape
- easier slicing
Cut into squares and serve warm.
What They Taste Like
Beef Crescent Squares deliver a satisfying combination:
First bite:
Buttery, flaky crust.
Middle:
Savory, seasoned beef.
Finish:
Creamy, melted cheese richness.
It’s simple comfort food with layered texture.
Best Ways to Serve
These squares are versatile and work in many situations:
As a main dish:
- served with salad
- paired with roasted vegetables
- alongside soup
As snacks or appetizers:
- party platters
- game day food
- finger food for gatherings
Kid-friendly meal:
- easy to hold
- mild flavor
- filling and satisfying
Tips for Best Results
1. Drain the beef well
Prevents greasy bottom crust.
2. Don’t overfill
Too much filling can make dough hard to seal.
3. Use room temperature cheese
Helps melt evenly.
4. Let it rest after baking
Improves structure and slicing.
Common Mistakes to Avoid
- soggy dough from excess fat
- underbaking (raw center dough)
- overstuffing filling
- skipping seasoning (can taste flat)
Easy Variations
1. Cheeseburger squares
Add pickles or mustard for a burger-style flavor.
2. Italian-style version
Use marinara sauce and mozzarella.
3. Spicy beef squares
Add chili flakes or hot sauce.
4. Breakfast version
Replace beef with sausage and scrambled eggs.
5. Veggie boost
Add diced peppers, onions, or mushrooms.
Storage and Reheating
Refrigerator:
- store up to 3 days in airtight container
Reheat:
- oven: 160°C (325°F) for best texture
- microwave: quick but softer crust
Why People Love This Recipe
This dish stays popular because it is:
- fast to prepare
- made from simple ingredients
- budget-friendly
- family-approved
- flexible for different flavors
It’s one of those recipes that feels like a shortcut without sacrificing satisfaction.

Welcome to my kitchen!
I’m a passionate home cook and recipe creator who loves turning simple ingredients into delicious, comforting meals that everyone can enjoy. Through this website, I share carefully prepared recipes, practical cooking tips, and easy-to-understand food education to help you feel more confident in the kitchen.
My goal is to make cooking simple, enjoyable, and accessible. Whether you are looking for a quick family dinner, a delicious dessert, healthy meal ideas, or traditional recipes with a modern touch, you’ll find inspiration here.
More Than Just Recipes
I believe that cooking is also a way to learn. That’s why this website is not only about recipes. I also create educational articles about ingredients, cooking techniques, kitchen tips, food preparation, and the stories behind different dishes.
Each article is designed to give you useful knowledge that you can apply in your own kitchen. From understanding how ingredients work together to learning better cooking methods, my aim is to help you become a more confident and creative cook.
My Philosophy
Good food doesn’t always require complicated ingredients or professional equipment. With a little knowledge, patience, and creativity, simple ingredients can become something truly special.
I believe in sharing recipes that are practical, clearly explained, and enjoyable to make. I also love exploring new flavors while appreciating traditional cooking and the recipes passed down through generations.
Thank you for visiting my kitchen and being part of this food-loving community. I hope my recipes and articles inspire you to cook, learn, experiment, and most importantly, enjoy every bite!
Happy cooking!