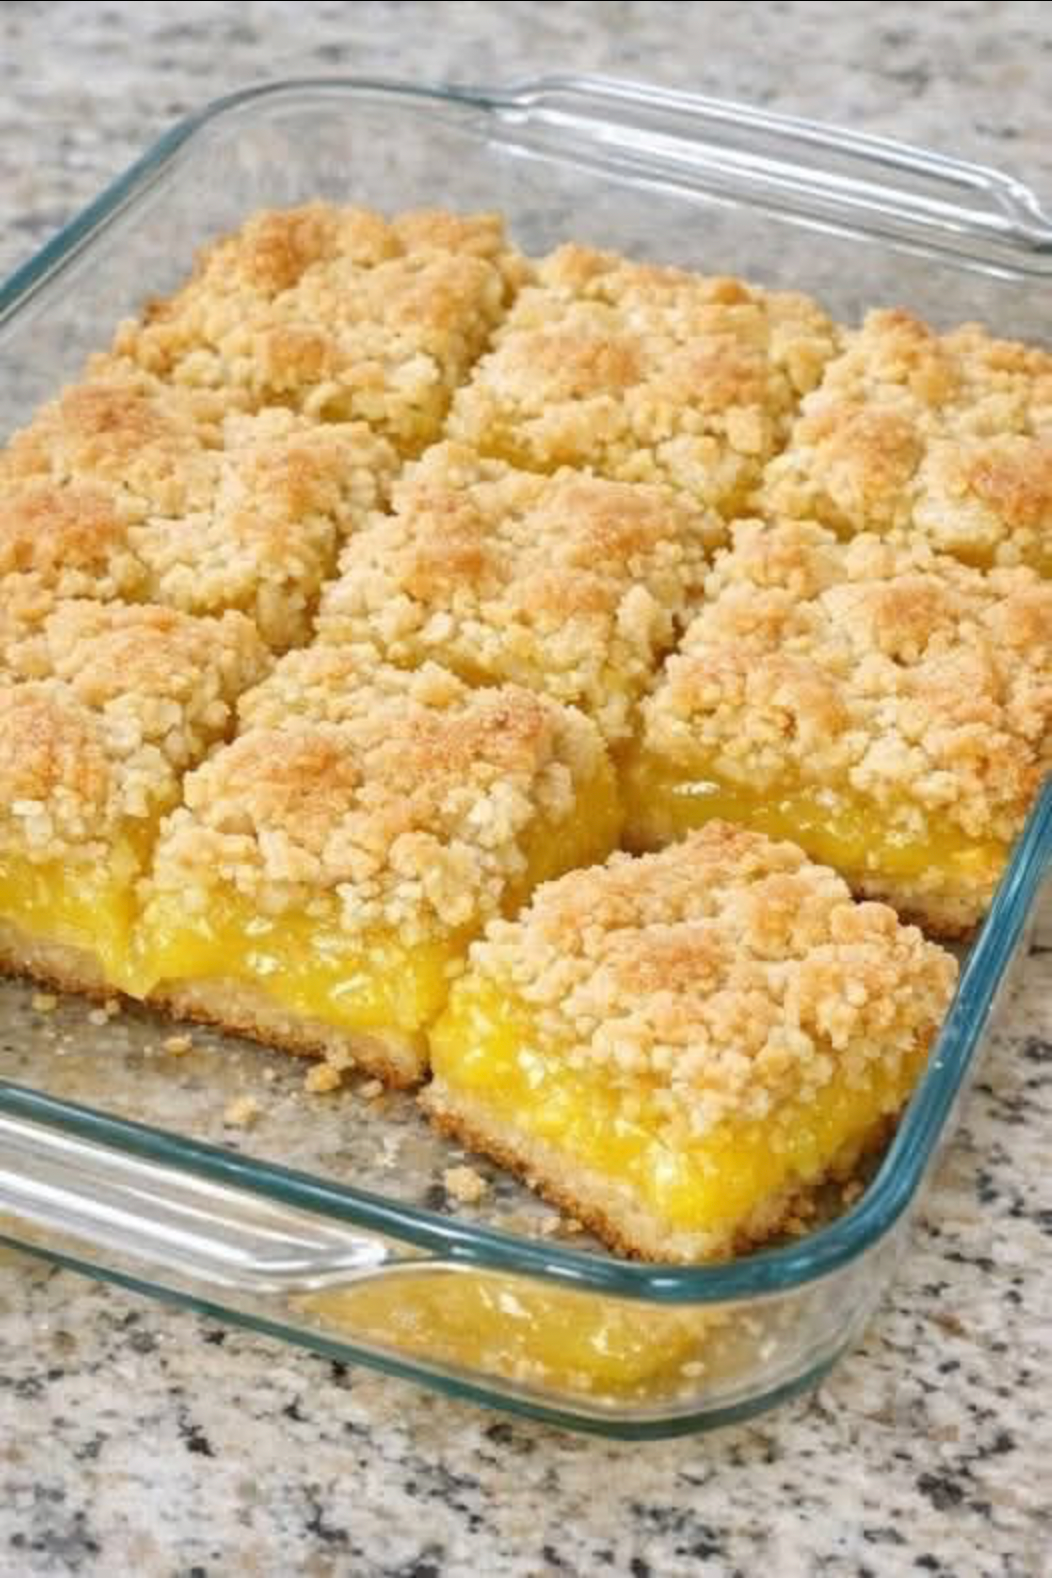
Bright, Tangy, Melt-in-Your-Mouth Dessert Made the Easy Way
3-Ingredient Lemon Bars are one of the simplest desserts you can make, but they still deliver that classic balance of sweet, tart, and buttery flavor people love. They’re soft, slightly gooey in the center, lightly golden on top, and packed with bright lemon flavor.
What makes them special is that they skip all the complicated steps—no long crust preparation, no fancy filling technique, no extra ingredients. Just a quick mix, bake, and slice.
The result is a dessert that feels like:
- lemon custard squares
- soft lemon cake bars
- sweet-tart citrus fudge
All in one simple recipe.
What Are 3-Ingredient Lemon Bars?
Unlike traditional lemon bars that require a crust layer and a separate lemon filling, this simplified version uses a single batter that forms both base and filling at the same time.
As it bakes:
- the bottom sets into a soft cake-like layer
- the center becomes creamy and slightly custardy
- the top turns lightly golden and firm
It’s a “self-layering” dessert with minimal effort.
The 3 Core Ingredients
A basic version usually includes:
- sweetened condensed milk
- fresh lemon juice
- eggs
That’s it.
Optional but sometimes used in variations:
- lemon zest (for stronger flavor)
- powdered sugar for dusting
- vanilla extract (for smoother sweetness)
Why These Ingredients Work So Well
Sweetened condensed milk
- provides sweetness
- creates creamy texture
- acts as the base for the filling
Lemon juice
- adds acidity and brightness
- thickens the mixture slightly when combined with milk
- gives the signature tangy flavor
Eggs
- bind everything together
- create structure
- help the bars set into a sliceable texture
Together, they form a custard-like batter that bakes into soft bars.
Step 1: Mix the Ingredients
In a bowl:
- whisk eggs until smooth
- add sweetened condensed milk
- slowly pour in lemon juice
Stir until fully combined and silky.
What the mixture should look like:
- pale yellow
- smooth and slightly thick
- no lumps or separation
Step 2: Prepare the Baking Dish
Line or lightly grease a baking pan.
Pour the mixture evenly into the pan.
Tap gently to remove air bubbles.
Step 3: Bake Until Set
Bake at:
- 160–180°C (325–350°F)
For:
- 20–35 minutes depending on pan size
Signs it’s done:
- edges are slightly firm
- center jiggles lightly but is not liquid
- top is pale golden or lightly set
Important:
Do not overbake—this keeps the texture soft and creamy.
Step 4: Cool Completely
Cooling is essential.
As the bars cool:
- they firm up
- flavor deepens
- texture becomes smooth and sliceable
Refrigerating them after cooling improves structure even more.
Texture Profile
These lemon bars are known for their unique texture:
- soft and creamy inside
- slightly firm top layer
- melt-in-your-mouth center
- smooth, custard-like bite
They are not crumbly like cake and not firm like cookies—they sit in between.
Flavor Profile
First bite:
Sweet creaminess from condensed milk.
Middle:
Bright, tangy lemon flavor kicks in.
Finish:
Smooth, slightly rich citrus custard taste.
The balance between sweet and sour is what makes them addictive.
Why People Love 3-Ingredient Lemon Bars
1. Extremely easy
No crust, no layering, no complex steps.
2. Fast preparation
Takes only a few minutes to mix.
3. Minimal ingredients
Perfect for when you have limited pantry supplies.
4. Reliable results
Hard to mess up if you avoid overbaking.
5. Crowd-pleasing flavor
Sweet, tangy, and refreshing.
Common Mistakes to Avoid
1. Too much lemon juice
Can make the bars too soft or runny.
2. Overbaking
Leads to dry or rubbery texture.
3. Not cooling properly
Bars need time to set before slicing.
4. Uneven mixing
Can cause separation or inconsistent texture.
Variations You Can Try
1. Lemon zest boost
Adds stronger citrus aroma.
2. Coconut lemon bars
Add shredded coconut for texture.
3. Vanilla lemon bars
A small amount of vanilla smooths tartness.
4. Berry swirl version
Add raspberry or blueberry swirl before baking.
5. Sugar dust finish
Dust with powdered sugar after cooling.
Serving Ideas
These bars are perfect for:
- tea or coffee snacks
- summer desserts
- light after-dinner sweets
- party trays
- picnic treats
They taste best chilled.
Storage
Refrigerator:
- 4–5 days in airtight container
Freezer:
- up to 2 months (well wrapped)
Best served cold or slightly chilled.

Welcome to my kitchen!
I’m a passionate home cook and recipe creator who loves turning simple ingredients into delicious, comforting meals that everyone can enjoy. Through this website, I share carefully prepared recipes, practical cooking tips, and easy-to-understand food education to help you feel more confident in the kitchen.
My goal is to make cooking simple, enjoyable, and accessible. Whether you are looking for a quick family dinner, a delicious dessert, healthy meal ideas, or traditional recipes with a modern touch, you’ll find inspiration here.
More Than Just Recipes
I believe that cooking is also a way to learn. That’s why this website is not only about recipes. I also create educational articles about ingredients, cooking techniques, kitchen tips, food preparation, and the stories behind different dishes.
Each article is designed to give you useful knowledge that you can apply in your own kitchen. From understanding how ingredients work together to learning better cooking methods, my aim is to help you become a more confident and creative cook.
My Philosophy
Good food doesn’t always require complicated ingredients or professional equipment. With a little knowledge, patience, and creativity, simple ingredients can become something truly special.
I believe in sharing recipes that are practical, clearly explained, and enjoyable to make. I also love exploring new flavors while appreciating traditional cooking and the recipes passed down through generations.
Thank you for visiting my kitchen and being part of this food-loving community. I hope my recipes and articles inspire you to cook, learn, experiment, and most importantly, enjoy every bite!
Happy cooking!