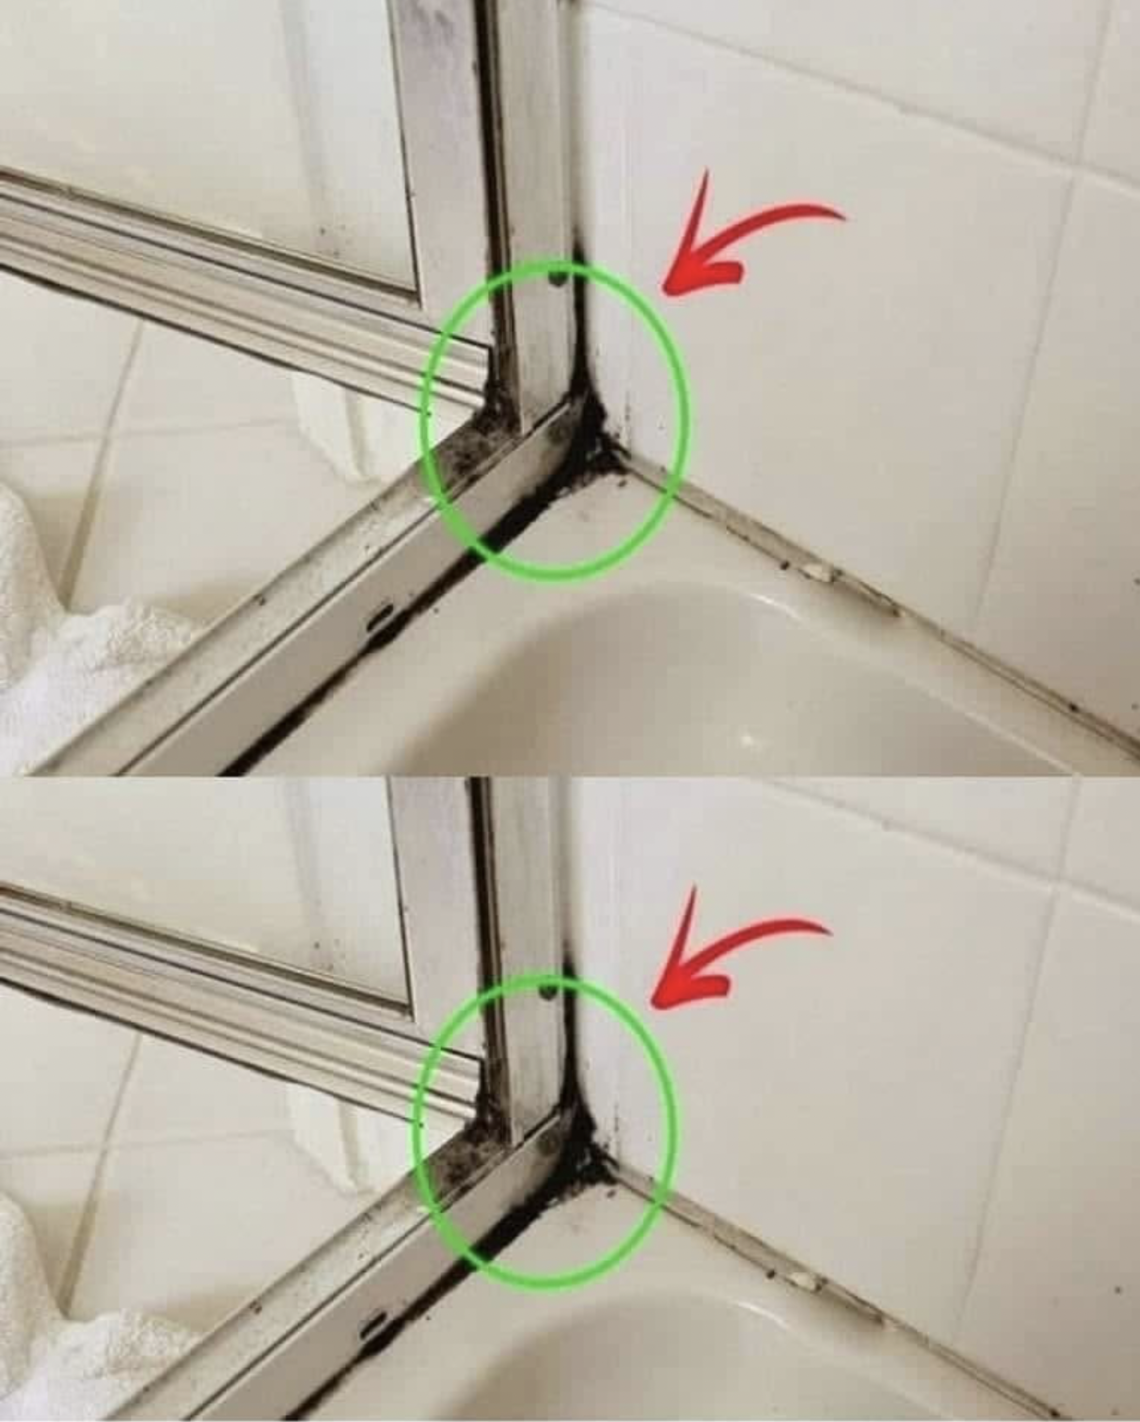
Few household cleaning problems are as frustrating as discovering black mold creeping across the silicone seals in your shower. You scrub and scrub, only to find that those stubborn dark spots seem permanently embedded in the caulk. Even after using regular bathroom cleaners, the discoloration often remains, making an otherwise clean bathroom look neglected.
The good news is that silicone shower seals don’t always need to be replaced the moment you notice mold. In many cases, surface mold, soap scum, and mildew can be significantly reduced with the right cleaning approach, a little patience, and a few common household ingredients. While deep mold that has penetrated damaged or aging silicone may eventually require replacing the seal, many everyday stains respond well to thorough cleaning and proper maintenance.
One popular homemade cleaning solution combines warm water, white vinegar, and baking soda. These ingredients are inexpensive, widely available, and can help loosen mineral deposits, dissolve soap residue, and remove many types of surface grime. However, it’s worth understanding what this mixture can—and cannot—do. Vinegar is mildly acidic and may help remove some mold and mildew from non-porous surfaces, while baking soda acts as a gentle abrasive and deodorizer. If mold has grown beneath or deeply into the silicone, cleaning alone may not completely remove the staining.
Let’s explore how to use this simple cleaning method safely and effectively, along with additional tips to help keep your shower fresh and mold-free for longer.
Why Mold Loves Shower Silicone
Bathrooms provide the perfect environment for mold and mildew to grow.
Shower silicone is regularly exposed to:
- warm temperatures
- moisture
- soap residue
- shampoo buildup
- body oils
- limited airflow
When these conditions persist, mold spores that naturally exist in the environment can settle on damp surfaces and begin to grow.
Why Silicone Is Especially Vulnerable
Silicone sealant is designed to create a waterproof barrier around showers, bathtubs, sinks, and other wet areas.
Over time, however, tiny amounts of soap residue, skin oils, and mineral deposits may collect on its surface.
These residues can provide nutrients that support mold growth if the silicone remains damp for long periods.
Older silicone may also develop tiny cracks or lose its protective properties, making it easier for mold to become established.
A Simple DIY Cleaning Solution
A popular homemade mixture uses three common household ingredients.
Ingredients
- 1 part warm water
- 3 parts white vinegar
- 2 tablespoons baking soda
Example:
- 1/4 cup warm water
- 3/4 cup white vinegar
- 2 tablespoons baking soda
Because baking soda reacts with vinegar and creates fizzing, mix the ingredients slowly in a container with enough space to prevent overflowing.
Pour the finished mixture into a spray bottle if possible.
How to Apply the Solution
Step 1: Prepare the Area
Remove bottles, soap dishes, and other items from the shower.
Open a window or switch on the bathroom exhaust fan to improve ventilation.
Wear rubber cleaning gloves if desired.
Step 2: Spray the Silicone
Generously spray the cleaning solution directly onto the mold-stained silicone.
Make sure the entire affected area is thoroughly covered.
Step 3: Let It Sit
Allow the solution to remain on the silicone for approximately 30 minutes.
This gives the vinegar time to loosen soap residue and mineral buildup while softening surface mold.
Avoid rinsing too soon.
Step 4: Scrub Gently
Using an old toothbrush or a small soft-bristled cleaning brush, gently scrub the silicone.
Work in small circular motions, paying extra attention to:
- corners
- seams
- joints
- heavily stained spots
Avoid using excessive force, which may damage older sealant.
Step 5: Rinse Thoroughly
Rinse the entire area with warm water to remove loosened debris and any remaining cleaning solution.
Step 6: Dry Completely
Use a clean microfiber cloth or towel to dry the silicone thoroughly.
Removing moisture is one of the most effective ways to discourage mold from returning.
What Makes These Ingredients Work?
White Vinegar
White vinegar contains acetic acid.
It may help:
- dissolve mineral deposits
- loosen soap scum
- reduce some surface mold and mildew
- remove certain odors
Baking Soda
Baking soda is a mild abrasive.
It can help:
- lift dirt
- scrub away residue
- neutralize odors
- polish surfaces without scratching most finishes
Warm Water
Warm water helps dissolve grime and evenly distribute the cleaning mixture across the silicone.
What If the Mold Doesn’t Come Off?
Sometimes the black discoloration isn’t simply sitting on the surface.
If mold has penetrated the silicone itself, cleaning may improve its appearance but may not completely eliminate the staining.
In these cases, replacing the silicone sealant is often the most effective long-term solution.
When Should Silicone Be Replaced?
Consider replacing the silicone if you notice:
- deep black staining that remains after cleaning
- cracks
- peeling edges
- gaps between the seal and surrounding surfaces
- sections pulling away from the wall
- water leaking behind the seal
Fresh silicone not only improves appearance but also helps maintain a waterproof barrier.
Preventing Mold From Returning
Cleaning is only half the battle.
Reducing moisture is the key to long-term mold prevention.
Helpful habits include:
- wiping down shower walls after each use
- drying the silicone with a towel or squeegee
- leaving the bathroom door open after showering
- using the exhaust fan for at least 20–30 minutes after bathing
- opening a window when weather allows
- repairing leaks promptly
Reduce Soap Residue
Soap buildup gives mold additional material to grow on.
Regularly clean:
- shower walls
- doors
- tiles
- corners
- shelves
- shampoo holders
Keeping these areas clean reduces overall mold growth.
Improve Bathroom Ventilation
Bathrooms that remain humid for hours create ideal conditions for mold.
To improve airflow:
- run the exhaust fan during and after showers
- open windows when possible
- avoid leaving wet towels piled in the bathroom
- allow shower curtains to dry fully between uses
Avoid Harsh Scrubbing Tools
Metal brushes and abrasive scouring pads may damage silicone.
Instead, use:
- soft toothbrushes
- microfiber cloths
- soft nylon brushes
Gentle cleaning helps preserve the seal.
Important Safety Tips
Although vinegar is a useful household cleaner, it should never be mixed with chlorine bleach. Combining these products can produce hazardous chlorine gas, which is dangerous to breathe.
If you choose to use commercial mold removers or disinfectants, always follow the manufacturer’s instructions, ensure good ventilation, and avoid mixing different cleaning chemicals unless the product label specifically states it is safe.
Frequently Asked Questions
Does vinegar kill all mold?
Vinegar may help remove or reduce many types of surface mold on non-porous materials. However, heavy infestations or mold growing beneath silicone may require professional remediation or replacement of the affected sealant.
Why does mold keep coming back?
Persistent moisture, poor ventilation, and soap residue create conditions that allow mold to regrow even after cleaning.
Can I use this mixture on tiles?
Generally, this solution is suitable for many ceramic and porcelain tile surfaces. However, avoid using acidic cleaners like vinegar on natural stone surfaces such as marble, limestone, or travertine unless the manufacturer recommends it, as acids can damage these materials.
Is black discoloration always mold?
Not necessarily. Some stains may be caused by mildew, dirt, mineral deposits, or aging silicone. If cleaning does not improve the appearance, the sealant may simply be reaching the end of its service life.
How often should I clean shower silicone?
Light weekly cleaning and thorough monthly maintenance can help prevent significant mold buildup from developing.
Extra Tips for a Fresher Shower
To keep your bathroom cleaner for longer:
- Wipe down the shower after every use.
- Hang towels so they dry completely.
- Wash shower curtains regularly.
- Keep shampoo bottles clean underneath.
- Check for slow plumbing leaks.
- Replace worn silicone before water damage occurs.
- Maintain good airflow year-round.

Welcome to my kitchen!
I’m a passionate home cook and recipe creator who loves turning simple ingredients into delicious, comforting meals that everyone can enjoy. Through this website, I share carefully prepared recipes, practical cooking tips, and easy-to-understand food education to help you feel more confident in the kitchen.
My goal is to make cooking simple, enjoyable, and accessible. Whether you are looking for a quick family dinner, a delicious dessert, healthy meal ideas, or traditional recipes with a modern touch, you’ll find inspiration here.
More Than Just Recipes
I believe that cooking is also a way to learn. That’s why this website is not only about recipes. I also create educational articles about ingredients, cooking techniques, kitchen tips, food preparation, and the stories behind different dishes.
Each article is designed to give you useful knowledge that you can apply in your own kitchen. From understanding how ingredients work together to learning better cooking methods, my aim is to help you become a more confident and creative cook.
My Philosophy
Good food doesn’t always require complicated ingredients or professional equipment. With a little knowledge, patience, and creativity, simple ingredients can become something truly special.
I believe in sharing recipes that are practical, clearly explained, and enjoyable to make. I also love exploring new flavors while appreciating traditional cooking and the recipes passed down through generations.
Thank you for visiting my kitchen and being part of this food-loving community. I hope my recipes and articles inspire you to cook, learn, experiment, and most importantly, enjoy every bite!
Happy cooking!