There are some recipes that don’t need an introduction—they announce themselves.
You hear the oven door open…
You smell the butter… rich, warm, irresistible…
And before the tray even cools, hands are already reaching in.
That’s exactly what happens with these Southern butter dip biscuits.
They don’t just get eaten.
They disappear.
And the most surprising part?
They come together with just four simple ingredients—no kneading, no rolling, no complicated steps.
What Makes These Biscuits So Special
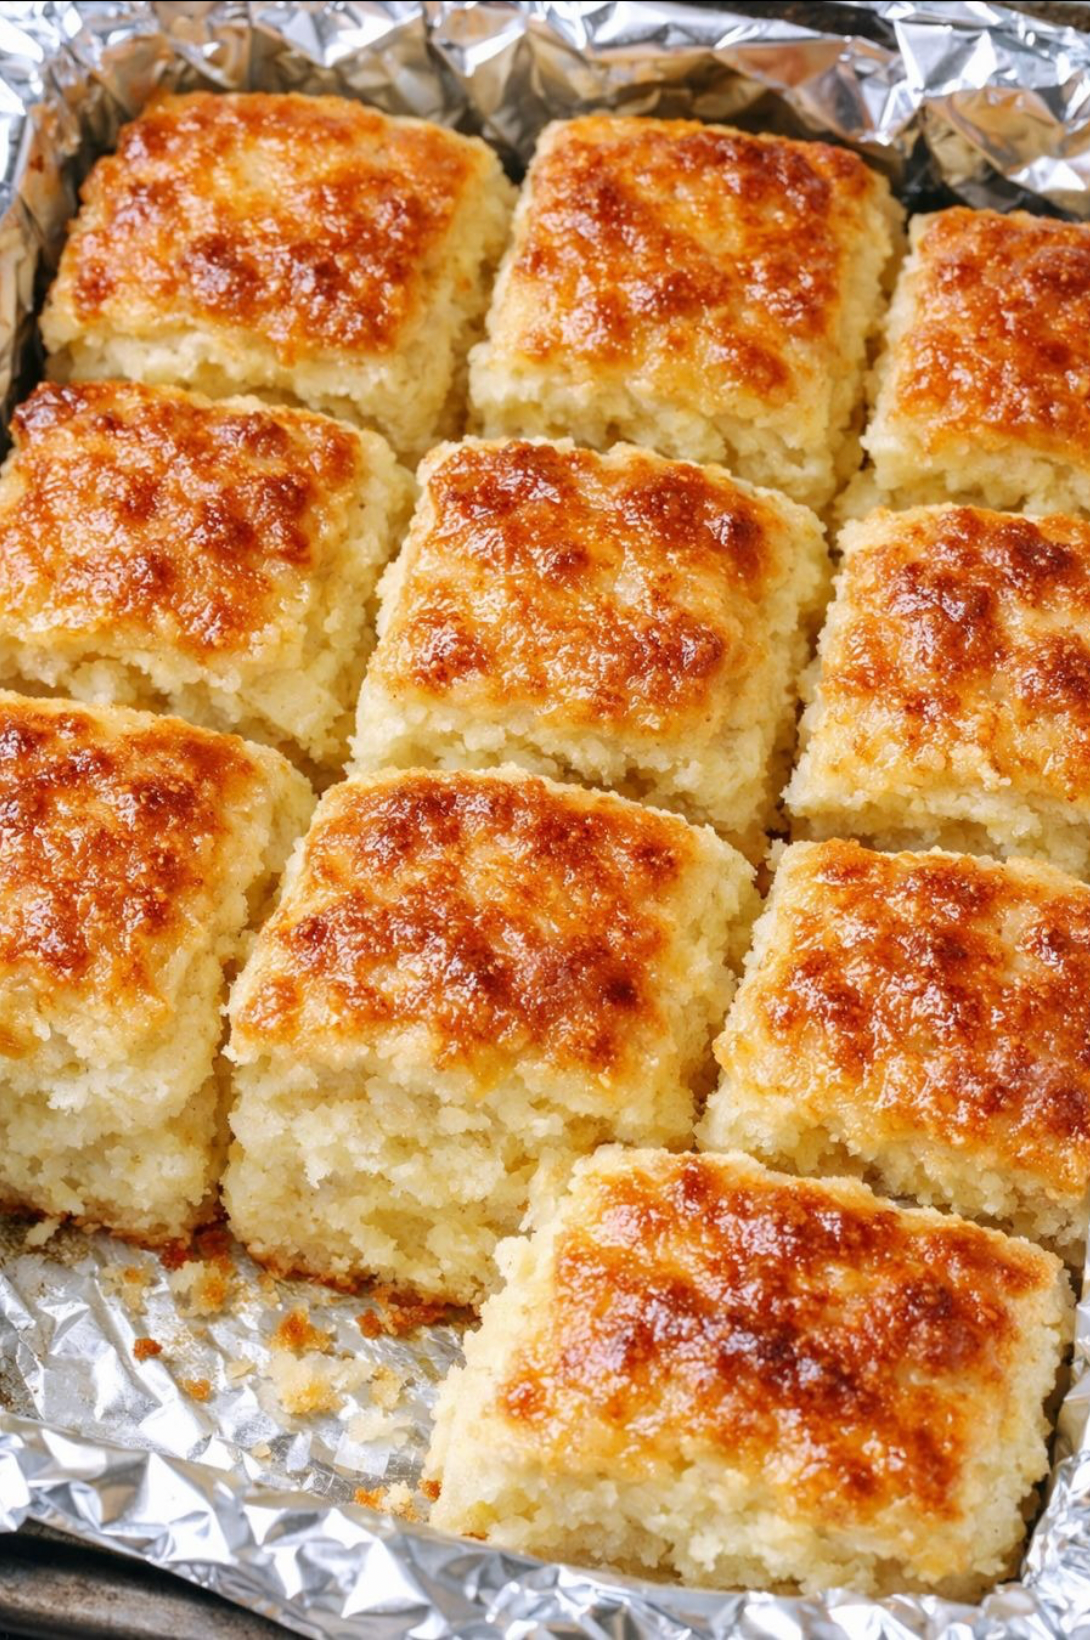
At first glance, they look like classic homemade biscuits:
- Tall
- Fluffy
- Golden on top
But one bite reveals something different.
The bottom is:
- Deeply crisp
- Rich with butter
- Slightly caramelized
While the inside is:
- Soft
- Tender
- Almost melt-in-your-mouth
This contrast is what makes them unforgettable.
And it all comes down to one clever technique.
The Secret: Baking in Butter
Unlike traditional biscuits, where butter is cut into flour, this recipe flips the method.
Instead of working butter into the dough…
You melt Butter directly in the baking dish.
Then you pour the batter right over it.
As the biscuits bake:
- The butter bubbles around the edges
- The bottom fries gently in rich fat
- The top rises and turns golden
The result is a biscuit that is:
- Crispy on the outside
- Soft and fluffy inside
- Packed with buttery flavor
No rolling pin.
No biscuit cutter.
No stress.
Ingredients (Only Four!)
This is what makes the recipe so magical—its simplicity.
- 2 cups Flour
- 1 tablespoon baking powder
- 1 1/2 cups Buttermilk
- 1/2 cup melted Butter
That’s it.
Just four pantry staples, working together perfectly.
Step-by-Step Instructions (Detailed)
Step 1: Preheat and Melt the Butter
Preheat your oven to 220°C (425°F).
Place the butter in your baking dish and let it melt in the oven.
This step is essential—it ensures:
- Even coating
- Hot butter when the batter hits the pan
- That signature crispy bottom
Step 2: Mix the Dry Ingredients
In a bowl, combine:
- Flour
- Baking powder
Stir gently to distribute everything evenly.
Step 3: Add the Buttermilk
Pour in the buttermilk and stir until just combined.
The dough will be:
- Soft
- Slightly sticky
- Not perfectly smooth
That’s exactly what you want.
Overmixing will make the biscuits dense instead of fluffy.
Step 4: Pour Into the Butter
Carefully remove the hot dish from the oven.
Pour the dough directly over the melted butter.
Do not stir.
Instead, gently spread the dough so it fills the dish evenly.
Step 5: Score Before Baking
Using a knife, lightly cut the dough into squares.
This makes it easier to separate the biscuits after baking.
Step 6: Bake to Golden Perfection
Place the dish back in the oven and bake for 20–25 minutes.
Watch as:
- The edges turn golden and crisp
- The top rises beautifully
- The butter bubbles around the sides
When done, the top should be:
- Golden brown
- Slightly crisp
- Soft when pressed
What Happens in the Oven
This is where the magic happens.
As the biscuits bake:
- The baking powder creates lift, making them tall and fluffy
- The buttermilk adds tenderness and a slight tang
- The butter fries the bottom, creating a crispy layer
It’s a combination of baking and light frying—giving you the best of both worlds.
Texture and Flavor
These biscuits are:
- Crisp and buttery on the bottom
- Soft and airy inside
- Lightly golden on top
- Rich, warm, and comforting
Every bite melts, crunches, and satisfies all at once.
How to Serve Them
These biscuits are incredibly versatile.
Serve them:
- Warm with extra butter
- With honey or jam
- Alongside eggs for breakfast
- With soups or stews
Or just eat them straight from the pan—like everyone ends up doing.
Why Everyone Loves This Recipe
This recipe checks every box:
- Quick (under 30 minutes)
- Simple ingredients
- No special skills required
- Consistent results every time
And most importantly—it delivers that classic Southern comfort flavor without the effort.
Tips for Perfect Biscuits
Don’t Overmix
Keep the dough soft and slightly lumpy.
Use Real Buttermilk
It adds flavor and helps with texture.
Bake Hot
A high oven temperature helps create the rise and crisp edges.
Don’t Skimp on Butter
It’s the heart of the recipe.
Variations You Can Try
Once you master the base, you can experiment:
Savory Version
Add cheese, herbs, or garlic.
Sweet Version
Add a little sugar and drizzle honey on top.
Spicy Twist
Add chili flakes or jalapeños.
Storage and Reheating
- Best eaten fresh
- Store leftovers for up to 2 days
- Reheat in the oven for crispiness

Welcome to my kitchen!
I’m a passionate home cook and recipe creator who loves turning simple ingredients into delicious, comforting meals that everyone can enjoy. Through this website, I share carefully prepared recipes, practical cooking tips, and easy-to-understand food education to help you feel more confident in the kitchen.
My goal is to make cooking simple, enjoyable, and accessible. Whether you are looking for a quick family dinner, a delicious dessert, healthy meal ideas, or traditional recipes with a modern touch, you’ll find inspiration here.
More Than Just Recipes
I believe that cooking is also a way to learn. That’s why this website is not only about recipes. I also create educational articles about ingredients, cooking techniques, kitchen tips, food preparation, and the stories behind different dishes.
Each article is designed to give you useful knowledge that you can apply in your own kitchen. From understanding how ingredients work together to learning better cooking methods, my aim is to help you become a more confident and creative cook.
My Philosophy
Good food doesn’t always require complicated ingredients or professional equipment. With a little knowledge, patience, and creativity, simple ingredients can become something truly special.
I believe in sharing recipes that are practical, clearly explained, and enjoyable to make. I also love exploring new flavors while appreciating traditional cooking and the recipes passed down through generations.
Thank you for visiting my kitchen and being part of this food-loving community. I hope my recipes and articles inspire you to cook, learn, experiment, and most importantly, enjoy every bite!
Happy cooking!