A Foolproof Old-Fashioned Chocolate Fudge That Never Fails
There are desserts that impress people… and then there are desserts that comfort people. Mom’s fudge belongs firmly in the second category.
It’s not fancy.
It doesn’t require special tools.
It doesn’t rely on complicated techniques or expensive ingredients.
Instead, it delivers something far more valuable:
- deep chocolate flavor
- smooth, melt-in-your-mouth texture
- nostalgic sweetness
- and that unmistakable “homemade” richness that feels like it came straight from a family kitchen
This is the kind of fudge that shows up at:
- holidays
- church gatherings
- family reunions
- bake sales
- and quiet evenings when someone just needed something sweet and comforting
And the best part? It actually works every time when you follow the method properly.
What Makes “Mom’s Fudge” So Special?
Unlike modern gourmet fudge recipes that require candy thermometers and precise timing, this classic style is built on simplicity.
It works because it focuses on:
- controlled heat
- stable ingredients
- and a reliable cooling process
The texture comes out:
- creamy, not grainy
- firm, but not hard
- rich, but not overly sweet
It strikes that perfect balance between softness and structure.
Core Ingredients (Classic Version)
This is the traditional base that most “no-fail” fudge recipes follow:
- 2 cups granulated sugar
- 1/2 cup unsalted butter
- 1/2 cup milk or evaporated milk
- 1 1/2 cups semi-sweet chocolate chips
- 1 teaspoon vanilla extract
- pinch of salt
Optional additions:
- chopped walnuts or pecans
- marshmallow fluff (for extra smooth texture)
- dark chocolate for richer flavor
Step-by-Step Instructions
Step 1: Prepare your pan
Line an 8×8 inch baking dish with:
- parchment paper or
- lightly greased foil
This makes removal easy later and keeps edges clean.
Step 2: Create the sugar base
In a medium saucepan, combine:
- sugar
- butter
- milk
- pinch of salt
Heat over medium heat while stirring constantly.
What you’re looking for:
- smooth melting butter
- fully dissolved sugar
- mixture just beginning to bubble gently
Do not rush this step. It sets the foundation for smooth fudge.
Step 3: Bring to a gentle boil
Once everything is combined and melted, bring it to a light boil.
Let it boil for:
- about 4–5 minutes
Stir continuously to prevent burning.
Why this matters:
This step helps:
- stabilize the sugar mixture
- create the right fudge consistency
- prevent graininess later
Step 4: Remove from heat
Take the saucepan off the stove immediately once boiling time is complete.
Now comes the transformation step.
Step 5: Add chocolate and vanilla
Quickly stir in:
- chocolate chips
- vanilla extract
Do not wait too long—the residual heat is what melts everything smoothly.
Stir until the mixture becomes:
- glossy
- thick
- completely smooth
At this stage, it should look like rich chocolate silk.
Step 6: Optional mix-ins
If using nuts or extras, fold them in now.
Popular choices:
- walnuts (classic crunch)
- pecans (softer, buttery texture)
- mini marshmallows (extra creamy finish)
Step 7: Pour and set
Pour the mixture into your prepared pan.
Spread evenly using a spatula.
Let it cool at room temperature for:
- 2–3 hours
or refrigerate for:
- faster setting (about 1 hour)
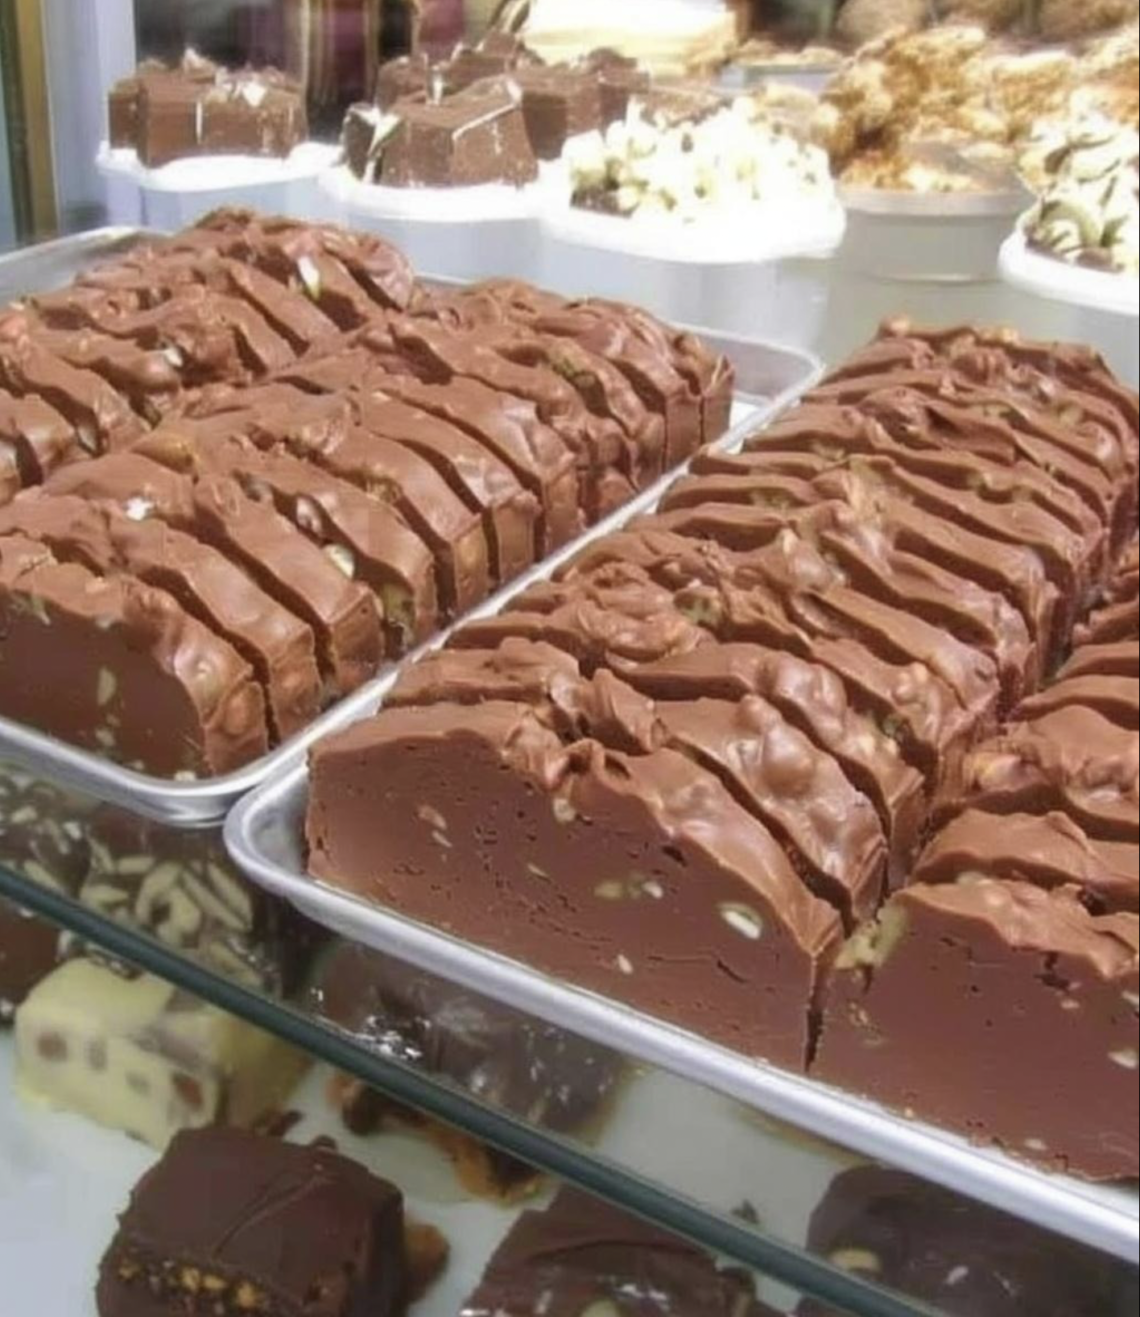
What the Texture Should Be Like
Perfect homemade fudge should be:
- firm enough to cut cleanly
- soft enough to melt in your mouth
- smooth with no sugar crystals
- rich but not sticky
When done right, it almost feels like chocolate truffles in bar form.
Why This Recipe Works So Consistently
This style of fudge is reliable because:
1. Controlled heating
You never go beyond a gentle boil, preventing burning or crystallization.
2. Fat balance
Butter and chocolate stabilize the mixture, giving it creaminess.
3. No complicated candy stages
You don’t need “soft ball” or thermometer readings.
4. Immediate emulsification
Chocolate melts into the hot syrup, creating a smooth structure.
Common Mistakes (and How to Avoid Them)
1. Overcooking the sugar mixture
This leads to dry or crumbly fudge.
2. Not stirring enough during boiling
Can cause burning or grainy texture.
3. Waiting too long before adding chocolate
The mixture may cool too much and not melt smoothly.
4. Refrigerating too early
Can cause uneven texture or cracks.
Flavor Variations
1. Peanut Butter Swirl Fudge
Add peanut butter on top and swirl before setting.
2. Dark Chocolate Version
Replace half the chips with dark chocolate for richer depth.
3. Rocky Road Fudge
Add marshmallows and nuts for texture contrast.
4. Mint Chocolate Fudge
Add a few drops of peppermint extract for a fresh twist.
Serving Suggestions
Fudge is best enjoyed:
- chilled and firm
- cut into small squares
- paired with coffee or milk
It also works well on dessert platters alongside:
- cookies
- brownies
- shortbread
Storage Tips
Room temperature:
- 3–5 days in airtight container
Refrigerator:
- up to 2 weeks
Freezer:
- up to 3 months
Always separate layers with parchment paper to prevent sticking.
Why People Love This Fudge So Much
Beyond taste, this recipe carries emotional weight.
It feels like:
- childhood holidays
- handwritten recipe cards
- family kitchens filled with warmth
- simple desserts made with care rather than complexity
It’s the kind of recipe passed down not because it’s trendy, but because it always works and always brings people back for another piece.