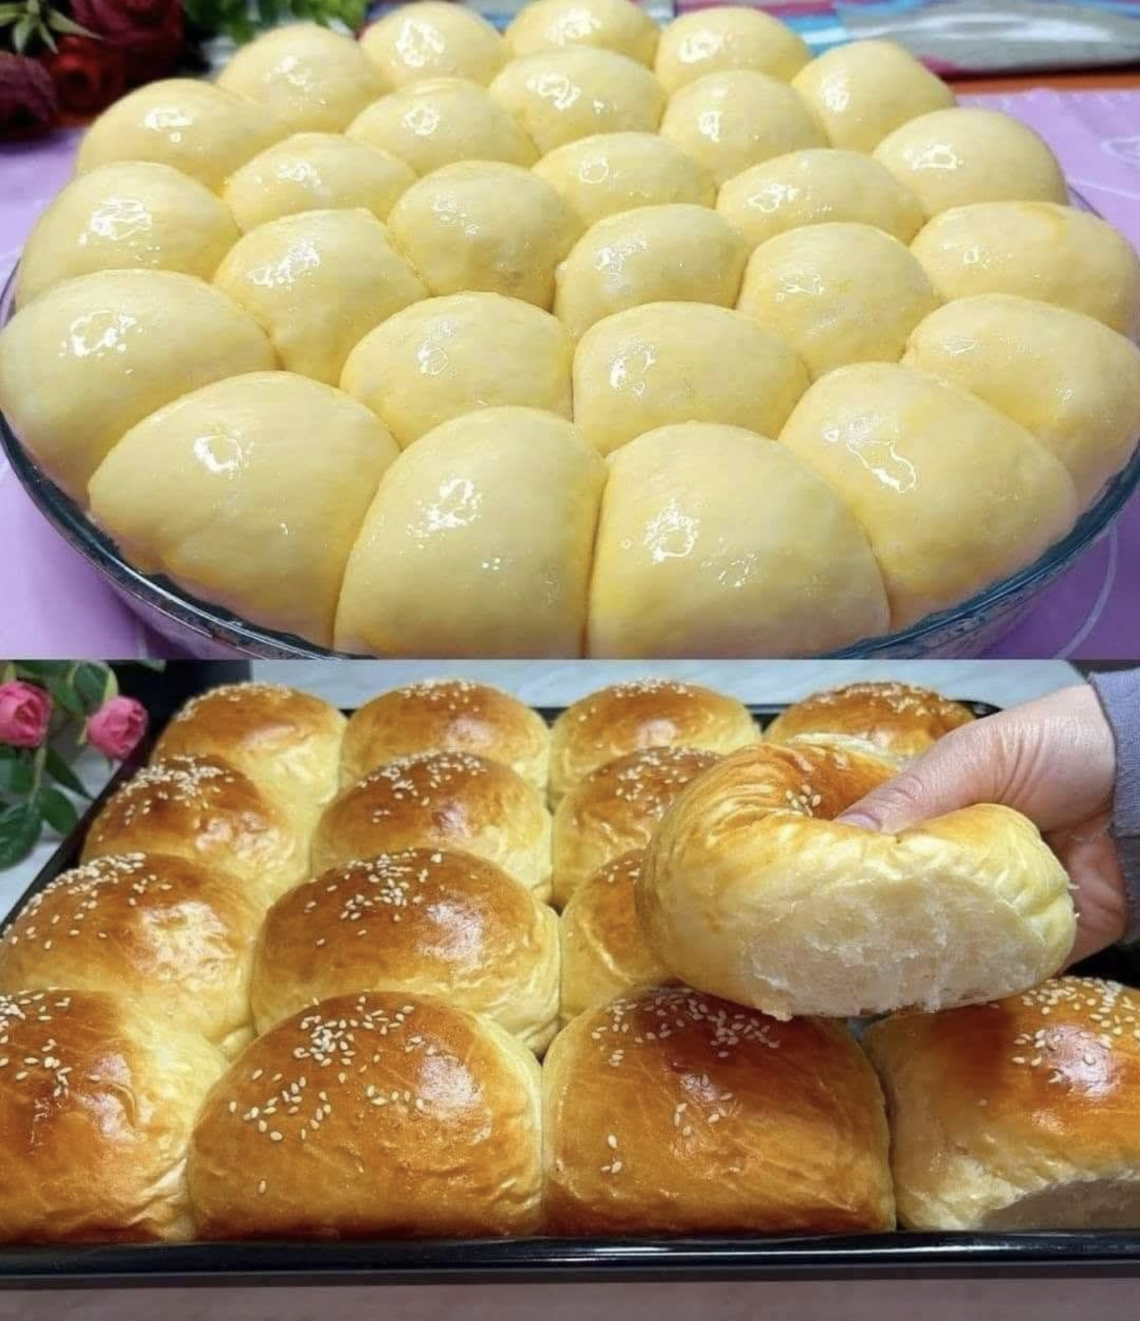
Ultra-Soft Bakery-Style Rolls That Melt in Your Mouth
Milk brioche rolls are the definition of rich, pillowy bread. They’re soft like clouds, slightly sweet, deeply buttery, and have a delicate structure that pulls apart in fluffy layers. Unlike regular dinner rolls, brioche rolls are enriched with milk, butter, and sometimes eggs, giving them a luxurious texture that feels closer to pastry than bread.
These rolls are often found in bakeries, brunch spreads, and holiday tables—but they’re surprisingly achievable at home if you understand the process.
What Makes Brioche Rolls Special?
Brioche is not ordinary bread. It belongs to the “enriched dough” family, meaning it contains:
- milk
- butter
- eggs (in many versions)
- sugar
This enrichment creates:
- soft crumb structure
- rich flavor
- golden color
- tender bite
Milk brioche rolls take that idea further by emphasizing milk for extra softness and subtle sweetness.
Texture and Flavor Profile
When done correctly, milk brioche rolls are:
Texture:
- extremely soft and airy
- fluffy and light inside
- slightly stretchy when pulled apart
- tender crust that is not hard or crunchy
Flavor:
- buttery and rich
- lightly sweet
- milky and smooth
- subtle eggy depth (if eggs are used)
They are rich without being heavy.
Ingredients (Classic Milk Brioche Rolls)
Dough:
- 3 ½ cups all-purpose flour (or bread flour for stronger structure)
- 1 cup warm milk
- 2 ¼ teaspoons instant yeast (1 packet)
- ¼ cup sugar
- 1 teaspoon salt
- 1 egg
- ¼ cup unsalted butter (softened)
For brushing:
- melted butter (after baking)
- optional egg wash (for shiny top)
Step-by-Step Instructions
Step 1: Activate yeast
In a bowl, combine:
- warm milk
- sugar
- yeast
Let sit for:
- 5–10 minutes
It should become slightly foamy.
Why this matters:
It ensures yeast is alive and ready to create rise and softness.
Step 2: Form the dough
Add:
- flour
- salt
- egg
- yeast mixture
Mix until dough starts forming.
Then add softened butter gradually.
Step 3: Knead the dough
Knead for:
- 10–15 minutes
The dough should become:
- smooth
- elastic
- slightly tacky but not sticky
Important note:
Proper kneading develops gluten, which gives brioche its soft, stretchy texture.
Step 4: First rise
Place dough in a greased bowl.
Cover and let rise for:
- 1.5 to 2 hours
It should double in size.
Step 5: Shape the rolls
Punch down dough gently.
Divide into equal portions:
- 8–12 pieces (depending on size desired)
Shape each piece into a smooth ball.
Place in a baking tray with slight spacing between rolls.
Step 6: Second rise
Cover again and let rise for:
- 45–60 minutes
They should become puffy and soft.
Step 7: Bake
Preheat oven to:
- 180°C (350°F)
Bake for:
- 18–25 minutes
Until:
- tops are golden brown
- rolls sound hollow when tapped
- edges are lightly browned
Step 8: Finish with butter
Brush immediately with melted butter.
This gives:
- shine
- softness
- extra flavor
What Happens During Baking
Inside the oven:
- yeast releases gas, making dough rise
- butter melts into the crumb, creating richness
- milk proteins help browning and softness
- sugar caramelizes lightly on the surface
The result is a soft, golden, aromatic roll.
Why Milk Makes These Rolls So Soft
Milk plays a major role in brioche texture:
- adds fat for tenderness
- helps create a softer crumb
- improves browning
- adds subtle sweetness
It essentially “softens” the structure of the bread.
Variations of Milk Brioche Rolls
1. Sweet Brioche Rolls
Add:
- extra sugar
- vanilla extract
Perfect for breakfast or dessert.
2. Garlic Butter Brioche Rolls
Add:
- garlic powder to butter topping
- parsley
Great with savory meals.
3. Cheese-Stuffed Brioche Rolls
Add:
- mozzarella or cream cheese inside dough balls
Creates gooey centers.
4. Honey Butter Brioche
Brush with:
- honey + melted butter after baking
Sweet and glossy finish.
5. Chocolate Brioche Rolls
Add:
- chocolate chips inside dough
Soft bakery-style treat.
Common Mistakes to Avoid
1. Using cold milk
Slows or prevents yeast activation.
2. Not kneading enough
Leads to dense, heavy rolls.
3. Skipping second rise
Results in less fluffy texture.
4. Adding too much flour
Makes rolls dry instead of soft.
5. Overbaking
Dries out the buttery interior.
Serving Ideas
Milk brioche rolls pair beautifully with:
- butter and jam
- soups and stews
- roasted meats
- breakfast spreads
- coffee or tea
They also work as:
- sandwich rolls
- holiday dinner bread
- snack rolls
Storage and Reheating
Storage:
- airtight container
- 2–3 days at room temperature
- up to 1 week refrigerated
Reheating:
- microwave for 10–15 seconds (softens)
- oven for light crisp outside
Brush with butter before reheating for best texture.
Why People Love Brioche Rolls
These rolls are loved because they:
- feel bakery-quality but homemade
- use simple ingredients in a refined way
- deliver soft, melt-in-mouth texture
- pair with almost any meal
- taste rich without being heavy
They are comfort food with elegance.

Welcome to my kitchen!
I’m a passionate home cook and recipe creator who loves turning simple ingredients into delicious, comforting meals that everyone can enjoy. Through this website, I share carefully prepared recipes, practical cooking tips, and easy-to-understand food education to help you feel more confident in the kitchen.
My goal is to make cooking simple, enjoyable, and accessible. Whether you are looking for a quick family dinner, a delicious dessert, healthy meal ideas, or traditional recipes with a modern touch, you’ll find inspiration here.
More Than Just Recipes
I believe that cooking is also a way to learn. That’s why this website is not only about recipes. I also create educational articles about ingredients, cooking techniques, kitchen tips, food preparation, and the stories behind different dishes.
Each article is designed to give you useful knowledge that you can apply in your own kitchen. From understanding how ingredients work together to learning better cooking methods, my aim is to help you become a more confident and creative cook.
My Philosophy
Good food doesn’t always require complicated ingredients or professional equipment. With a little knowledge, patience, and creativity, simple ingredients can become something truly special.
I believe in sharing recipes that are practical, clearly explained, and enjoyable to make. I also love exploring new flavors while appreciating traditional cooking and the recipes passed down through generations.
Thank you for visiting my kitchen and being part of this food-loving community. I hope my recipes and articles inspire you to cook, learn, experiment, and most importantly, enjoy every bite!
Happy cooking!