There are recipes that demand precision… and then there are recipes that invite you to relax.
The Cuppa Cuppa Cake belongs to the second kind.
No scales.
No complicated measurements.
No stress.
Just equal parts of a few humble ingredients—measured by the same cup—and a quiet kind of magic that happens in the oven.
It’s the kind of dessert that feels like it came from another time. A recipe passed down through generations, remembered not by exact numbers, but by rhythm:
“One cup of this… one cup of that…”
Simple. Honest. Foolproof.
What Is Cuppa Cuppa Cake?
Cuppa Cuppa Cake is a rustic, no-fuss dessert made by layering equal “cups” of basic ingredients:
- Flour
- Sugar
- Fruit Filling (often peaches, apples, or berries)
- Butter
Unlike traditional cakes, you don’t mix everything into a batter. Instead, you layer the ingredients and let the oven do the work.
As it bakes, the butter melts, the fruit releases juices, and the dry ingredients absorb everything—transforming into a soft, golden, cobbler-like dessert.
Why This Cake Is So Special
This recipe is loved not just because it’s easy—but because of how it transforms.
At the beginning, it looks almost too simple:
- Dry flour
- Granulated sugar
- Fruit
- Sliced butter
But in the oven, something remarkable happens.
The layers blend.
The juices rise.
The butter melts into every corner.
And what comes out is:
- Soft
- Moist
- Slightly crisp on top
- Bursting with fruit flavor
It’s not quite a cake.
Not quite a cobbler.
But something beautifully in between.
Ingredients (Classic Version)
- 1 cup Flour
- 1 cup Sugar
- 1 cup fruit filling (like peaches or apples)
- 1 cup sliced or melted Butter
- 1 teaspoon baking powder (optional but recommended)
- A pinch of salt
Optional:
- Cinnamon
- Vanilla
- Nuts
Step-by-Step Instructions (Detailed)
Step 1: Prepare Your Baking Dish
Preheat your oven to 180°C (350°F).
Lightly grease a baking dish.
This ensures the cake doesn’t stick and helps create a golden edge.
Step 2: Mix the Dry Ingredients
In a bowl, combine:
- Flour
- Sugar
- Baking powder
- Salt
Stir gently.
This mixture will act as the “cake base.”
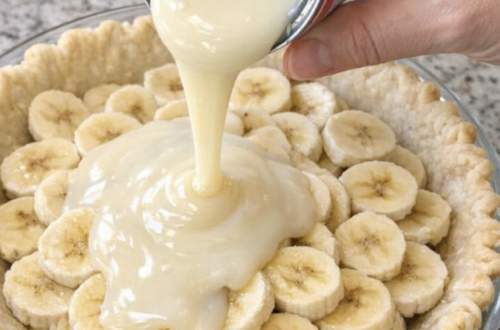
Step 3: Add the Fruit Layer
Spread your fruit filling evenly across the bottom of the dish.
You can use:
- Canned fruit (with some juice)
- Fresh fruit (lightly sweetened)
The fruit is what gives moisture and flavor.
Step 4: Sprinkle the Dry Mixture
Evenly sprinkle the dry mixture over the fruit.
Do not mix.
This step may feel unusual—but trust the process.
Step 5: Add the Butter
Place slices of butter evenly across the top.
Or pour melted butter over the surface.
The butter will:
- Melt during baking
- Soak into the dry ingredients
- Create a golden, slightly crisp topping
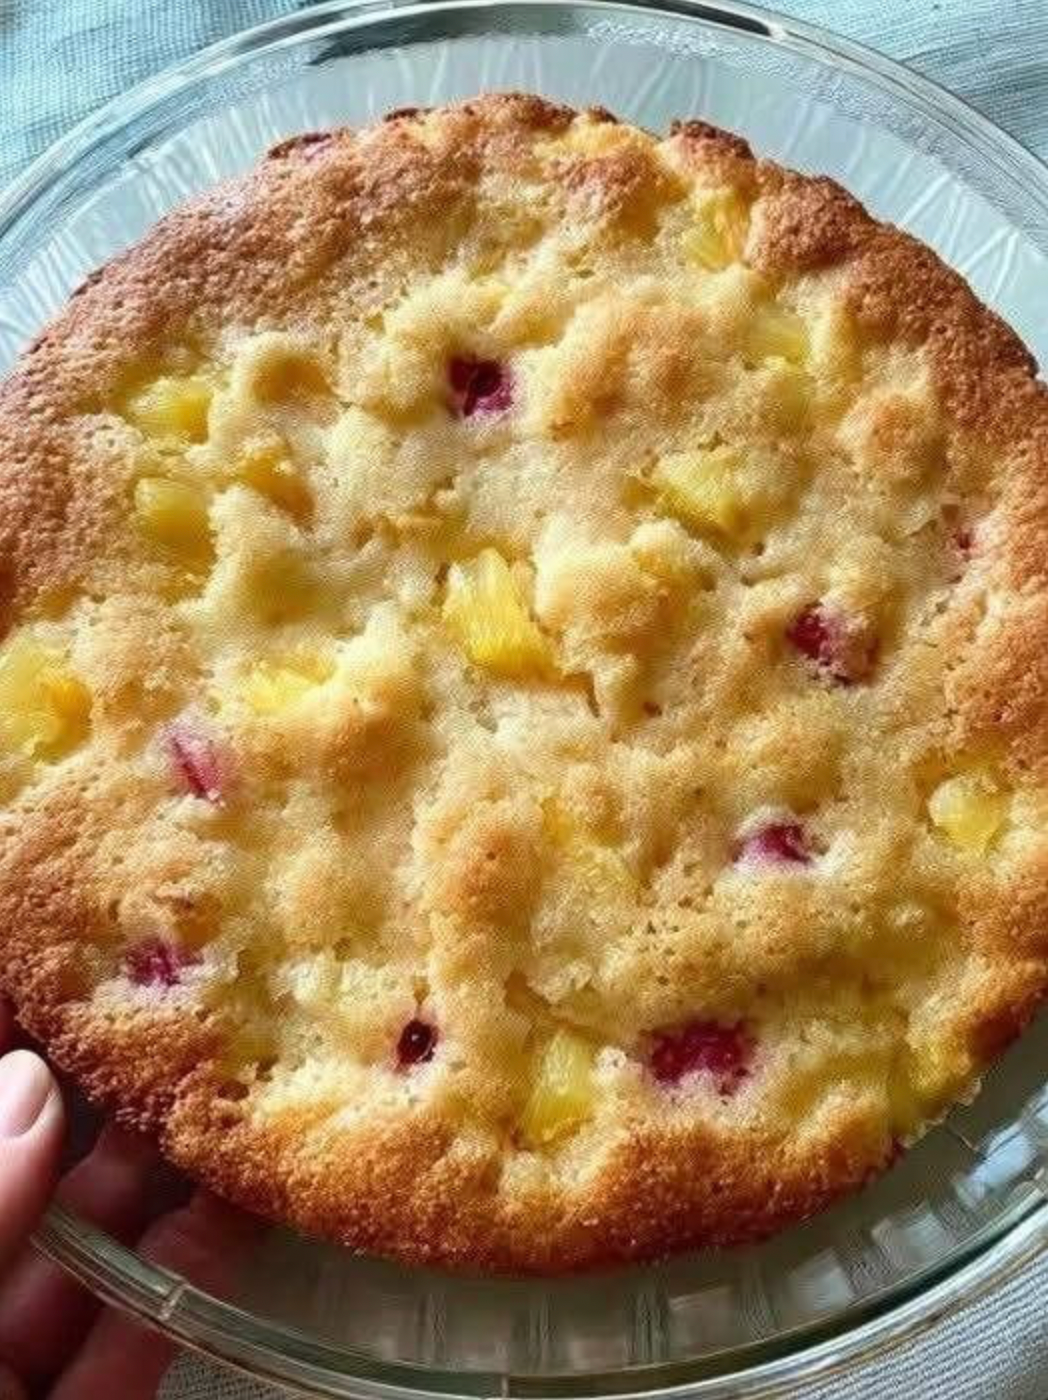
Step 6: Bake to Perfection
Bake for 40–50 minutes until:
- The top is golden brown
- The edges are bubbling
- The center is set
Your kitchen will fill with a warm, sweet aroma.
What Happens in the Oven
As the cake bakes:
- The fruit releases juices
- The dry mixture absorbs liquid
- The butter melts and binds everything
The result is layers that transform into a soft, rich dessert with a lightly crisp surface.
Texture and Flavor
Cuppa Cuppa Cake is:
- Soft and moist inside
- Slightly crisp on top
- Sweet, but balanced by fruit
- Comforting and rustic
Every bite combines warm fruit and buttery cake.
Best Ways to Serve
Serve it warm for the best experience.
Perfect with:
- A scoop of vanilla ice cream
- A drizzle of cream
- A cup of tea or coffee
Variations You Can Try
Peach Version (Classic)
Use canned or fresh peaches.
Apple Cinnamon
Add sliced apples and cinnamon.
Berry Mix
Use strawberries, blueberries, or raspberries.
Tropical Twist
Try pineapple or mango.
Tips for Perfect Results
Don’t Overmix
This recipe relies on layering, not mixing.
Use Enough Butter
Butter is essential for texture and flavor.
Adjust Sweetness
Depending on your fruit, you can reduce sugar slightly.
Storage and Reheating
- Store in the refrigerator for up to 3 days
- Reheat gently before serving
It often tastes even better the next day.
Why People Love This Recipe
This cake is:
- Easy
- Affordable
- Flexible
- Always comforting
It doesn’t require skill—just simple ingredients and trust in the process.