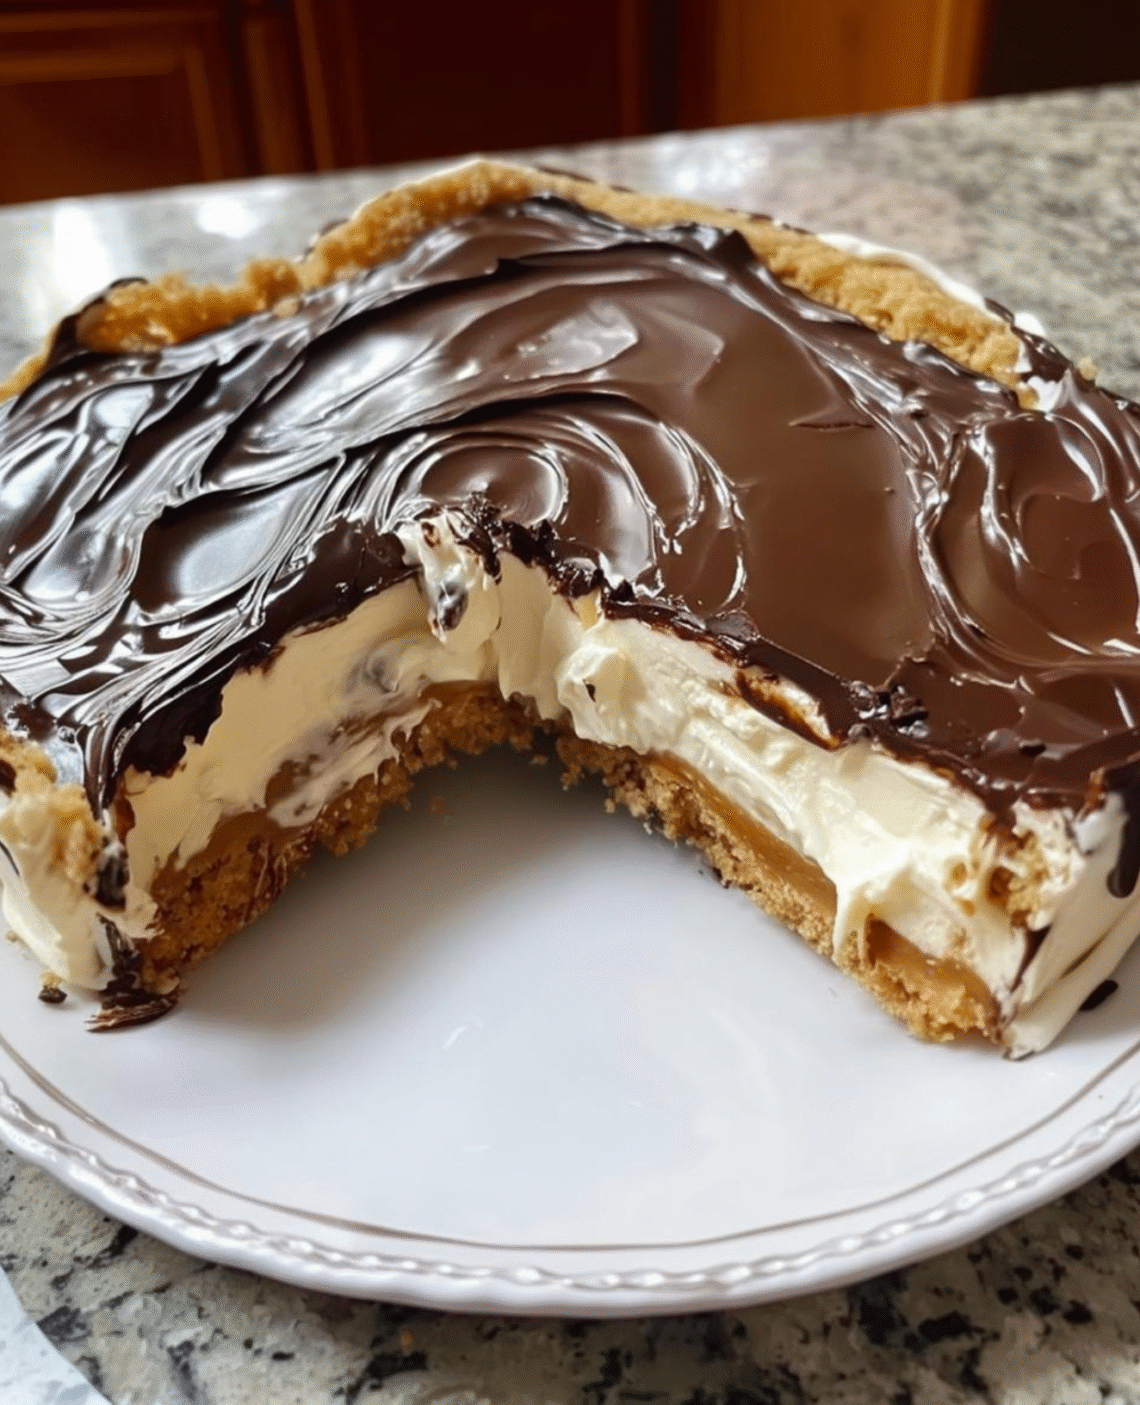
If you love classic chocolate éclairs but don’t want to deal with choux pastry, piping bags, or baking, this No-Bake Éclair Cake is the perfect solution. It captures everything people adore about a traditional éclair—the creamy vanilla filling, the soft pastry-like layers, and the rich chocolate topping—but transforms it into an effortless layered dessert that requires no oven at all.
This cake is ideal for warm weather, busy schedules, or last-minute gatherings. It’s simple, budget-friendly, and made with pantry staples—yet tastes like something from a bakery display case.
Why This Dessert Is So Popular
This dessert has stood the test of time for several reasons:
- No baking required
- Only a handful of ingredients
- Perfect make-ahead recipe
- Crowd-pleasing flavor
- Easy to customize
Over time, the graham crackers soften and absorb moisture from the creamy filling, transforming into a texture that mimics delicate pastry layers. The result is a cake that slices beautifully and tastes even better the next day.
Ingredients You’ll Need
This recipe keeps things simple and accessible.
For the Creamy Filling:
- 2 boxes (3.4 oz each) instant vanilla pudding mix
- 3 cups cold milk
- 1 container (8 oz) whipped topping (such as Cool Whip), thawed
For the Layers:
- 1 box graham crackers
For the Chocolate Topping:
Option 1 (Quick Version):
- 1 container chocolate frosting
Option 2 (Homemade Chocolate Ganache – Recommended):
- 1 cup heavy cream
- 1½ cups semi-sweet chocolate chips
Step-by-Step Instructions
Step 1: Prepare the Filling
In a large mixing bowl:
- Whisk the pudding mix with cold milk for about 2 minutes until thickened.
- Let it sit for 5 minutes to fully set.
- Gently fold in the whipped topping until smooth and creamy.
The mixture should be light, fluffy, and well combined.
Step 2: Build the Layers
Use a 9×13-inch baking dish.
- Arrange a single layer of graham crackers across the bottom.
- Spread half of the pudding mixture evenly over the crackers.
- Add another layer of graham crackers.
- Spread the remaining pudding mixture.
- Finish with a final layer of graham crackers on top.
Press gently so everything settles evenly.
Step 3: Add the Chocolate Topping
If Using Store-Bought Frosting:
- Warm it slightly in the microwave (10–15 seconds) to make spreading easier.
- Spread evenly over the top layer of graham crackers.
If Making Ganache:
- Heat heavy cream until just simmering.
- Pour over chocolate chips.
- Let sit 2–3 minutes.
- Stir until smooth and glossy.
- Pour over the cake and spread evenly.
Ganache creates a richer, more elegant finish.
Step 4: Chill and Set
This is the most important step.
- Cover tightly with plastic wrap.
- Refrigerate for at least 6–8 hours.
- For best results, chill overnight.
As it rests, the graham crackers soften into cake-like layers.
Texture and Flavor Profile
When fully chilled, this dessert becomes:
- Creamy and smooth
- Slightly firm yet soft
- Light but rich
- Perfectly balanced between vanilla and chocolate
Each bite delivers a combination of:
- Soft cake-like layers
- Velvety vanilla filling
- Decadent chocolate topping
Make-Ahead and Storage Tips
This dessert is designed to be made in advance.
Storage:
- Keep refrigerated at all times.
- Best eaten within 3–4 days.
- Cover tightly to prevent absorbing fridge odors.
Can You Freeze It?
Yes. Freeze tightly wrapped for up to 1 month. Thaw overnight in the refrigerator before serving.
Flavor Variations
Want to change it up? Try these ideas:
Chocolate Lovers Version
Use chocolate pudding instead of vanilla.
Peanut Butter Twist
Add ½ cup peanut butter to the pudding mixture.
Mocha Version
Add 1 teaspoon instant espresso powder to the pudding.
Fresh Fruit Addition
Layer sliced strawberries or bananas between layers.
Caramel Drizzle
Add a light drizzle of caramel before serving.
Pro Tips for Perfect Results
- Use full-fat milk for a richer texture.
- Do not skip chilling time.
- Spread layers evenly to ensure clean slices.
- Run a knife under hot water before slicing for neat presentation.
Why This Dessert Is Perfect for Gatherings
This No-Bake Éclair Cake is:
- Easy to transport
- Budget-friendly
- Visually impressive
- Suitable for large groups
- Stress-free to prepare
It’s ideal for:
- Potlucks
- Summer barbecues
- Birthday parties
- Family dinners
- Holiday tables
Because it improves with time in the fridge, it actually reduces day-of-event stress.
Final Thoughts
No-Bake Éclair Cake proves that impressive desserts do not have to be complicated. With minimal effort and simple ingredients, you can create a layered, bakery-style treat that tastes indulgent and satisfying.
It is creamy, crunchy at first, then soft and cake-like after chilling—topped with a smooth chocolate layer that ties everything together beautifully.

Welcome to my kitchen!
I’m a passionate home cook and recipe creator who loves turning simple ingredients into delicious, comforting meals that everyone can enjoy. Through this website, I share carefully prepared recipes, practical cooking tips, and easy-to-understand food education to help you feel more confident in the kitchen.
My goal is to make cooking simple, enjoyable, and accessible. Whether you are looking for a quick family dinner, a delicious dessert, healthy meal ideas, or traditional recipes with a modern touch, you’ll find inspiration here.
More Than Just Recipes
I believe that cooking is also a way to learn. That’s why this website is not only about recipes. I also create educational articles about ingredients, cooking techniques, kitchen tips, food preparation, and the stories behind different dishes.
Each article is designed to give you useful knowledge that you can apply in your own kitchen. From understanding how ingredients work together to learning better cooking methods, my aim is to help you become a more confident and creative cook.
My Philosophy
Good food doesn’t always require complicated ingredients or professional equipment. With a little knowledge, patience, and creativity, simple ingredients can become something truly special.
I believe in sharing recipes that are practical, clearly explained, and enjoyable to make. I also love exploring new flavors while appreciating traditional cooking and the recipes passed down through generations.
Thank you for visiting my kitchen and being part of this food-loving community. I hope my recipes and articles inspire you to cook, learn, experiment, and most importantly, enjoy every bite!
Happy cooking!