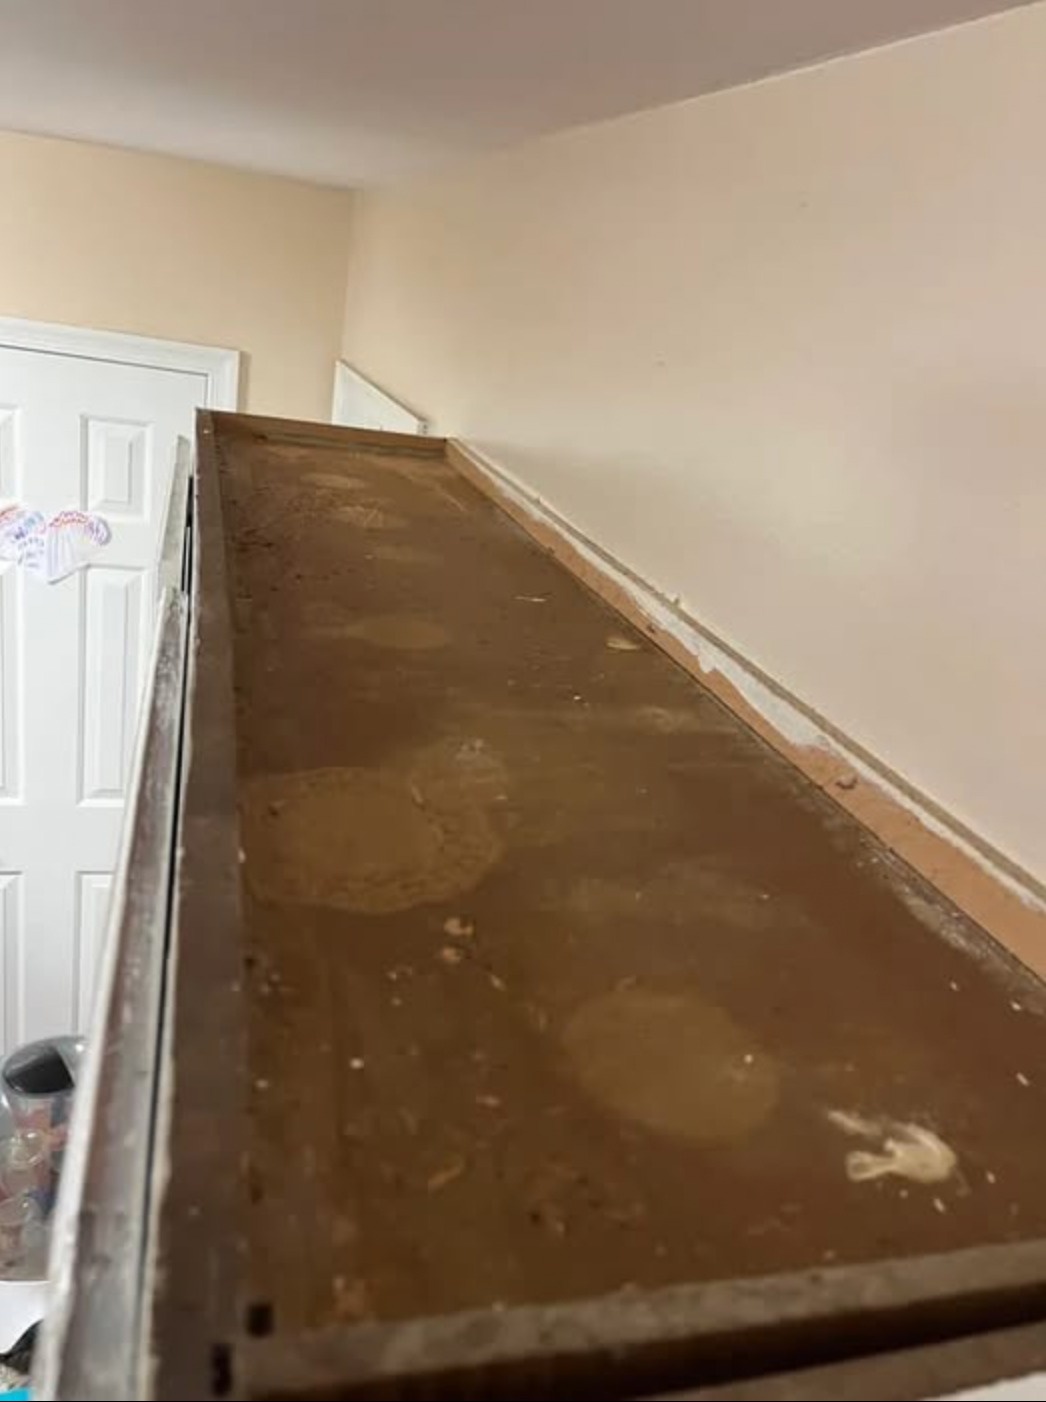
Let’s be honest: we all have that one kitchen chore we keep putting off. For many of us, it’s not the counters, the sink, or even the stovetop—it’s cleaning the cabinets. Over time, kitchen cabinets quietly collect layers of grease, dust, steam residue, and lingering cooking odors. Because they’re above eye level—or simply part of the background—we don’t always notice the buildup until it becomes sticky, dull, or slightly smelly.
The good news? Removing grease and odors from kitchen cabinets doesn’t require harsh chemicals, expensive products, or hours of scrubbing. With the right approach, you can restore your cabinets to a clean, fresh state with minimal effort.
Below is a complete, detailed guide to help you do it properly—without damaging the finish.
Why Kitchen Cabinets Get So Greasy and Smelly
Kitchen cabinets act like silent air filters. Every time you cook:
Steam rises.
Oil particles float into the air.
Spices and food vapors spread.
Smoke and moisture settle.
These particles eventually cling to cabinet surfaces—especially those near the stove. When grease mixes with dust, it forms a sticky film that attracts even more dirt.
Odors also get trapped in:
Wooden cabinet pores
Hinges and corners
Inside cabinet interiors
Fabric or paper liners
If left uncleaned for months, the buildup becomes harder to remove and may even discolor the finish.
Step 1: Start with a Gentle but Effective Degreaser
Before grabbing a heavy-duty cleaner, try a simple homemade solution that works surprisingly well.
The Classic Dish Soap Method (Best for Regular Cleaning)
Dish soap is designed to cut grease from pots and pans—so it works perfectly on cabinets.
You’ll need:
Warm water
A few drops of grease-cutting dish soap
Microfiber cloth or soft sponge
Instructions:
Mix warm water with a few drops of dish soap.
Dip the cloth and wring it out well (do not soak the cabinet).
Wipe in gentle circular motions.
Rinse with a clean damp cloth.
Dry immediately with a soft towel.
This removes light-to-moderate grease without damaging paint or wood finishes.
Step 2: For Heavy Grease Buildup
If your cabinets feel sticky or look dull, you may need something stronger.
Option A: Vinegar Solution (Great Natural Degreaser)
Mix:
1 part white vinegar
1 part warm water
Spray lightly onto a cloth (not directly on cabinets) and wipe. Vinegar breaks down grease effectively. However:
Avoid excessive use on natural wood.
Always dry immediately.
Option B: Baking Soda Paste (For Stubborn Spots)
For thick grease layers:
Mix baking soda with a small amount of water to form a paste.
Apply gently with a soft cloth.
Rub lightly (do not scrub aggressively).
Wipe clean and dry.
This method works well around cabinet handles, edges, and above the stove.
Step 3: Don’t Forget the Cabinet Interiors
Interior cabinet surfaces can trap odors from:
Spices
Onions and garlic
Oils
Dry goods
Remove everything from the cabinet before cleaning.
Wipe inside using mild soapy water, then let it air dry completely before returning items.
If liners are old and smelly, replace them.
Step 4: Eliminate Lingering Cooking Odors
After removing grease, you may still notice trapped smells. Try these natural odor absorbers:
Baking Soda
Place an open container inside cabinets overnight. It absorbs odors naturally.
Activated Charcoal
Very effective for persistent smells.
Coffee Grounds
Dry coffee grounds absorb and neutralize odors surprisingly well.
Proper Ventilation
Open cabinet doors for a few hours to let fresh air circulate.
Step 5: Special Care for Different Cabinet Types
Painted Cabinets
Avoid harsh scrubbers.
Use mild soap only.
Always dry thoroughly to prevent peeling.
Wood Cabinets
Avoid excessive water.
Use wood-safe cleaners.
Consider applying a small amount of furniture polish after cleaning to restore shine.
Laminate Cabinets
More resistant to moisture.
Avoid abrasive powders that can scratch the surface.
Step 6: Prevent Future Grease and Odor Buildup
Cleaning once is good—but prevention makes it effortless long term.
Here’s how to keep cabinets cleaner for longer:
Use your range hood every time you cook.
Wipe cabinet fronts weekly with a damp cloth.
Clean grease immediately after frying.
Keep cabinet doors closed while cooking.
Install proper kitchen ventilation if possible.
Even a quick monthly wipe-down prevents heavy buildup.
How Often Should You Clean Kitchen Cabinets?
Light surface wipe: once a week
Deep clean (exterior): every 1–3 months
Interior cleaning: every 3–6 months
If you cook frequently—especially frying—clean more often.
Final Thoughts
Cleaning kitchen cabinets may not be the most exciting chore, but it makes a dramatic difference in how your kitchen looks, smells, and feels. Grease buildup not only dulls surfaces but also traps odors that can make your kitchen seem less fresh.
With simple ingredients like dish soap, vinegar, and baking soda, you can restore cabinets without harsh chemicals or heavy scrubbing. The key is gentle cleaning, proper drying, and consistent maintenance.

Welcome to my kitchen!
I’m a passionate home cook and recipe creator who loves turning simple ingredients into delicious, comforting meals that everyone can enjoy. Through this website, I share carefully prepared recipes, practical cooking tips, and easy-to-understand food education to help you feel more confident in the kitchen.
My goal is to make cooking simple, enjoyable, and accessible. Whether you are looking for a quick family dinner, a delicious dessert, healthy meal ideas, or traditional recipes with a modern touch, you’ll find inspiration here.
More Than Just Recipes
I believe that cooking is also a way to learn. That’s why this website is not only about recipes. I also create educational articles about ingredients, cooking techniques, kitchen tips, food preparation, and the stories behind different dishes.
Each article is designed to give you useful knowledge that you can apply in your own kitchen. From understanding how ingredients work together to learning better cooking methods, my aim is to help you become a more confident and creative cook.
My Philosophy
Good food doesn’t always require complicated ingredients or professional equipment. With a little knowledge, patience, and creativity, simple ingredients can become something truly special.
I believe in sharing recipes that are practical, clearly explained, and enjoyable to make. I also love exploring new flavors while appreciating traditional cooking and the recipes passed down through generations.
Thank you for visiting my kitchen and being part of this food-loving community. I hope my recipes and articles inspire you to cook, learn, experiment, and most importantly, enjoy every bite!
Happy cooking!