There is something deeply satisfying about making a pantry staple from scratch—especially one as versatile and widely used as sweetened condensed milk. This thick, creamy, and intensely sweet ingredient is the backbone of countless desserts, from fudges and cakes to creamy drinks and no-bake treats.
While store-bought versions are convenient, making it at home gives you complete control over texture, sweetness, and ingredients. It also reveals just how simple it really is. With just a few basic components and a bit of patience, you can create a silky, rich condensed milk that rivals—and often surpasses—anything from a can.
What Is Sweetened Condensed Milk?
Sweetened condensed milk is essentially milk that has had most of its water removed and sugar added. The result is:
- Thick and pourable
- Smooth and creamy
- Naturally preserved due to high sugar content
- Rich in flavor with a caramel-like sweetness
The process relies on slow evaporation, allowing the milk to reduce while blending seamlessly with sugar.
Why Make It at Home?
Homemade condensed milk offers several advantages:
- No preservatives or additives
- Adjustable sweetness level
- Fresher, cleaner taste
- Control over ingredients (especially useful for dietary needs)
- Surprisingly easy to prepare
It is also a great solution when you run out of canned condensed milk but still want to complete a recipe.
Ingredients (Basic Version)
- 2 cups whole milk
- ⅔ to ¾ cup sugar (adjust to taste)
- 1 tablespoon butter (optional, for extra richness)
- 1 teaspoon vanilla extract (optional, for flavor)
Understanding the Ingredients
Each ingredient contributes to the final texture and taste:
- Milk: Provides the base and creamy body
- Sugar: Sweetens and thickens while acting as a preservative
- Butter (optional): Adds smoothness and a slight richness
- Vanilla (optional): Enhances flavor with warmth
The simplicity is what makes this recipe so approachable.
Step-by-Step Method (Stovetop Reduction)
Step 1: Combine Milk and Sugar
In a medium saucepan, pour in the milk and add the sugar.
Place over medium-low heat and stir gently until the sugar fully dissolves.
Avoid high heat at this stage, as it can cause scorching or uneven cooking.
Step 2: Simmer Slowly
Once the sugar is dissolved, reduce the heat to low and allow the mixture to gently simmer.
Do not boil aggressively—this is a slow process.
Let it cook for about 30–45 minutes, stirring occasionally.
During this time:
- Water evaporates
- The mixture thickens gradually
- The color may turn slightly creamy or pale golden
Step 3: Monitor the Consistency
As the milk reduces, you will notice it becoming thicker and coating the back of a spoon.
You are aiming for:
- A thick but pourable consistency
- A smooth, lump-free texture
Keep in mind that it will thicken more as it cools.
Step 4: Add Butter and Flavor (Optional)
Once the desired thickness is reached, remove from heat.
Stir in butter and vanilla extract if using.
This step adds richness and enhances the overall flavor.
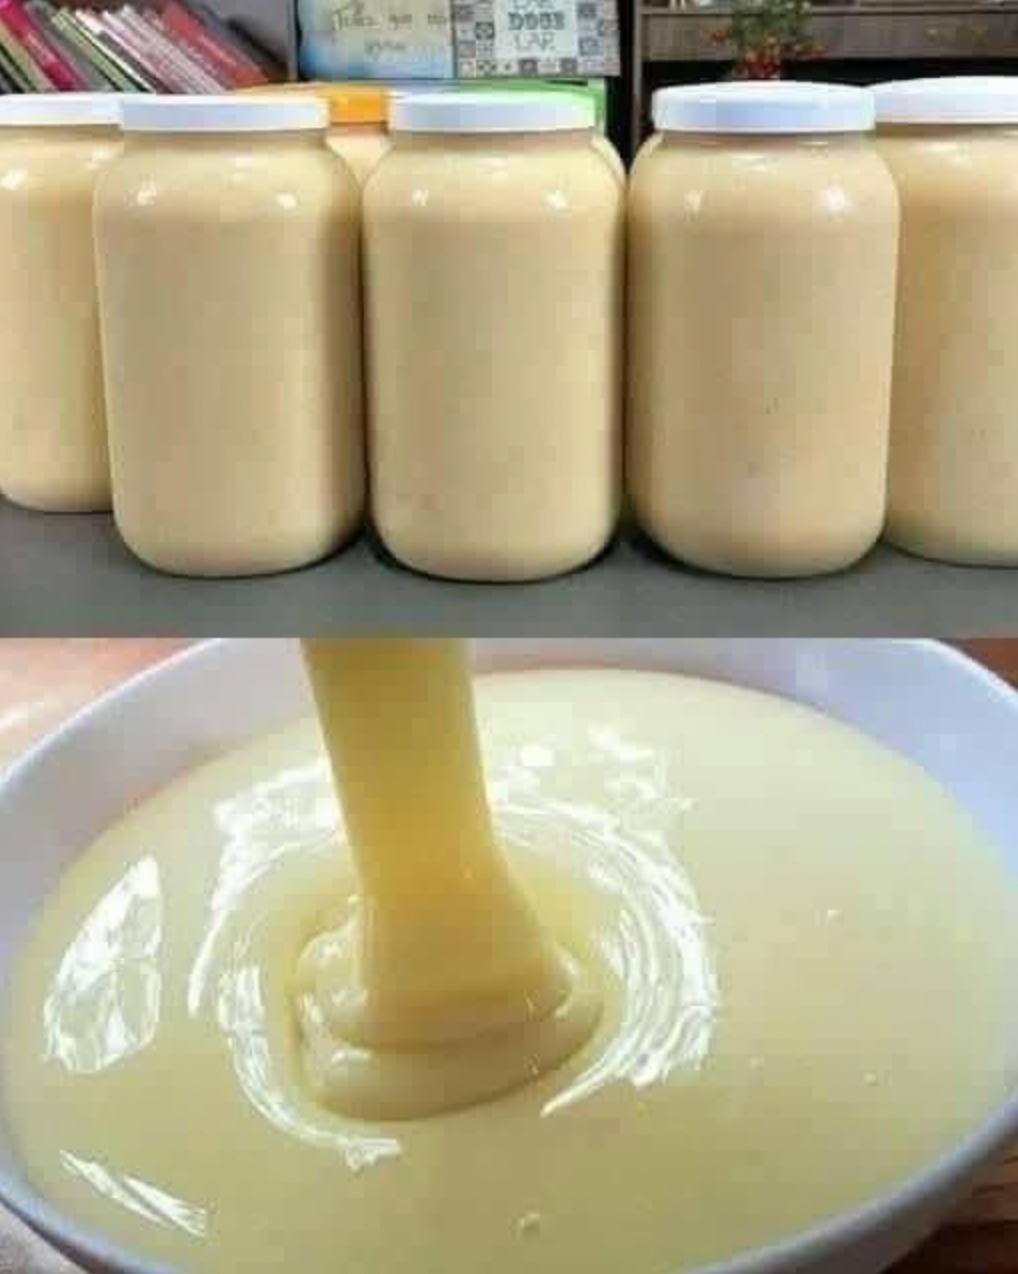
Step 5: Cool and Store
Let the condensed milk cool completely.
As it cools, it will become thicker and creamier.
Transfer to a clean jar or container and refrigerate.
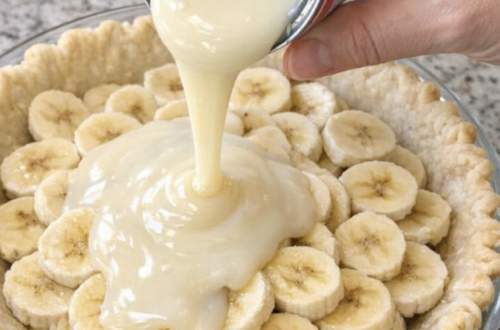
Final Texture and Flavor
Homemade sweetened condensed milk should be:
- Smooth and silky
- Thick but still pourable
- Rich and creamy
- Sweet with a slightly caramelized depth
It should closely resemble the texture of store-bought versions, but often tastes fresher and more natural.
Alternative Quick Method (Milk Powder Version)
If you need a faster version, you can use milk powder:
Ingredients:
- 1 cup milk powder
- ½ cup sugar
- ½ cup hot water
- 1 tablespoon butter
Method:
Blend all ingredients until smooth.
This method produces instant condensed milk without cooking, though the flavor may be slightly different from the slow-reduced version.
Ways to Use Sweetened Condensed Milk
This ingredient is incredibly versatile:
- In desserts like fudge, cakes, and pies
- Mixed into coffee or tea for creaminess
- Used in no-bake recipes
- As a base for caramel sauces
- In milkshakes and smoothies
It adds both sweetness and texture, making it a powerful ingredient in many recipes.
Tips for Best Results
- Use low heat to prevent burning
- Stir occasionally, especially near the end
- Do not rush the process—it relies on slow reduction
- Use a heavy-bottom pan for even heating
- Strain if needed for extra smoothness
Common Mistakes to Avoid
- Cooking at high heat (can cause curdling or burning)
- Over-reducing (leads to overly thick or sticky texture)
- Not stirring enough (may cause sticking at the bottom)
- Expecting immediate thickness (it thickens more after cooling)
Storage and Shelf Life
- Store in the refrigerator in a sealed container
- Keeps for about 1 week
- Stir before use if it thickens too much
- Can be gently reheated to loosen consistency