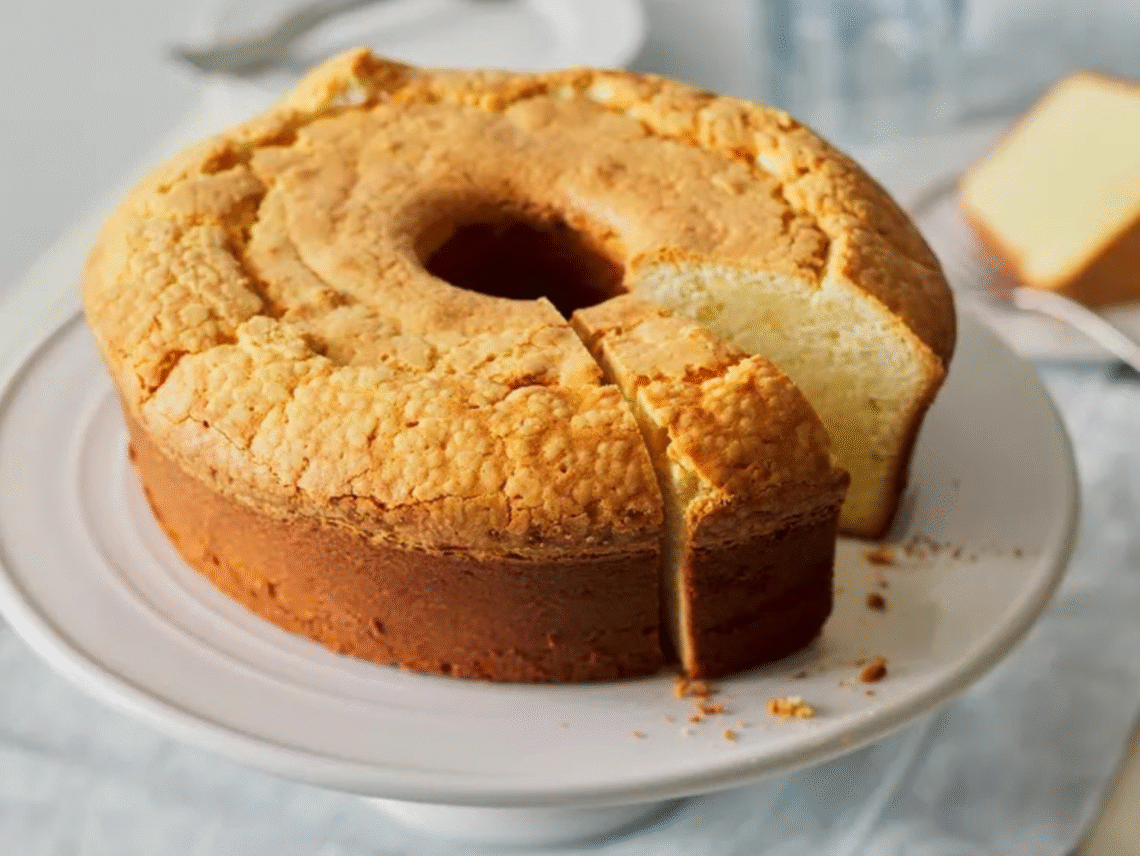
Some cakes are light and airy, others are rich and buttery. This one — a lemon cream cheese pound cake — manages to be both decadent and refreshing. The cream cheese makes the crumb impossibly moist, tender, and velvety, while fresh lemon juice and zest bring a bright, zesty note that keeps every bite from feeling heavy. It’s the kind of cake you can serve with afternoon tea, at brunch, or even as an elegant dessert with a drizzle of glaze.
Unlike sponge cakes, which can be fragile, this pound cake slices beautifully, holds together well, and actually tastes better the next day after the flavors have deepened.
Ingredients
For the Pound Cake:
- 1 ½ cups (340 g) unsalted butter, softened to room temperature (this is key for creaming properly)
- 8 oz (225 g) cream cheese, softened
- 3 cups (600 g) granulated sugar
- 6 large eggs, room temperature
- 3 cups (360 g) all-purpose flour, sifted to avoid lumps
- ½ teaspoon baking powder
- ½ teaspoon salt
- 2 tablespoons lemon zest (from about 2 large lemons)
- ¼ cup fresh lemon juice
- 2 teaspoons pure vanilla extract
For the Lemon Glaze (optional, but highly recommended):
- 2 cups (240 g) powdered sugar, sifted
- 3–4 tablespoons fresh lemon juice
- 1 tablespoon heavy cream or milk (to make the glaze smooth and silky)
- Extra lemon zest, for garnish
Step-by-Step Instructions
Step 1: Prepare Your Pan
- Grease a 10-inch bundt pan or two 9×5-inch loaf pans generously with butter.
- Dust lightly with flour, tapping out the excess, or use baking spray with flour.
- Preheat your oven to 325°F (160°C). A lower baking temperature ensures the dense cake bakes evenly without overbrowning.
Step 2: Cream Butter, Cream Cheese, and Sugar
- In a large mixing bowl, beat the butter and cream cheese together with an electric mixer until smooth and fluffy (about 3 minutes).
- Slowly add the sugar, continuing to beat until the mixture is pale, creamy, and almost doubled in volume. This step creates air pockets that give the cake its tender crumb.
Step 3: Add Eggs One at a Time
- Crack in the eggs, one at a time, beating well after each addition.
- Scrape down the sides of the bowl frequently to make sure everything incorporates evenly.
- The batter will look rich and slightly glossy at this point.
Step 4: Add Dry Ingredients and Flavoring
- In a separate bowl, whisk together the flour, baking powder, and salt.
- Gradually add the flour mixture into the wet batter in 2–3 additions, mixing on low speed just until combined.
- Add the lemon zest, lemon juice, and vanilla extract. Stir gently to avoid overmixing.
Step 5: Bake Slowly
- Pour the batter into your prepared pan(s), smoothing the top with a spatula.
- Bake for 70–80 minutes (bundt pan) or 55–65 minutes (loaf pans), until a toothpick inserted into the center comes out clean.
- If the top browns too quickly, cover loosely with aluminum foil during the last 15 minutes.
Step 6: Cool and Glaze
- Let the cake cool in the pan for 15 minutes, then carefully turn it out onto a wire rack.
- Cool completely before glazing — otherwise the glaze will soak in too quickly.
Step 7: Make the Glaze
- In a small bowl, whisk together powdered sugar, lemon juice, and cream until smooth.
- Adjust the consistency: add more powdered sugar for thickness, or more lemon juice for brightness.
- Drizzle over the cooled cake, letting it run naturally down the sides. Sprinkle with lemon zest for a final fresh touch.
Tips for Success
- Use room temperature ingredients — this ensures smooth blending and prevents a dense texture.
- Don’t overmix once the flour is added — too much mixing develops gluten, which can make the cake tough.
- Bake low and slow — pound cakes need gentle heat to avoid raw centers or cracked tops.
- Rest before slicing — letting the cake sit for at least an hour after glazing allows the crumb to set and the flavors to meld.
Serving Ideas
- Slice thick for afternoon tea or brunch.
- Serve with a dollop of whipped cream and fresh berries for a light summer dessert.
- Warm slightly and pair with vanilla ice cream for an indulgent treat.
- Store in an airtight container at room temperature for up to 3 days, or refrigerate for up to a week. It also freezes beautifully (up to 3 months).

Welcome to my kitchen!
I’m a passionate home cook and recipe creator who loves turning simple ingredients into delicious, comforting meals that everyone can enjoy. Through this website, I share carefully prepared recipes, practical cooking tips, and easy-to-understand food education to help you feel more confident in the kitchen.
My goal is to make cooking simple, enjoyable, and accessible. Whether you are looking for a quick family dinner, a delicious dessert, healthy meal ideas, or traditional recipes with a modern touch, you’ll find inspiration here.
More Than Just Recipes
I believe that cooking is also a way to learn. That’s why this website is not only about recipes. I also create educational articles about ingredients, cooking techniques, kitchen tips, food preparation, and the stories behind different dishes.
Each article is designed to give you useful knowledge that you can apply in your own kitchen. From understanding how ingredients work together to learning better cooking methods, my aim is to help you become a more confident and creative cook.
My Philosophy
Good food doesn’t always require complicated ingredients or professional equipment. With a little knowledge, patience, and creativity, simple ingredients can become something truly special.
I believe in sharing recipes that are practical, clearly explained, and enjoyable to make. I also love exploring new flavors while appreciating traditional cooking and the recipes passed down through generations.
Thank you for visiting my kitchen and being part of this food-loving community. I hope my recipes and articles inspire you to cook, learn, experiment, and most importantly, enjoy every bite!
Happy cooking!