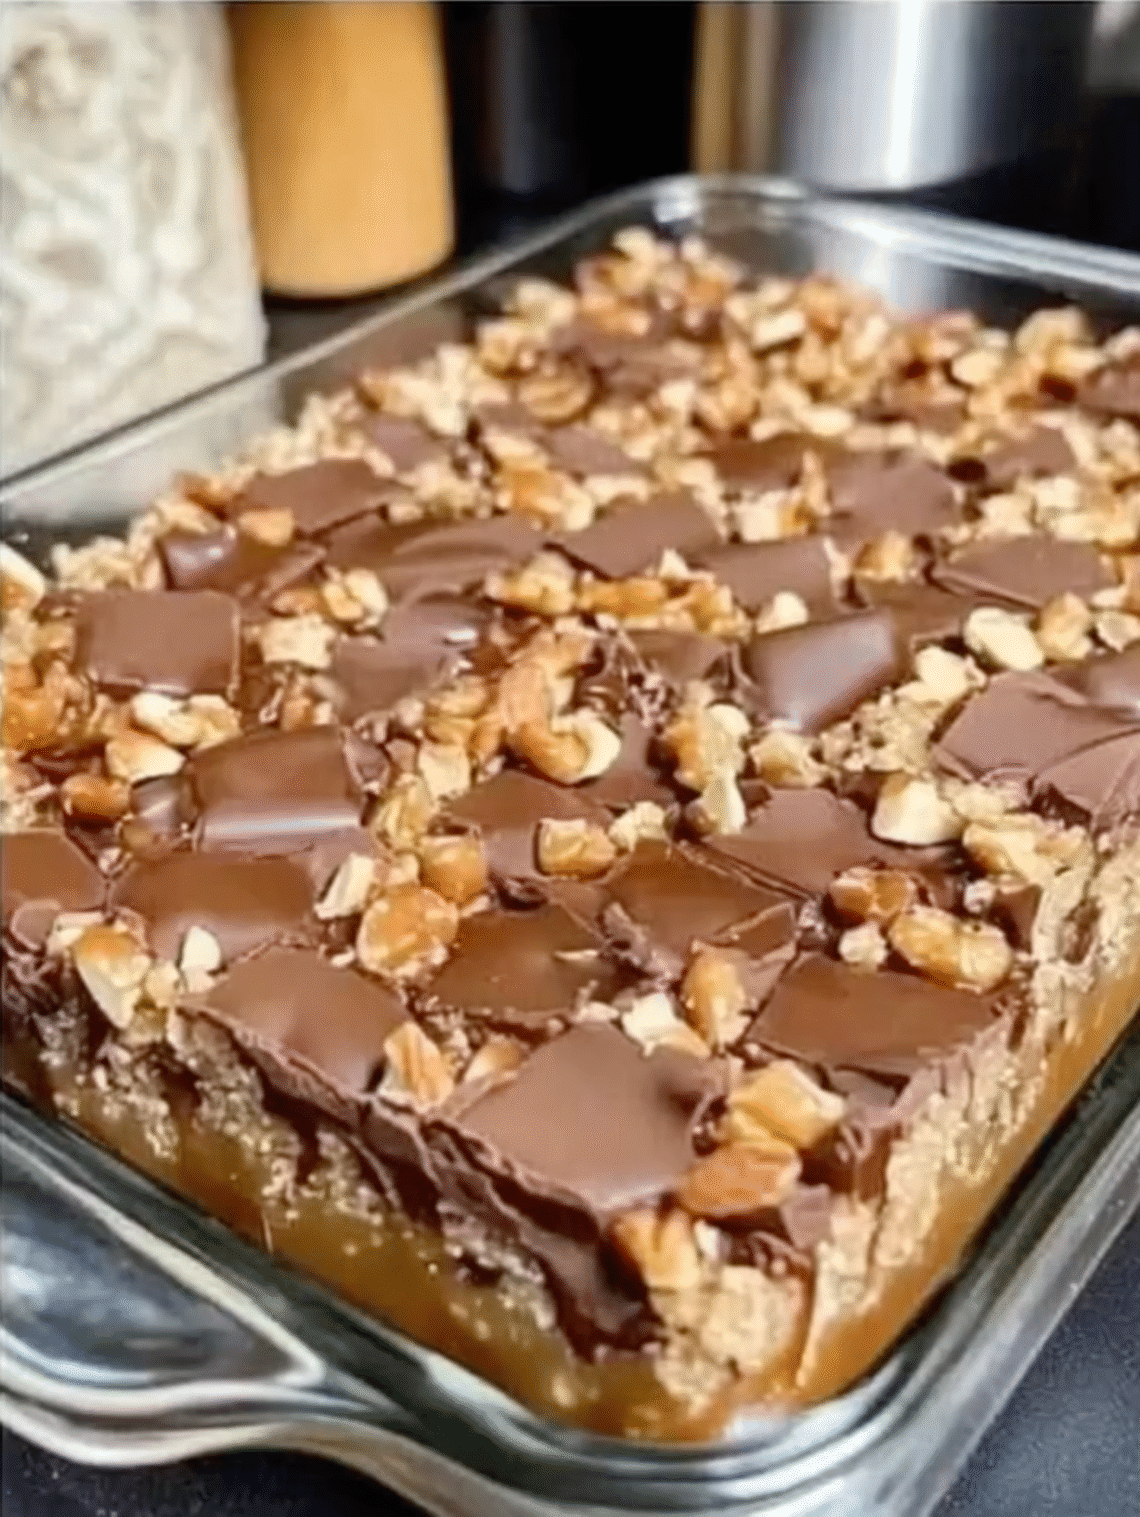
If you’ve ever bitten into a dessert bar that had just the right amount of chew, crunch, and melt-in-your-mouth creaminess, then you’ll understand why Caramel Chocolate Crunch Bars are often described as addictive. The sweet caramel pairs perfectly with the bitterness of chocolate, while the base offers structure and texture. Together, these three components make a dessert that appeals to both adults and kids.
The beauty of these bars lies in their versatility. You can make them in advance, cut them into bite-sized squares, and bring them to parties, potlucks, or family gatherings. They also keep well in the fridge, meaning you’ll have a stash of indulgence ready whenever your sweet tooth strikes.
Ingredients
For the Crunch Base
- 1 cup (2 sticks / 226 g) unsalted butter, melted
- 1 cup (200 g) granulated sugar
- 2 cups (260 g) all-purpose flour, spooned and leveled
- ½ teaspoon salt
- 1 teaspoon vanilla extract
- 2 cups (60 g) crisp rice cereal (like Rice Krispies)
For the Caramel Layer
- 1 cup (225 g) unsalted butter
- 1 cup (200 g) packed brown sugar
- 1 can (14 oz / 397 g) sweetened condensed milk
- ½ cup (120 ml) light corn syrup
- ¼ teaspoon salt
- 1 teaspoon vanilla extract
For the Chocolate Topping
- 2 cups (340 g) semi-sweet or dark chocolate chips
- 2 tablespoons (28 g) unsalted butter or coconut oil (for a smooth, glossy finish)
- Optional garnish: flaky sea salt, chopped toasted nuts, or a drizzle of white chocolate
Step-by-Step Instructions
Step 1: Prepare the Baking Pan
- Line a 9×13-inch baking pan with parchment paper, leaving some overhang on the sides for easy removal.
- Lightly grease the paper with butter or nonstick spray to prevent sticking.
Step 2: Make the Crunch Base
- In a large bowl, stir together melted butter, granulated sugar, flour, salt, and vanilla extract until a dough forms.
- Fold in the crisp rice cereal until evenly distributed.
- Press the mixture firmly into the bottom of the prepared pan in an even layer.
- Bake at 350°F (175°C) for 15–18 minutes, or until lightly golden. Remove from oven and let it cool while you prepare the caramel.
Step 3: Cook the Caramel Layer
- In a heavy-bottomed saucepan, combine butter, brown sugar, sweetened condensed milk, corn syrup, and salt.
- Cook over medium heat, stirring constantly with a wooden spoon or heatproof spatula. The mixture will begin to thicken and darken in color.
- Continue cooking until the caramel reaches 235–240°F (soft-ball stage) on a candy thermometer, about 8–10 minutes. If you don’t have a thermometer, drop a small spoonful into cold water — it should form a soft, pliable ball.
- Remove from heat and stir in vanilla extract.
- Immediately pour the caramel over the cooled crunch base, spreading evenly. Let it set for about 20 minutes.
Step 4: Add the Chocolate Topping
- Melt chocolate chips and butter (or coconut oil) together in a heatproof bowl over a pot of simmering water, or microwave in 30-second intervals, stirring until smooth.
- Pour the melted chocolate over the caramel layer and spread evenly with an offset spatula.
- Optional: sprinkle flaky sea salt or chopped nuts on top for added texture and flavor.
- Let the bars chill in the refrigerator for at least 1–2 hours, or until fully set.
Step 5: Slice and Serve
- Lift the bars out of the pan using the parchment overhang.
- Use a sharp knife to cut into squares or rectangles. For the cleanest slices, warm your knife in hot water, wipe dry, and cut through the chocolate in firm motions.
Pro Tips for Success
- Don’t rush the caramel: Stir constantly and monitor the temperature. Burnt caramel will ruin the batch, while undercooked caramel will remain too soft.
- Press the base firmly: A compact base ensures your bars hold together when sliced.
- Chill before cutting: Cutting too soon will cause messy layers. Be patient and let it fully set.
- Storage tip: Keep a piece of parchment between layers if stacking bars to prevent sticking.
Variations
- Nutty Caramel Crunch Bars: Stir chopped toasted almonds, hazelnuts, or pecans into the caramel before spreading.
- Peanut Butter Twist: Add ½ cup of creamy peanut butter to the caramel layer for a richer, nuttier flavor.
- Salted Caramel Version: Double the amount of flaky sea salt sprinkled on top to highlight the caramel’s sweetness.
- Holiday Style: Drizzle melted white chocolate or sprinkle crushed peppermint over the top for a festive look.
- Gluten-Free Option: Use a gluten-free flour blend and certified gluten-free crisp rice cereal.
Serving Ideas
- Cut into bite-sized squares for party platters.
- Serve as an after-dinner dessert with coffee or espresso.
- Wrap individually in parchment paper for a gift-box treat.
- Pair with vanilla ice cream for a decadent plated dessert.
Storage
- Room Temperature: Store in an airtight container for up to 3 days.
- Refrigerator: Keeps well for up to 1 week. The bars will firm up, so allow them to sit at room temp before serving.
- Freezer: Freeze tightly wrapped bars for up to 2 months. Thaw overnight in the fridge before serving.
Why These Bars Work
Caramel Chocolate Crunch Bars succeed because they combine three essential dessert experiences:
- Crunch: from the buttery, cereal-infused base.
- Chew: from the soft but structured caramel.
- Creaminess: from the chocolate topping.
Each bite offers contrast, which keeps the dessert interesting and irresistible.
Final Thoughts
Caramel Chocolate Crunch Bars are more than just a sweet treat — they’re a crowd-pleasing dessert that always delivers. With just a few pantry staples and simple steps, you can create a layered bar that tastes like something from a gourmet bakery.
They’re versatile enough for holidays, special events, or casual snacking. And because they store well and can be frozen, they’re also great for make-ahead planning.
Once you make them, be prepared: these bars disappear quickly. Guests will ask for seconds, and more than likely, they’ll ask for the recipe too.

Welcome to my kitchen!
I’m a passionate home cook and recipe creator who loves turning simple ingredients into delicious, comforting meals that everyone can enjoy. Through this website, I share carefully prepared recipes, practical cooking tips, and easy-to-understand food education to help you feel more confident in the kitchen.
My goal is to make cooking simple, enjoyable, and accessible. Whether you are looking for a quick family dinner, a delicious dessert, healthy meal ideas, or traditional recipes with a modern touch, you’ll find inspiration here.
More Than Just Recipes
I believe that cooking is also a way to learn. That’s why this website is not only about recipes. I also create educational articles about ingredients, cooking techniques, kitchen tips, food preparation, and the stories behind different dishes.
Each article is designed to give you useful knowledge that you can apply in your own kitchen. From understanding how ingredients work together to learning better cooking methods, my aim is to help you become a more confident and creative cook.
My Philosophy
Good food doesn’t always require complicated ingredients or professional equipment. With a little knowledge, patience, and creativity, simple ingredients can become something truly special.
I believe in sharing recipes that are practical, clearly explained, and enjoyable to make. I also love exploring new flavors while appreciating traditional cooking and the recipes passed down through generations.
Thank you for visiting my kitchen and being part of this food-loving community. I hope my recipes and articles inspire you to cook, learn, experiment, and most importantly, enjoy every bite!
Happy cooking!