The toaster is one of the hardest-working appliances in most kitchens, yet it is also one of the most overlooked when it comes to regular cleaning. Every morning, millions of people use it to prepare toast, bagels, English muffins, frozen waffles, pastries, and countless other breakfast favorites. It performs its job in just a few minutes, then quietly returns to its place on the countertop, often without another thought.
Because a toaster is used so frequently, many people assume it stays relatively clean on its own. After all, it only heats bread—how dirty could it possibly get?
The answer may surprise you.
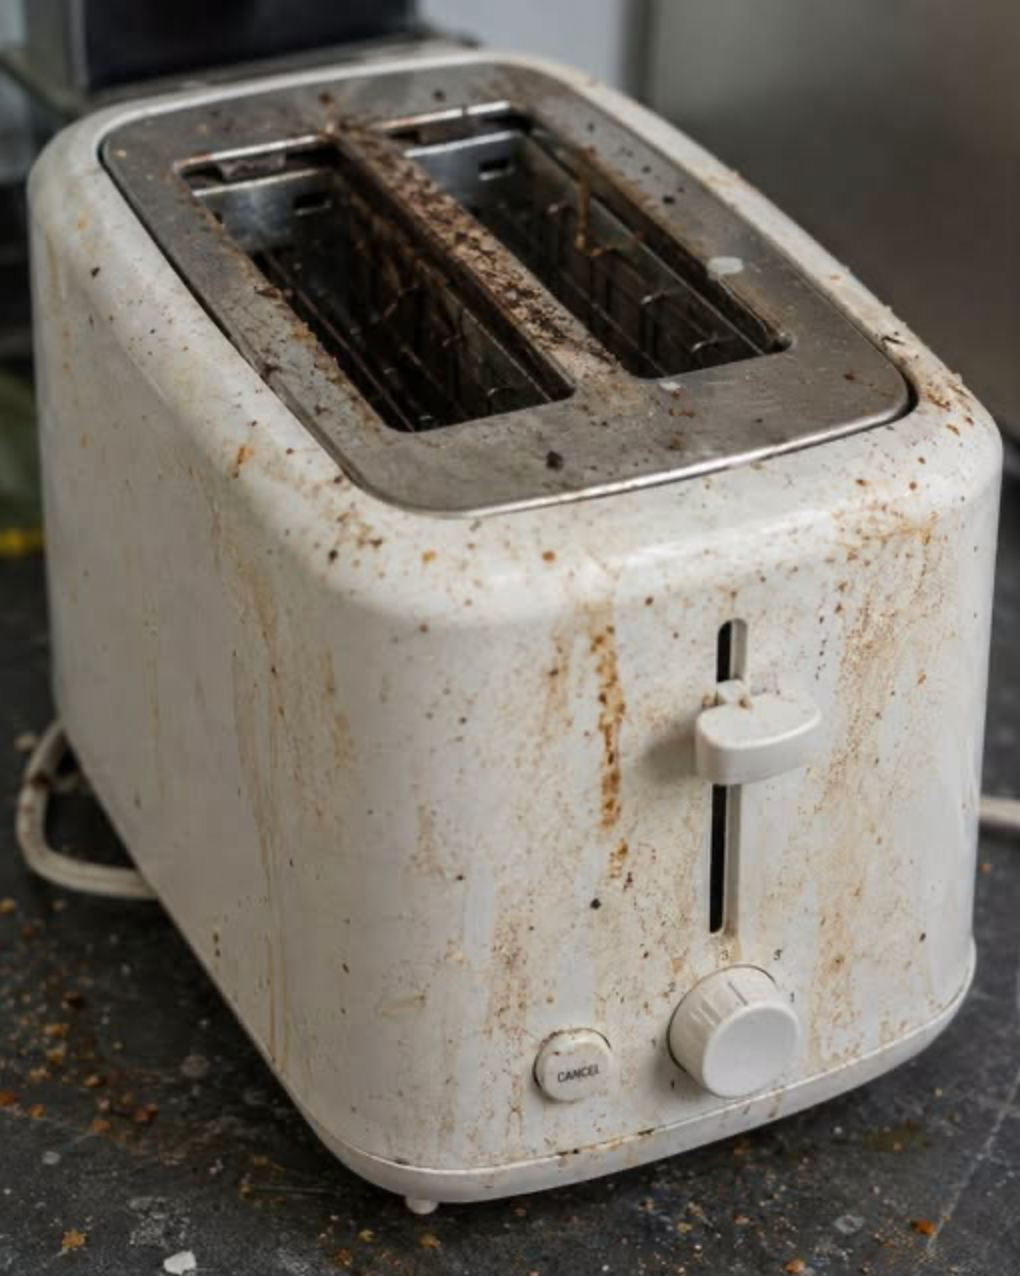
While a toaster rarely looks dirty from the outside, the inside tells a different story. Over weeks and months of daily use, tiny crumbs, bits of flour, seeds, sugar, oils, and food particles gradually collect beneath the heating elements and inside the crumb tray. Add kitchen grease, dust, moisture, and everyday household debris, and the toaster can become much dirtier than it appears.
Fortunately, keeping a toaster clean is neither difficult nor time-consuming. In fact, just a few minutes of regular maintenance can improve its performance, reduce unpleasant odors, help prevent smoke during use, and extend the appliance’s lifespan.
This guide explains why toasters become dirty, what can accumulate inside them, how to clean them safely, and the simple maintenance habits that can keep one of your favorite kitchen appliances working efficiently for years.
Why Toasters Get Dirty So Quickly
Unlike many kitchen appliances, toasters generate intense heat while allowing food particles to fall freely into the bottom of the machine.
Every slice of bread sheds tiny crumbs.
Items such as:
- Bagels
- Croissants
- English muffins
- Artisan breads
- Seeded loaves
- Frozen pastries
often produce even more debris.
Those crumbs rarely disappear.
Instead, they collect beneath the heating elements.
Over time the buildup becomes surprisingly significant.
The Hidden Problem
Looking through the top slots of a toaster rarely reveals what’s happening underneath.
Inside the appliance, crumbs may accumulate around:
- Heating elements
- Metal supports
- Crumb trays
- Interior corners
- Ventilation openings
Although small amounts are normal, excessive buildup may eventually cause:
- Burning smells
- Smoke during operation
- Uneven toasting
- Difficult cleaning
- Increased wear on the appliance
Regular cleaning helps minimize these issues.
More Than Just Bread Crumbs
Many people assume only dry crumbs collect inside a toaster.
In reality, a variety of materials can accumulate over time.
Examples include:
- Bread crumbs
- Flour dust
- Sesame seeds
- Poppy seeds
- Oat flakes
- Cinnamon sugar
- Melted cheese residue
- Pastry flakes
- Grease particles from cooking
- Household dust
- Pet hair in some homes
Each use may leave behind just a tiny amount, but months of use can result in a surprising buildup.
Why Regular Cleaning Matters
Cleaning your toaster isn’t simply about appearance.
It offers several practical benefits.
A clean toaster may:
- Toast more evenly
- Produce less smoke
- Reduce unpleasant odors
- Improve airflow
- Extend appliance life
- Make your kitchen cleaner
Most importantly, removing accumulated crumbs reduces the chance that old food particles will burn repeatedly during normal use.
Can Crumbs Become a Fire Hazard?
Because toasters operate at very high temperatures, large accumulations of dry crumbs can scorch and produce smoke.
Manufacturers generally recommend removing crumb buildup regularly as part of normal appliance maintenance.
Keeping the toaster clean helps reduce unnecessary burning of old food residue.
How Often Should You Clean Your Toaster?
Cleaning frequency depends on how often you use it.
As a general guideline:
Daily Use
Empty the crumb tray approximately once a week.
Occasional Use
Inspect and clean every few weeks.
Heavy Family Use
A quick inspection every few days may be worthwhile, especially if many different foods are toasted.
Safety Comes First
Before cleaning:
- Unplug the toaster.
- Allow it to cool completely.
- Never immerse the appliance in water.
- Avoid spraying liquids directly inside.
Electric appliances should always be cleaned carefully according to the manufacturer’s instructions.
Step 1: Remove the Crumb Tray
Most modern toasters include a removable crumb tray.
Pull it out carefully.
You may be surprised by what you find.
Often it contains:
- Crumbs
- Flour
- Seeds
- Burned particles
Discard the debris into the trash.
Wash the tray with warm water and mild dish soap if the manufacturer permits.
Dry it completely before reinstalling.
Step 2: Shake Out Loose Crumbs
Hold the unplugged toaster upside down over a trash can.
Gently shake it.
Avoid striking or banging the appliance aggressively.
A gentle shake is usually enough to remove many loose crumbs.
Step 3: Use a Soft Brush
A clean pastry brush or small soft paintbrush works well for removing crumbs trapped inside.
Carefully brush around:
- Heating elements
- Interior walls
- Corners
Never force the brush against delicate heating wires.
Step 4: Wipe the Exterior
The outside of the toaster collects:
- Dust
- Fingerprints
- Grease
- Food splashes
Use a soft damp cloth with mild dish soap.
Dry with a clean towel afterward.
Cleaning Stainless Steel
Many toasters feature stainless steel finishes.
To keep them looking attractive:
- Wipe in the direction of the grain.
- Dry immediately after cleaning.
- Avoid abrasive pads.
Microfiber cloths often produce the best results.
What About Sticky Residue?
Sometimes sugary pastries leave sticky deposits.
If needed:
- Dampen a cloth slightly.
- Wipe gently.
- Avoid excessive moisture.
Never pour water inside the appliance.
Avoid These Common Mistakes
Never:
- Submerge the toaster in water.
- Insert metal utensils into the slots.
- Use knives to remove stuck food while plugged in.
- Spray cleaners directly into the toaster.
- Clean while the appliance is still hot.
Following these precautions helps protect both the appliance and the user.
Why Burning Smells Develop
If your toaster smells burnt even with fresh bread, accumulated crumbs may be the cause.
Each time the appliance heats up:
Old crumbs may scorch repeatedly.
Cleaning often eliminates these persistent odors.
Keeping the Countertop Cleaner
Cleaning the toaster also reduces the number of crumbs that spill onto your kitchen counter.
Simply emptying the crumb tray regularly prevents overflow.
Don’t Forget the Cord
While cleaning the toaster, inspect the power cord.
Look for:
- Fraying
- Cracks
- Damage
- Loose plugs
If damage is present, discontinue use and follow the manufacturer’s recommendations for repair or replacement.
Different Types of Toasters
Cleaning methods vary slightly depending on the appliance.
Pop-Up Toasters
Usually include removable crumb trays.
Toaster Ovens
Require cleaning of:
- Interior walls
- Baking trays
- Wire racks
- Glass doors
Always follow the manufacturer’s cleaning instructions.
Conveyor Toasters
Common in restaurants.
These often require more extensive maintenance according to commercial guidelines.
Preventing Future Buildup
Simple habits reduce cleaning frequency.
Try to:
- Empty crumb trays regularly.
- Avoid overfilled pastries that leak fillings.
- Remove loose crumbs from bread before toasting if excessive.
- Wipe the exterior weekly.
Small maintenance routines prevent larger cleaning jobs later.
Common Myths
Myth: Heat Sterilizes Everything
While the heating elements become very hot, crumbs trapped in cooler areas of the toaster are not necessarily “self-cleaned.” Food particles can remain and continue to accumulate over time.
Myth: You Never Need to Clean a Toaster
False.
Manufacturers generally recommend periodic cleaning.
Myth: Turning It Upside Down Is Enough
Shaking removes loose crumbs, but brushing and cleaning the crumb tray provide a much more thorough result.
Myth: All Toasters Can Be Washed the Same Way
No.
Always consult the user manual because cleaning instructions vary between models.
Signs Your Toaster Needs Cleaning
Your toaster may benefit from maintenance if you notice:
- Burning odors
- Excessive smoke
- Crumbs spilling onto the counter
- Uneven browning
- Visible debris inside
- Sticky exterior surfaces
These signs usually indicate it’s time for a quick cleaning.
Frequently Asked Questions
Can I vacuum my toaster?
Some people use a handheld vacuum to remove loose crumbs after unplugging and cooling the appliance. If you choose to do so, use a gentle setting and avoid contacting the heating elements. Always follow the manufacturer’s recommendations.
Can I wash the crumb tray?
Most removable metal crumb trays can be washed with warm soapy water, but always check your toaster’s care instructions first. Make sure the tray is completely dry before putting it back.
Can I clean inside with a knife?
No. Never insert knives or other metal objects into a plugged-in toaster. Even when unplugged, using metal tools can damage the heating elements.
Why does my toaster smoke?
Smoke often results from old crumbs or food residue burning inside the appliance. If smoke continues after cleaning, discontinue use and inspect the toaster according to the manufacturer’s instructions.
How long does toaster cleaning take?
A basic cleaning usually takes less than 10 minutes and can greatly improve cleanliness and performance.