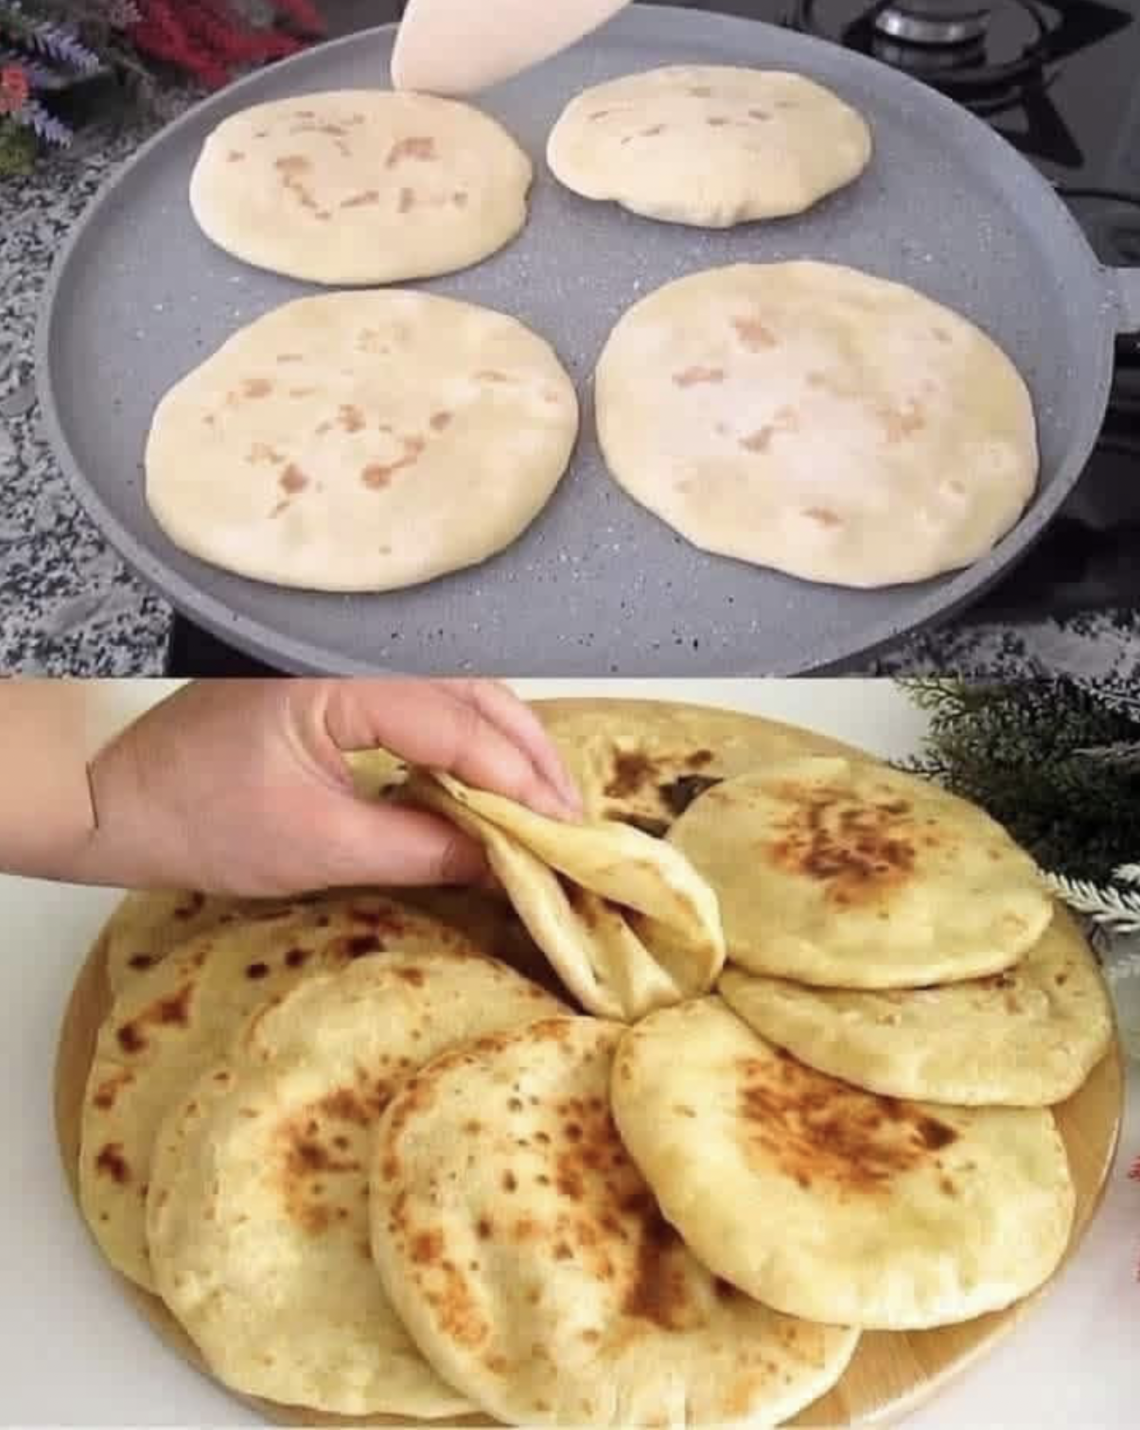
Soft homemade skillet flatbread is one of the most versatile and satisfying breads you can make in your own kitchen. It requires no oven, no complicated techniques, and no special equipment, yet the result is incredibly soft, warm, and full of flavor.
This type of flatbread exists in many cultures around the world—from Middle Eastern pita to Indian naan and North African khobz variations—but this version is designed to be simple, accessible, and adaptable for everyday cooking.
What makes this flatbread truly special is its:
- Soft and slightly chewy texture
- Light golden spots from skillet cooking
- Ability to pair with almost anything—savory or sweet
Whether you’re using it to wrap grilled meat, scoop up sauces, or enjoy with butter and honey, this flatbread quickly becomes a staple once you try it.
Ingredients (Makes 6–8 flatbreads)
Basic Dough:
- 3 cups all-purpose flour
- 1 teaspoon salt
- 1 tablespoon sugar (optional, but helps softness)
- 2 teaspoons instant yeast (or 2 ¼ teaspoons active dry yeast)
- 1 cup warm water (not hot, about 40–45°C)
- 2 tablespoons olive oil (or vegetable oil)
- 1/4 cup plain yogurt (optional, for extra softness)
Understanding the Ingredients
Before starting, it’s important to understand why each ingredient matters:
- Flour provides structure and forms gluten, which gives the bread elasticity
- Yeast creates air bubbles, making the bread light and soft
- Water activates the yeast and hydrates the flour
- Oil adds moisture and prevents dryness
- Yogurt enriches the dough, making it softer and slightly tangy
- Salt enhances flavor and controls yeast activity
- Sugar helps yeast fermentation and adds a subtle sweetness
Equipment Needed
- Large mixing bowl
- Measuring cups and spoons
- Clean work surface
- Rolling pin (or bottle if you don’t have one)
- Heavy skillet or frying pan (cast iron works best)
- Clean kitchen towel
Step-by-Step Instructions
Step 1: Activate the Yeast
If using instant yeast, you can mix it directly with flour.
If using active dry yeast:
- Combine warm water and sugar in a bowl
- Sprinkle yeast over the top
- Let it sit for 5–10 minutes until foamy
This step ensures your yeast is alive and active.
Step 2: Mix the Dough
In a large bowl:
- Add flour and salt
- Pour in yeast mixture (or water if using instant yeast)
- Add oil and yogurt
Mix everything together until a rough dough forms.
Step 3: Kneading the Dough
Transfer the dough to a floured surface and knead for about 8–10 minutes.
You are looking for:
- Smooth texture
- Elastic feel
- Slightly tacky but not sticky
Kneading develops gluten, which is essential for soft and flexible flatbread.
Step 4: First Rise (Proofing)
Place the dough in a lightly oiled bowl and cover with a towel.
Let it rise in a warm place for 1 to 1.5 hours, or until it doubles in size.
During this time:
- Yeast produces gas
- Dough becomes airy and soft
Step 5: Divide the Dough
Punch down the dough gently to release air.
Divide into 6–8 equal pieces and shape each into a ball.
Cover and let them rest for 10–15 minutes.
This makes rolling easier.
Step 6: Roll Out the Flatbread
Take one dough ball and roll it into a thin circle:
- About 15–18 cm in diameter
- Not too thick, not too thin
If dough resists, let it rest a few more minutes.
Step 7: Cook in the Skillet
Heat a dry skillet over medium-high heat.
Place one flatbread onto the hot pan.
Cook for:
- 1–2 minutes until bubbles form
- Flip and cook another 1–2 minutes
You should see:
- Golden brown spots
- Slight puffing
Avoid overcooking to keep it soft.
Step 8: Keep Them Soft
As each flatbread is cooked:
- Stack them
- Cover with a clean towel
This traps steam and keeps them soft and warm.
Serving Ideas
These flatbreads are incredibly versatile. You can serve them with:
Savory Options:
- Grilled chicken or beef
- Eggs and cheese
- Hummus or yogurt dips
- Vegetable stir-fries
Sweet Options:
- Honey and butter
- Jam or chocolate spread
- Cinnamon sugar
Texture and Flavor
When done correctly, the flatbread will be:
- Soft and pliable
- Lightly chewy
- Slightly smoky from the skillet
- Rich but not heavy
Pro Tips for Perfect Flatbread
- Use warm, not hot water to avoid killing yeast
- Let dough rest properly for best softness
- Cook on high heat for quick puffing
- Don’t stack uncovered—they will dry out
- Add a little butter after cooking for extra flavor
Variations
1. No-Yeast Version
Replace yeast with:
- 1 teaspoon baking powder
Skip the rising time and cook immediately.
2. Garlic Flatbread
Brush with:
- Melted butter
- Minced garlic
- Chopped parsley
3. Whole Wheat Version
Replace half the flour with whole wheat flour for a healthier option.
4. Stuffed Flatbread
Fill with:
- Cheese
- Spiced meat
- Potatoes
Seal and roll gently before cooking.
Storage and Reheating
- Store in airtight container for up to 2 days at room temperature
- Refrigerate up to 5 days
- Reheat in a skillet or microwave with a damp towel
Why This Recipe Works
This flatbread succeeds because:
- Proper hydration creates softness
- Yeast fermentation builds structure
- High-heat cooking creates flavor quickly
- Steam retention keeps bread tender

Welcome to my kitchen!
I’m a passionate home cook and recipe creator who loves turning simple ingredients into delicious, comforting meals that everyone can enjoy. Through this website, I share carefully prepared recipes, practical cooking tips, and easy-to-understand food education to help you feel more confident in the kitchen.
My goal is to make cooking simple, enjoyable, and accessible. Whether you are looking for a quick family dinner, a delicious dessert, healthy meal ideas, or traditional recipes with a modern touch, you’ll find inspiration here.
More Than Just Recipes
I believe that cooking is also a way to learn. That’s why this website is not only about recipes. I also create educational articles about ingredients, cooking techniques, kitchen tips, food preparation, and the stories behind different dishes.
Each article is designed to give you useful knowledge that you can apply in your own kitchen. From understanding how ingredients work together to learning better cooking methods, my aim is to help you become a more confident and creative cook.
My Philosophy
Good food doesn’t always require complicated ingredients or professional equipment. With a little knowledge, patience, and creativity, simple ingredients can become something truly special.
I believe in sharing recipes that are practical, clearly explained, and enjoyable to make. I also love exploring new flavors while appreciating traditional cooking and the recipes passed down through generations.
Thank you for visiting my kitchen and being part of this food-loving community. I hope my recipes and articles inspire you to cook, learn, experiment, and most importantly, enjoy every bite!
Happy cooking!