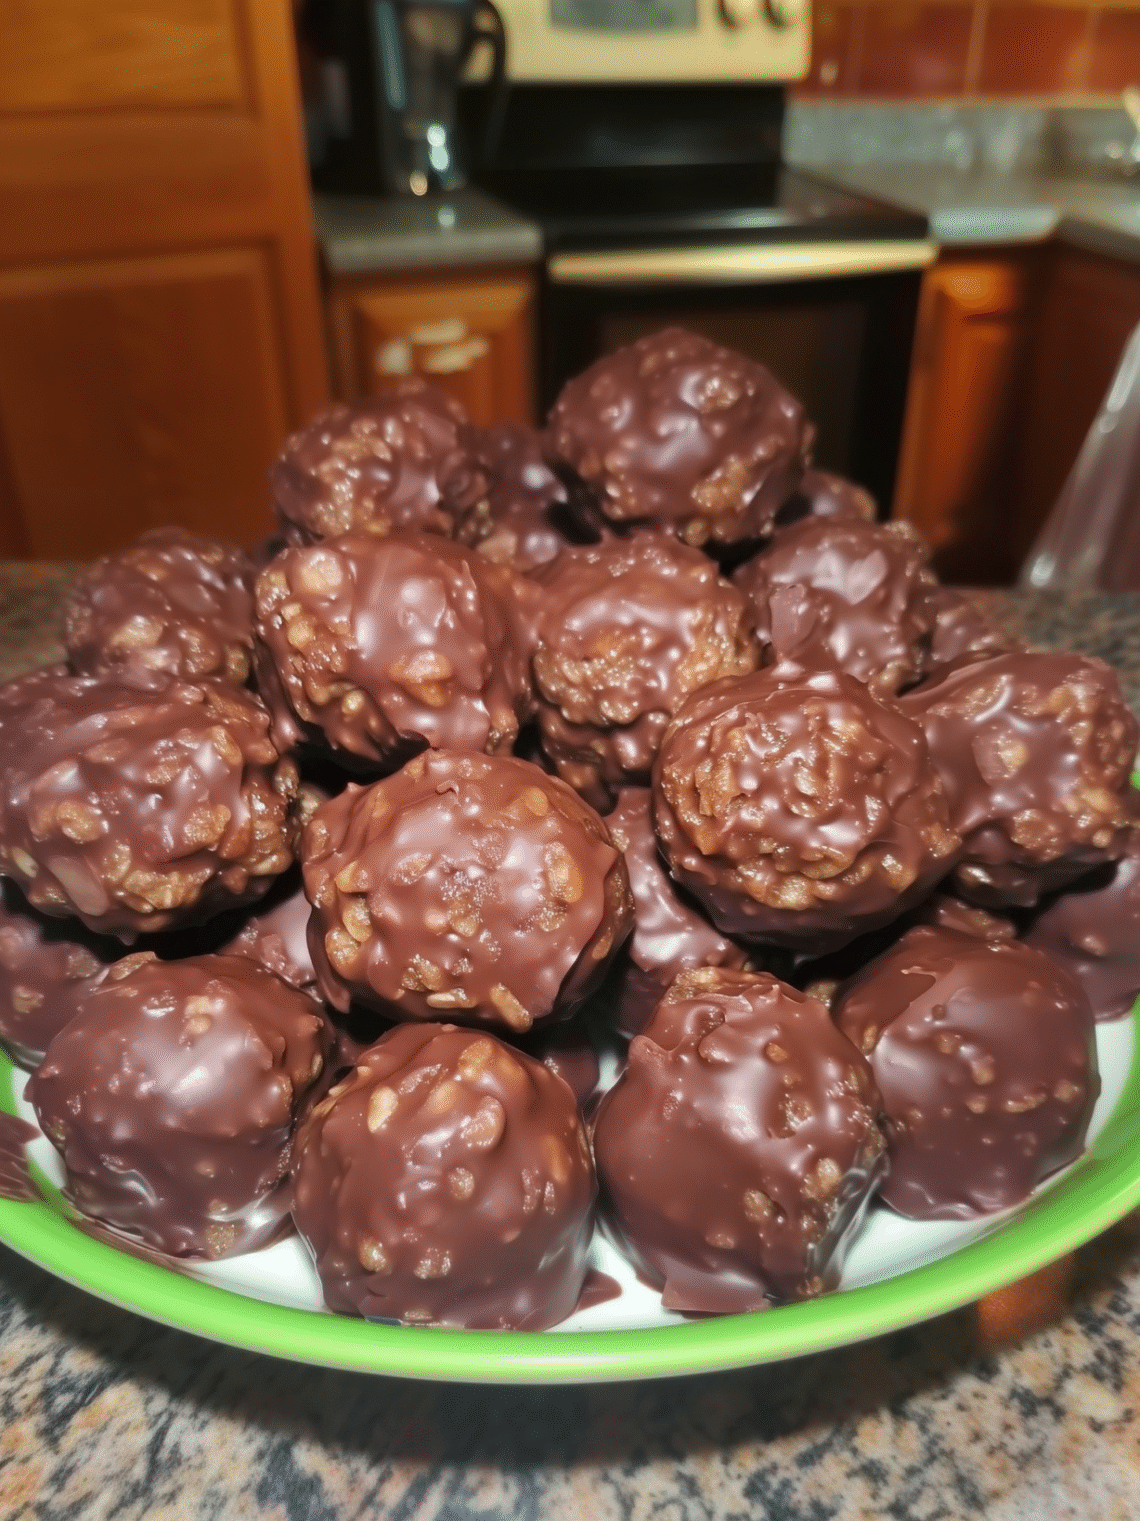
Rich. Buttery. Deeply satisfying. These pecan pie balls are dessert perfected for real life. They combine the warmth of brown sugar, the earthy crunch of toasted pecans, the subtle kiss of maple syrup, and a whisper of rum extract into a sweet, handheld indulgence. Wrapped in a crisp chocolate shell, each bite is a velvety, melt-in-your-mouth experience—perfect for coffee breaks, holiday gatherings, or last-minute guests.
Born from Depression-era ingenuity and perfected in Midwest kitchens, this recipe takes humble ingredients and transforms them into something extraordinary, showing that simplicity paired with care produces magic.
Ingredients
Makes approximately 12–16 pecan pie balls, depending on size.
For the Filling:
- 1 cup pecans, toasted
- ¼ cup unsalted butter, melted
- ½ cup brown sugar, packed
- 2 tablespoons pure maple syrup
- ½ teaspoon vanilla extract
- ¼ teaspoon rum extract (optional, but highly recommended for depth)
- Pinch of salt
- ½ cup graham cracker crumbs
For the Chocolate Coating:
- 1 cup semi-sweet or milk chocolate chips (or finely chopped chocolate)
- 1 teaspoon coconut oil or vegetable oil (optional, for smoother melting)
Optional Garnishes:
- Chopped pecans
- Sea salt flakes
- Shredded coconut
Step 1: Toast the Pecans
Preheat your oven to 175°C (350°F). Spread the pecans in a single layer on a baking sheet. Toast for 8–10 minutes, stirring once halfway through. Watch carefully—they burn quickly. The goal is a deep, warm aroma and slightly darker color, which brings out their natural sweetness and nuttiness. Let them cool slightly before use.
Toasting adds a whisper of campfire smoke to the final dessert—a small but profound detail that makes homemade pecan treats unforgettable.
Step 2: Prepare the Filling
- In a medium mixing bowl, combine the toasted pecans, melted butter, brown sugar, maple syrup, vanilla extract, rum extract, and a pinch of salt.
- Stir gently until the mixture forms a cohesive, sticky blend. The sugar will begin to cling to the nuts, creating a glossy, caramel-like coating.
- Fold in the graham cracker crumbs slowly. They absorb some moisture, giving the mixture body and a subtle, nutty texture reminiscent of classic pecan pie crust.
The mixture should be sticky but moldable. If it’s too loose, add an extra teaspoon of graham crumbs; if too dry, a few drops of maple syrup or melted butter can help.
Step 3: Shape the Balls
- Using your hands or a small cookie scoop, form the mixture into 1–1.5 inch balls.
- Place them on a parchment-lined baking sheet or plate.
- Press gently to compact, but avoid squashing them flat—they should retain a rounded, bite-sized shape.
At this point, the aroma of butter, maple, and roasted pecans fills the kitchen—a promise of the indulgence to come.
Step 4: Chill the Filling
Refrigerate the balls for 15–20 minutes. Chilling firms them slightly, making them easier to coat in chocolate. This step is key to a smooth, professional finish.
Step 5: Melt the Chocolate
- In a microwave-safe bowl or double boiler, melt the chocolate with 1 teaspoon of oil (if using) in 30-second increments, stirring each time until fully smooth.
- The oil adds shine and ensures a silky coating that doesn’t crack as it sets.
Step 6: Coat the Balls
- Using a fork or dipping tool, submerge each chilled pecan ball in melted chocolate, letting excess drip back into the bowl.
- Place coated balls on a parchment-lined sheet.
- Optional: sprinkle extra chopped pecans, sea salt, or shredded coconut on top before the chocolate sets.
Step 7: Set and Serve
- Allow the chocolate to harden at room temperature for 30–45 minutes, or refrigerate for 10–15 minutes for quicker results.
- Serve immediately or store in an airtight container.
These treats stay fresh for up to 1 week at room temperature, or 2 weeks in the fridge.
Serving Suggestions
- Pair with coffee, tea, or hot chocolate for a cozy afternoon indulgence.
- Pack in holiday tins or wrap individually for gifts or party favors.
- Serve alongside fresh fruit for balance, or enjoy solo as a decadent bite.
Tips for Perfection
- Toast the pecans slowly; burnt nuts will overwhelm the sweet, buttery notes.
- Use high-quality chocolate; it makes a world of difference in flavor and texture.
- For extra richness, swirl a drop of caramel into each ball before coating.
- Make ahead: Prepare the balls a day in advance and coat in chocolate just before serving.
Final Reflection
These pecan pie balls are proof that simple ingredients, handled with care, become extraordinary. In 15 minutes of hands-on work, you can create something that smells like home, tastes like celebration, and feels like a warm, nostalgic hug in every bite.
From the toasted nuts to the maple-sweet filling, and the glossy chocolate shell that melts on your tongue, these little balls of decadence are comfort, tradition, and delight—all rolled into one bite-sized treat.

Welcome to my kitchen!
I’m a passionate home cook and recipe creator who loves turning simple ingredients into delicious, comforting meals that everyone can enjoy. Through this website, I share carefully prepared recipes, practical cooking tips, and easy-to-understand food education to help you feel more confident in the kitchen.
My goal is to make cooking simple, enjoyable, and accessible. Whether you are looking for a quick family dinner, a delicious dessert, healthy meal ideas, or traditional recipes with a modern touch, you’ll find inspiration here.
More Than Just Recipes
I believe that cooking is also a way to learn. That’s why this website is not only about recipes. I also create educational articles about ingredients, cooking techniques, kitchen tips, food preparation, and the stories behind different dishes.
Each article is designed to give you useful knowledge that you can apply in your own kitchen. From understanding how ingredients work together to learning better cooking methods, my aim is to help you become a more confident and creative cook.
My Philosophy
Good food doesn’t always require complicated ingredients or professional equipment. With a little knowledge, patience, and creativity, simple ingredients can become something truly special.
I believe in sharing recipes that are practical, clearly explained, and enjoyable to make. I also love exploring new flavors while appreciating traditional cooking and the recipes passed down through generations.
Thank you for visiting my kitchen and being part of this food-loving community. I hope my recipes and articles inspire you to cook, learn, experiment, and most importantly, enjoy every bite!
Happy cooking!