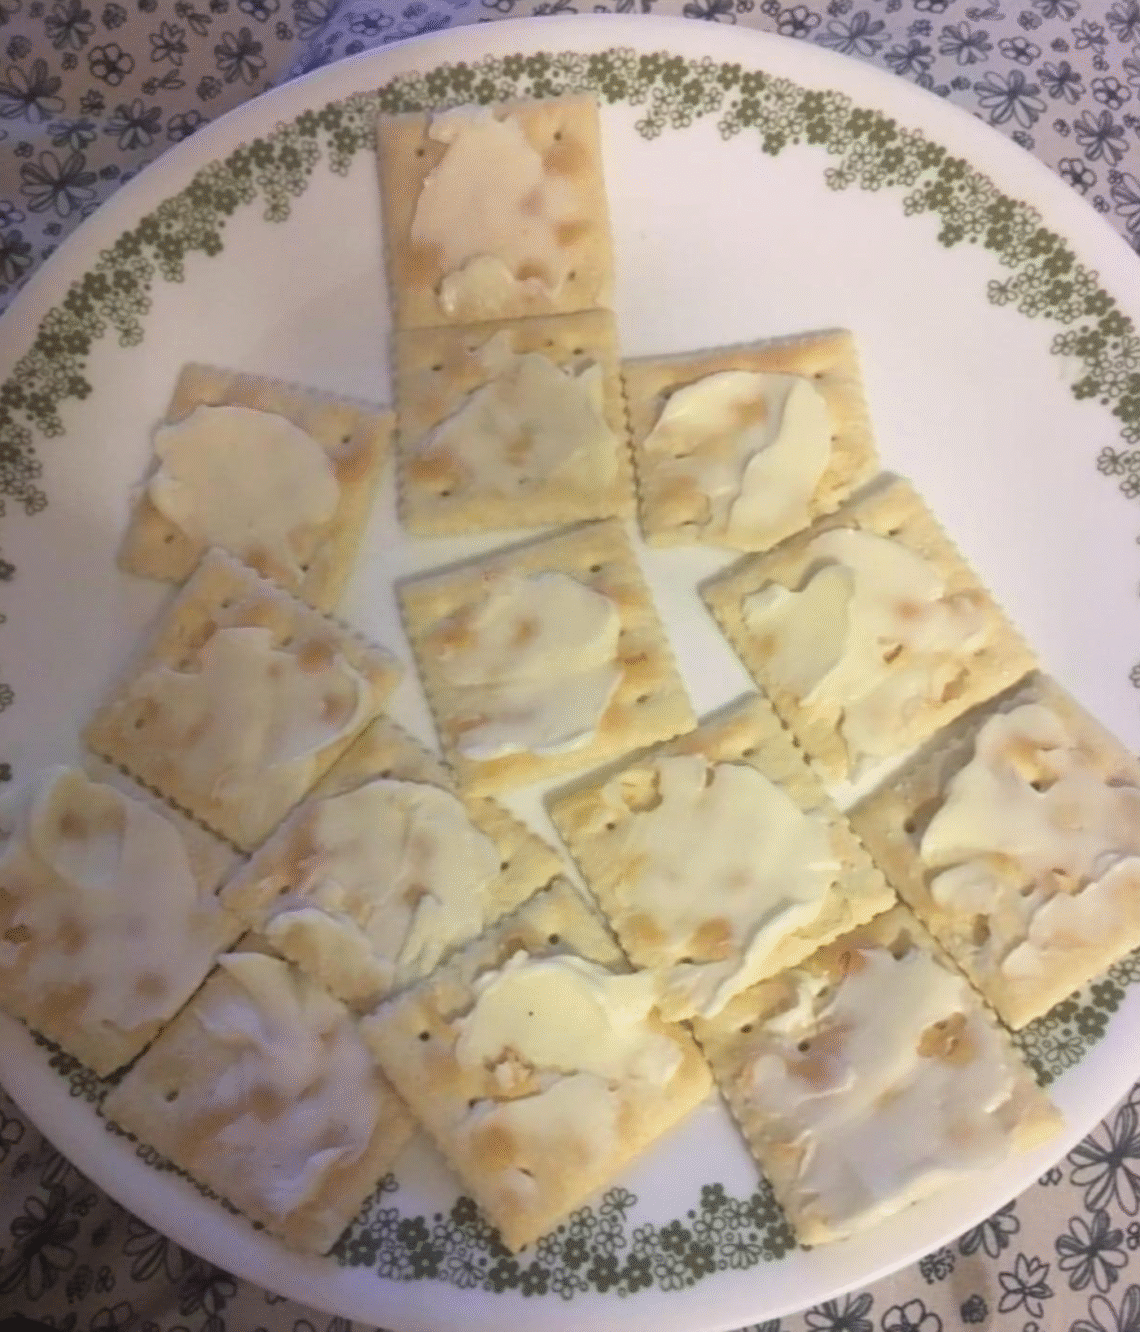
A Simple, Crisp, and Satisfying Pantry Classic**
Saltine crackers are one of those foods almost everyone has eaten since childhood. They are crisp, lightly salted, and perfect with cheese, soup, peanut butter, or even eaten plain. Many people do not realize how easy it is to make them at home with just a handful of simple ingredients. Homemade saltines taste fresher, have a better texture, and you can adjust the thickness, flavor, and salt level exactly the way you like.
Below is a full recipe written with detailed instructions and long explanations to give you complete confidence while preparing them.
Ingredients
Dry Ingredients
- 2 cups all-purpose flour
- 1 teaspoon baking powder
- 1 teaspoon salt
Wet Ingredients
- 2 tablespoons cold butter, cut into small cubes
- ⅔ cup water (you may need a little more or less depending on your flour)
For Finishing
- 2 tablespoons melted butter (optional but adds a rich flavor)
- Coarse salt or flaky sea salt for topping
Detailed Instructions
Step 1: Prepare your workspace
Choose a clean, flat surface where you can roll out the dough very thin. Saltine crackers get their signature crisp texture from being rolled out much thinner than most homemade crackers.
Preheat your oven to 400°F (200°C). Line two baking sheets with parchment paper.
Step 2: Mix the dry ingredients
In a large mixing bowl, combine the flour, baking powder, and salt. Mix them well with a whisk so the baking powder distributes evenly throughout the flour. Proper distribution ensures that the crackers puff slightly and bake evenly.
Step 3: Cut in the butter
Add the small cubes of cold butter to the flour mixture.
Using your fingertips or a pastry cutter, gently rub or cut the butter into the flour until the mixture resembles coarse crumbs.
The butter should not be completely blended; tiny little pieces remaining throughout the dough create layers and improve the cracker texture.
Step 4: Add the water
Make a small well in the middle of the flour mixture and pour in most of the water.
Use a wooden spoon or your hand to slowly bring the dough together.
If the dough feels too dry or crumbly, add more water a tablespoon at a time until it forms a soft, pliable ball.
The dough should not be sticky; it should hold together smoothly.
Step 5: Knead gently
Place the dough onto a lightly floured surface and knead it gently for one to two minutes. The goal is simply to create a smooth, even dough, not to develop too much gluten.
Over-kneading makes the crackers tough rather than crisp.
Step 6: Rest the dough
Cover the dough with plastic wrap or a clean towel and let it rest for about ten minutes.
Resting helps the gluten relax, making the dough easier to roll very thin without shrinking back.
Step 7: Roll the dough extremely thin
Divide the dough into two portions to make rolling easier.
Take one portion and place it on a lightly floured surface. Using a rolling pin, roll it out as thin as you can. For traditional saltine texture, aim for about 1 to 2 millimeters thickness. The thinner the dough, the crisper the cracker.
If the dough keeps pulling back or shrinking, let it rest for five minutes and continue.
Step 8: Transfer and shape
Carefully lift the thin sheet of dough and place it onto the prepared baking sheet.
Use a pizza cutter or a sharp knife to cut the dough into even squares. Traditional saltine crackers are about one and a half inches wide.
Do not separate the squares yet; leave them touching on the pan. They will break apart easily once baked.
Step 9: Dock the dough
Using a fork, poke small holes all across the surface of the cracker dough.
This step is important because it prevents air pockets from forming and gives the crackers their iconic, flat appearance.
Step 10: Brush with melted butter
If you want a richer cracker, brush a thin layer of melted butter across the surface.
Sprinkle lightly with coarse salt or flaky sea salt. Adjust the salt level to your preference.
Step 11: Bake
Place the baking sheet in the preheated oven.
Bake for 10 to 14 minutes, depending on how thin your dough is and how crisp you want the crackers. Watch closely near the end so they do not over-brown.
The crackers should turn a light golden color around the edges.
Step 12: Cool completely
Remove the pan from the oven and allow the crackers to cool on a wire rack.
As they cool, they will continue to crisp and firm up.
Once fully cooled, break them along the cut lines into individual crackers.
Storage Instructions
- Store in an airtight container at room temperature.
- They stay crisp for about a week.
- If they soften, place them back in the oven at 300°F (150°C) for five minutes to refresh their texture.
Tips for Perfect Homemade Saltines
- The thinner the dough, the crunchier the cracker.
- Do not skip docking (poking holes); it keeps the crackers flat.
- Brushing butter is optional but enhances flavor.
- You can add herbs, black pepper, or garlic powder for flavored variations.
- Rolling the dough between two sheets of parchment helps if it sticks.

Welcome to my kitchen!
I’m a passionate home cook and recipe creator who loves turning simple ingredients into delicious, comforting meals that everyone can enjoy. Through this website, I share carefully prepared recipes, practical cooking tips, and easy-to-understand food education to help you feel more confident in the kitchen.
My goal is to make cooking simple, enjoyable, and accessible. Whether you are looking for a quick family dinner, a delicious dessert, healthy meal ideas, or traditional recipes with a modern touch, you’ll find inspiration here.
More Than Just Recipes
I believe that cooking is also a way to learn. That’s why this website is not only about recipes. I also create educational articles about ingredients, cooking techniques, kitchen tips, food preparation, and the stories behind different dishes.
Each article is designed to give you useful knowledge that you can apply in your own kitchen. From understanding how ingredients work together to learning better cooking methods, my aim is to help you become a more confident and creative cook.
My Philosophy
Good food doesn’t always require complicated ingredients or professional equipment. With a little knowledge, patience, and creativity, simple ingredients can become something truly special.
I believe in sharing recipes that are practical, clearly explained, and enjoyable to make. I also love exploring new flavors while appreciating traditional cooking and the recipes passed down through generations.
Thank you for visiting my kitchen and being part of this food-loving community. I hope my recipes and articles inspire you to cook, learn, experiment, and most importantly, enjoy every bite!
Happy cooking!