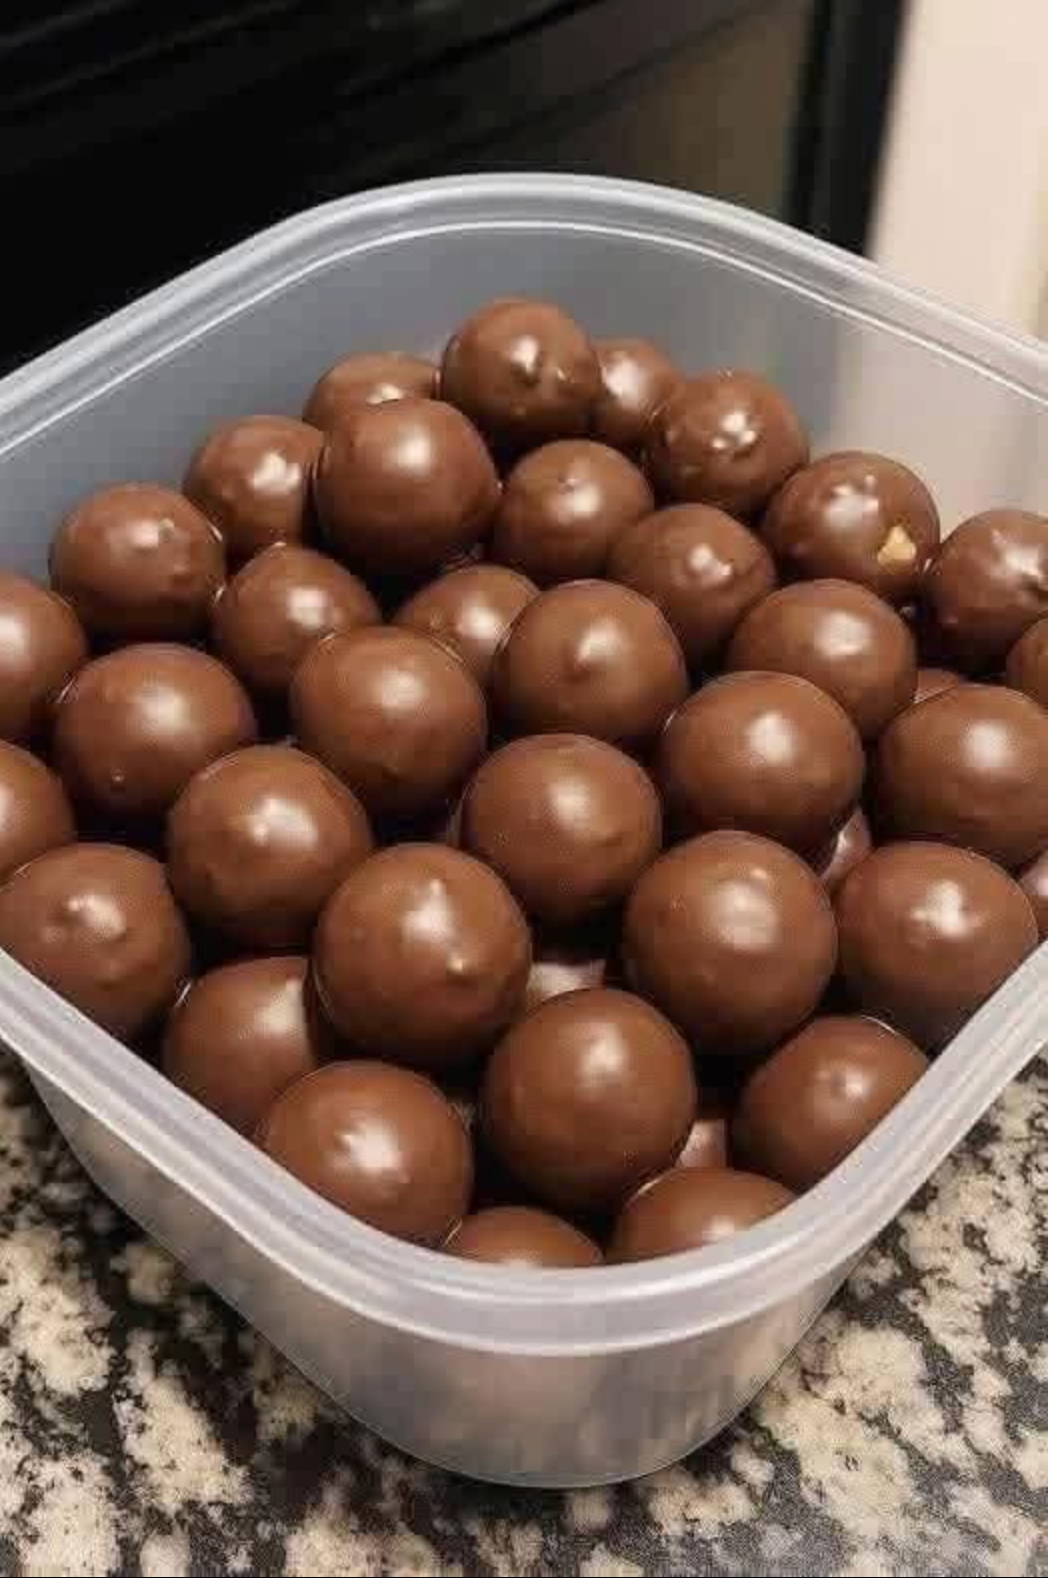
If you love that classic Butterfinger candy bar flavor—the crunchy peanut-butter center with a chocolate coating—then these Butterfinger Balls will become your new favorite treat.
They’re:
- No-bake
- Only 5 ingredients
- Ready with minimal effort
- Perfect for freezing and serving anytime
- Crunchy + creamy + chocolatey in every bite
These taste like homemade candy shop truffles, but they’re much easier.
Why You’ll Love This Recipe
Butterfinger Balls are one of those desserts that disappear quickly because they have everything:
- Creamy peanut butter base
- Crunchy Butterfinger pieces
- Sweet, soft center
- Chocolate shell that snaps slightly when you bite
- And that salty-sweet balance that makes you reach for “just one more”
They’re also great because you can make them ahead and keep them in the fridge or freezer.
Ingredients (Only 5)
Makes about 24–30 balls depending on size.
- 1 cup creamy peanut butter
- 4 tablespoons butter, softened
- 2 cups powdered sugar
-
1½ cups crushed Butterfinger candy bars
- about 8–10 fun size bars or 4–5 regular bars
-
2 cups chocolate chips (milk chocolate, semi-sweet, or dark)
- plus 1 teaspoon coconut oil or shortening (optional, for smoother coating)
Optional (not counted): a pinch of salt (if your peanut butter is unsalted), sprinkles, extra Butterfinger crumbs for topping.
Equipment You’ll Need
- Mixing bowl
- Spoon or hand mixer
- Baking sheet
- Parchment paper
- Microwave-safe bowl (or double boiler)
- Fork or dipping tool
Step-by-Step Instructions (Detailed)
1) Crush the Butterfingers
Unwrap your Butterfinger bars and crush them.
Best ways:
- Put them in a zip bag and crush with a rolling pin
- Or pulse in a food processor
Important tip: Don’t turn them into powder. You want a mix of:
- small crumbs
- and some little crunchy bits
That texture is what makes them addictive.
2) Make the Peanut Butter Dough
In a large bowl, mix:
- peanut butter
- softened butter
Stir until smooth and creamy.
Now add:
- powdered sugar (slowly)
Mix until you get a thick dough.
Finally fold in:
- crushed Butterfinger pieces
At this point the mixture should look like a cookie dough—thick, firm, and easy to roll.
If it feels too sticky:
Add 2–3 tablespoons more powdered sugar.
If it feels too dry:
Add 1 tablespoon peanut butter.
3) Roll Into Balls
Line a baking sheet with parchment paper.
Scoop and roll into balls:
- about 1 tablespoon each (bite-size)
- or 2 tablespoons each (bigger truffle size)
Place on the baking sheet.
4) Chill (This Makes Dipping Easier)
Put the tray in the fridge for:
-
30 minutes
or freezer: - 15 minutes
This helps them firm up so they don’t fall apart in warm chocolate.
5) Melt the Chocolate
Melt chocolate chips in the microwave:
- 30 seconds, stir
- 30 seconds, stir
- repeat until smooth
Optional: add 1 teaspoon coconut oil or shortening.
This makes chocolate:
- thinner
- smoother
- shinier
6) Dip and Coat
Dip each ball in melted chocolate.
Use:
- a fork to lift it out
- tap gently to remove extra chocolate
Place back on parchment paper.
7) Add Topping (Optional but Beautiful)
Before the chocolate sets, sprinkle:
- extra crushed Butterfinger crumbs
This makes them look bakery-quality and helps people know what flavor they are.
8) Set Completely
Let them set:
- at room temp 30–60 minutes
or - in fridge 15–20 minutes
Once set, they’re ready.
Storage Instructions
Refrigerator
Store in an airtight container for:
up to 1 week
Best texture: slightly chilled.
Freezer
Freeze in a sealed container for:
up to 2–3 months
Let thaw 5–10 minutes before eating.
Many people love them frozen because they taste like crunchy candy truffles.
Pro Tips (Make Them Perfect)
1) Use creamy peanut butter
Natural peanut butter (the oily kind) can make the mixture too soft.
2) Chill before dipping
If you skip chilling, the balls may crumble into the chocolate.
3) Don’t over-crush Butterfingers
The crunchy bits are what give that signature Butterfinger bite.
4) Use milk chocolate for the most “candy bar” taste
Semi-sweet makes them richer.
Dark chocolate makes them more grown-up and less sweet.
Easy Variations
1) Peanut Butter Lovers Version
Add:
- ½ cup crushed peanuts
Extra crunch and salty balance.
2) “Reese’s Style”
Replace Butterfinger with:
- crushed Reese’s cups
3) White Chocolate Butterfinger Balls
Use:
- melted white chocolate coating
Tastes like a bakery dessert.
4) Chocolate Peanut Butter Drizzle
Dip in chocolate, then drizzle:
- peanut butter melted with a little oil
Serving Ideas
Perfect for:
- holiday cookie trays
- birthday parties
- Ramadan sweets table
- potlucks
- after-dinner dessert bites
Serve them with:
- coffee
- tea
- hot chocolate
Final Thoughts
Butterfinger Balls are one of those recipes that become a “signature dessert” because they’re:
- quick
- cheap
- no-bake
- super addictive
Crunchy Butterfinger + creamy peanut butter + chocolate coating = perfection.

Welcome to my kitchen!
I’m a passionate home cook and recipe creator who loves turning simple ingredients into delicious, comforting meals that everyone can enjoy. Through this website, I share carefully prepared recipes, practical cooking tips, and easy-to-understand food education to help you feel more confident in the kitchen.
My goal is to make cooking simple, enjoyable, and accessible. Whether you are looking for a quick family dinner, a delicious dessert, healthy meal ideas, or traditional recipes with a modern touch, you’ll find inspiration here.
More Than Just Recipes
I believe that cooking is also a way to learn. That’s why this website is not only about recipes. I also create educational articles about ingredients, cooking techniques, kitchen tips, food preparation, and the stories behind different dishes.
Each article is designed to give you useful knowledge that you can apply in your own kitchen. From understanding how ingredients work together to learning better cooking methods, my aim is to help you become a more confident and creative cook.
My Philosophy
Good food doesn’t always require complicated ingredients or professional equipment. With a little knowledge, patience, and creativity, simple ingredients can become something truly special.
I believe in sharing recipes that are practical, clearly explained, and enjoyable to make. I also love exploring new flavors while appreciating traditional cooking and the recipes passed down through generations.
Thank you for visiting my kitchen and being part of this food-loving community. I hope my recipes and articles inspire you to cook, learn, experiment, and most importantly, enjoy every bite!
Happy cooking!