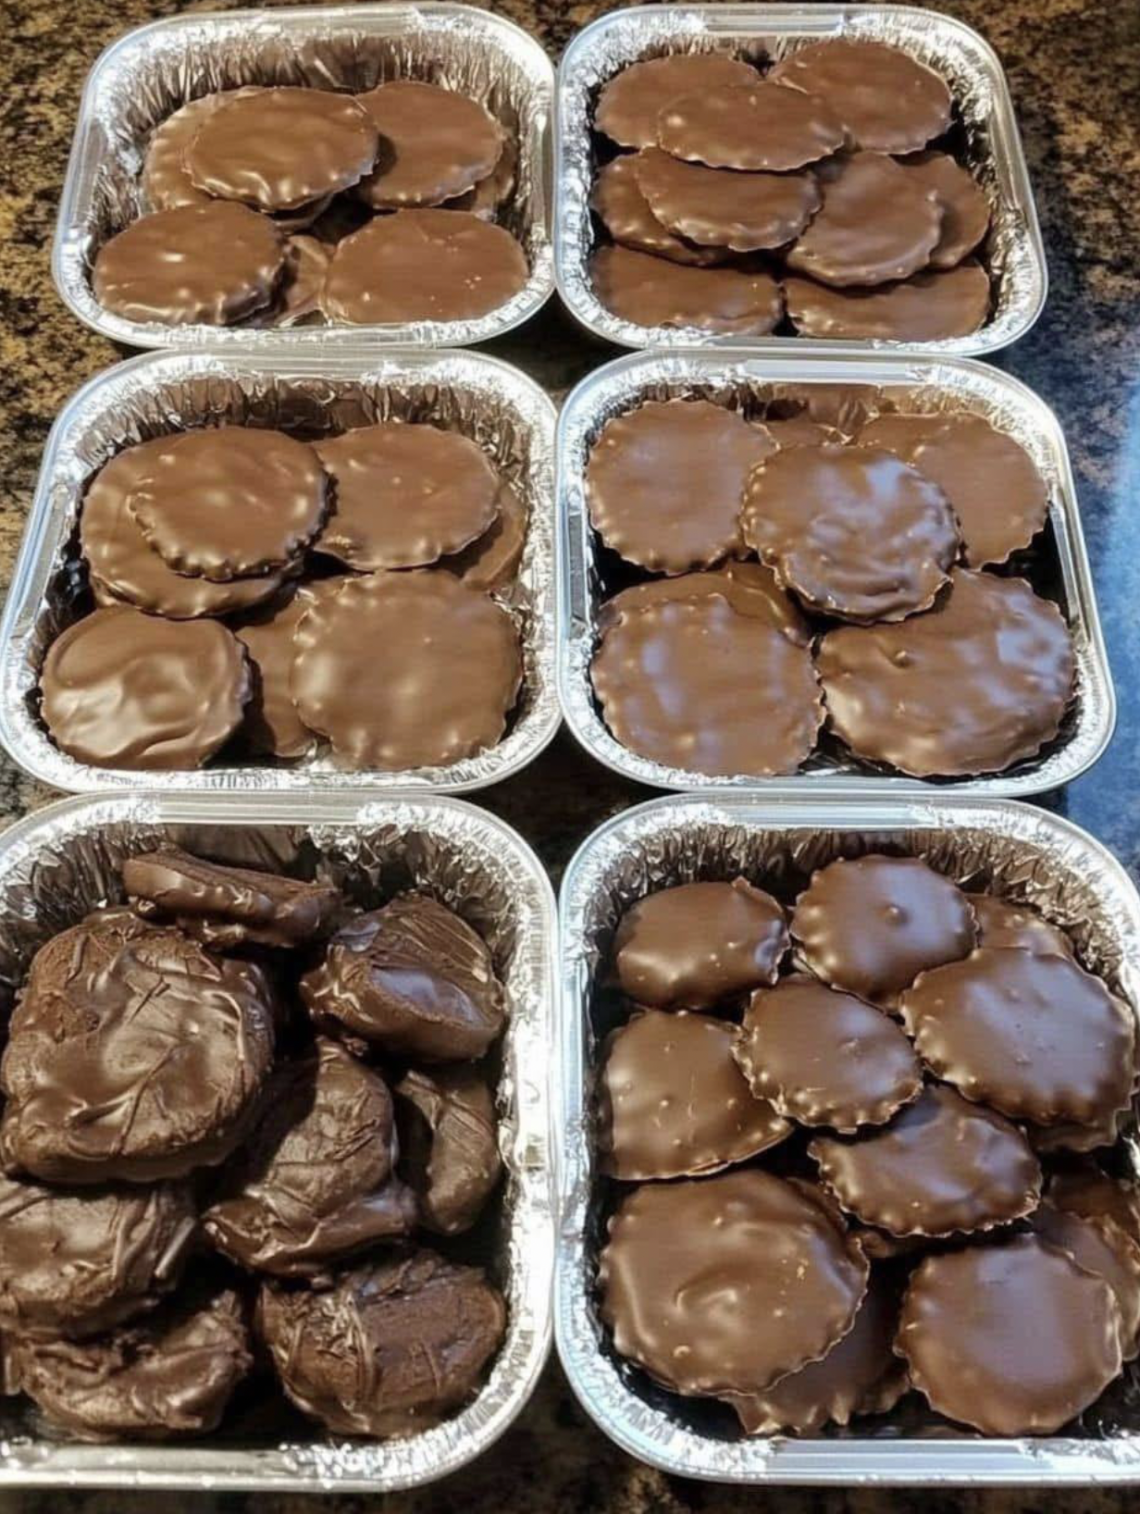
Rich, Chewy, Crunchy Caramel-Pecan Clusters Covered in Chocolate
Turtle candy is one of those classic homemade sweets that never really goes out of style. It’s simple, nostalgic, and incredibly satisfying—combining just a few basic ingredients into something that tastes like it came from a fancy chocolate shop.
At its core, a “turtle” is a perfect balance of three textures:
- Crunchy pecans
- Chewy caramel
- Smooth chocolate
When these three layers come together, the result is a bite-sized candy that feels rich, indulgent, and deeply comforting.
Why They’re Called “Turtles”
The name comes from the shape of the candy itself.
When pecans are arranged under melted caramel and chocolate, they naturally form a cluster that resembles:
- a turtle’s shell (chocolate top)
- little legs sticking out (pecans)
No actual turtles involved—just a charming visual resemblance that stuck over time.
The Magic of Turtle Candy
What makes turtle candy so popular is not complexity—it’s contrast.
Each bite combines:
- sweet caramel
- slightly salty nuts
- rich chocolate
This balance creates a flavor profile that feels layered and satisfying without being overwhelming.
Homemade Turtle Candy Ingredients
You only need a few simple ingredients to make a classic version at home:
Base ingredients:
- pecan halves
- soft caramels (or homemade caramel)
- heavy cream (to melt caramel smoothly)
- milk chocolate or dark chocolate
- a pinch of salt (optional but recommended)
Optional upgrades:
- sea salt flakes
- vanilla extract
- toasted pecans
- white chocolate drizzle
Step 1: Prepare the Pecans
Start by arranging pecans into small clusters.
How to do it:
- line a baking sheet with parchment paper
- place 3–5 pecan halves in small groups
- slightly overlap them for a natural “turtle shape”
Optional roasting step:
To enhance flavor:
- toast pecans at 160–175°C (325°F) for 5–8 minutes
- let them cool completely
This adds:
- deeper nutty flavor
- extra crunch
- improved aroma
Step 2: Melt the Caramel
Caramel is what binds everything together.
Using store-bought caramels:
- unwrap caramels
- melt with a small amount of heavy cream
- heat gently (microwave or stovetop)
- stir until smooth and glossy
Important tip:
Do not overheat caramel—it can become grainy or harden too quickly.
Step 3: Spoon Caramel Over Pecans
Once melted, carefully spoon caramel over each pecan cluster.
You want:
- enough caramel to hold the nuts together
- but not so much that it spreads too thin
Let it slightly settle and firm up.
This creates the chewy center layer.
Step 4: Add the Chocolate Layer
Now comes the signature top layer.
Melt chocolate:
- use milk chocolate for classic sweetness
- or dark chocolate for richer flavor
Then:
- spoon melted chocolate over caramel clusters
- cover most of the caramel surface
- allow slight dripping for a rustic finish
Step 5: Let Them Set
Place the tray in a cool area or refrigerator.
Let them firm up until:
- chocolate hardens
- caramel becomes chewy
- clusters hold together completely
This usually takes 20–40 minutes depending on temperature.
The Perfect Bite Experience
A good homemade turtle should deliver a layered experience:
First bite:
- smooth chocolate melt
Second layer:
- soft, chewy caramel stretch
Final finish:
- crunchy toasted pecan
That contrast is what makes them addictive.
Variations You Can Try
1. Dark chocolate turtles
More intense, less sweet, slightly bitter contrast.
2. Salted caramel turtles
Add flaky sea salt on top before chocolate sets.
3. White chocolate version
Sweeter, creamier, dessert-like profile.
4. Peanut or almond turtles
Swap pecans for different nut textures.
5. Extra chewy version
Add a thicker caramel layer for a softer bite.
Common Mistakes to Avoid
1. Overheating caramel
Makes it grainy or too hard.
2. Too much chocolate
Can overpower the caramel and nut balance.
3. Uneven pecan clusters
Leads to unstable “turtles” that fall apart.
4. Skipping parchment paper
Makes cleanup difficult and candies stick.
Storage Tips
To keep them fresh:
- store in airtight container
- keep in cool, dry place
- refrigerate if your kitchen is warm
They usually last:
- up to 1–2 weeks at room temperature
- longer in the fridge
Why Homemade Turtles Are So Popular
People love making them at home because:
- they feel luxurious but are easy to make
- they require simple ingredients
- they don’t need baking skills
- they make great gifts
- they store well
They also carry a nostalgic feel, often associated with holidays, family gatherings, and homemade candy trays.

Welcome to my kitchen!
I’m a passionate home cook and recipe creator who loves turning simple ingredients into delicious, comforting meals that everyone can enjoy. Through this website, I share carefully prepared recipes, practical cooking tips, and easy-to-understand food education to help you feel more confident in the kitchen.
My goal is to make cooking simple, enjoyable, and accessible. Whether you are looking for a quick family dinner, a delicious dessert, healthy meal ideas, or traditional recipes with a modern touch, you’ll find inspiration here.
More Than Just Recipes
I believe that cooking is also a way to learn. That’s why this website is not only about recipes. I also create educational articles about ingredients, cooking techniques, kitchen tips, food preparation, and the stories behind different dishes.
Each article is designed to give you useful knowledge that you can apply in your own kitchen. From understanding how ingredients work together to learning better cooking methods, my aim is to help you become a more confident and creative cook.
My Philosophy
Good food doesn’t always require complicated ingredients or professional equipment. With a little knowledge, patience, and creativity, simple ingredients can become something truly special.
I believe in sharing recipes that are practical, clearly explained, and enjoyable to make. I also love exploring new flavors while appreciating traditional cooking and the recipes passed down through generations.
Thank you for visiting my kitchen and being part of this food-loving community. I hope my recipes and articles inspire you to cook, learn, experiment, and most importantly, enjoy every bite!
Happy cooking!