A Complete Guide to Perfectly Golden, Flavor-Packed Cauliflower Every Time
Roasted cauliflower has transformed from a simple side dish into one of the most beloved vegetable preparations in modern cooking. When done right, it delivers an irresistible combination of crispy edges, tender interiors, and deep, nutty flavor developed through caramelization.
But achieving truly crispy roasted cauliflower—without sogginess or uneven cooking—requires more than just tossing florets in oil and putting them in the oven. It’s a balance of technique, heat, moisture control, and timing.
This guide will walk you through every detail so you can consistently produce restaurant-quality results at home.
Why Roasting Works So Well for Cauliflower
Cauliflower is naturally mild in flavor, which makes it an excellent canvas for seasoning. However, its real transformation happens during roasting.
When exposed to high heat:
- Natural sugars in the cauliflower caramelize
- Moisture evaporates, creating crisp edges
- Amino acids react with sugars in the Maillard reaction (a key process responsible for browning and flavor development)
The result is a vegetable that becomes:
- Slightly sweet
- Deeply savory
- Crispy on the outside, tender inside
Ingredients (Classic Crispy Version)
Base Ingredients:
- 1 large head of cauliflower
- 3 tablespoons olive oil
- 1 teaspoon salt
- ½ teaspoon black pepper
Optional Flavor Enhancers:
- 1 teaspoon garlic powder
- 1 teaspoon paprika (smoked paprika adds depth)
- ½ teaspoon cumin
- ¼ teaspoon chili flakes
Finishing Touches:
- Fresh lemon juice
- Grated Parmesan cheese
- Chopped parsley
Choosing the Best Cauliflower
The quality of your cauliflower directly affects the final result.
Look for:
- Firm, tightly packed florets
- Creamy white color (no dark spots)
- Fresh green leaves
Avoid:
- Soft or spongy texture
- Brown patches
- Strong odor
Fresh cauliflower roasts better and produces a cleaner flavor.
Step-by-Step Instructions
Step 1: Preheat the Oven Properly
Set your oven to:
- 220°C (425°F)
High heat is essential for crispiness. A low temperature will steam the cauliflower instead of roasting it.
Step 2: Cut the Cauliflower Correctly
Cut into medium-sized florets, keeping them as uniform as possible.
Why this matters:
- Even sizes ensure even cooking
- Flat surfaces create more contact with the pan, leading to better browning
You can slice some pieces so they have a flat side—this is where the best crisping happens.
Step 3: Wash and Dry Thoroughly
After washing:
- Dry completely using a towel
Important:
Moisture is the enemy of crispiness. Any water left on the cauliflower will create steam in the oven.
Step 4: Season Generously
In a large bowl:
- Toss cauliflower with olive oil
- Add salt, pepper, and spices
Make sure:
- Every piece is lightly coated
- No excess oil pools at the bottom
Too little oil = dry texture
Too much oil = soggy texture
Step 5: Arrange on the Baking Sheet
Spread the florets on a large baking sheet in a single layer.
Critical rule:
- Do NOT overcrowd the pan
If pieces are too close:
- They steam instead of roast
- You lose crispiness
Use two trays if necessary.
Step 6: Roast Without Disturbing (At First)
Place in the oven and roast for:
- 20 minutes without touching
This allows the bottom side to develop a golden crust.
Step 7: Flip and Continue Roasting
After 20 minutes:
- Flip the florets
Continue roasting for:
- Another 10–15 minutes
Look for:
- Deep golden-brown edges
- Slight charring (this adds flavor, not bitterness when controlled)
Step 8: Finish and Serve
Once done:
- Remove from oven
- Add lemon juice or Parmesan if desired
Serve immediately for maximum crispiness.
Texture and Flavor: What to Expect
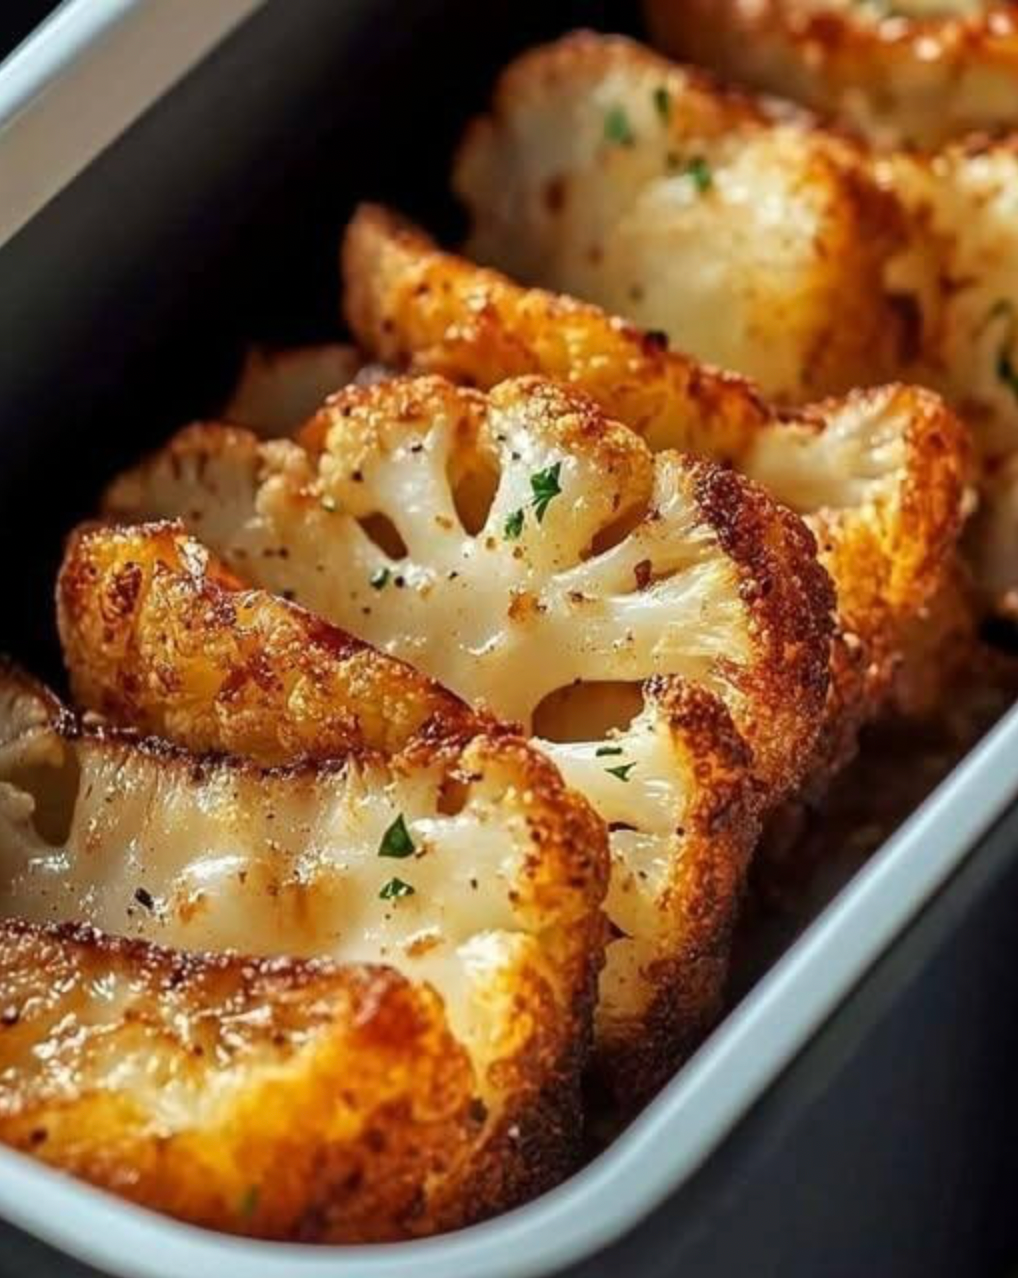
Perfect crispy roasted cauliflower should have:
- Crunchy, caramelized edges
- Soft but not mushy interior
- Rich, slightly nutty flavor
The contrast between textures is what makes it addictive.
The Science Behind Crispiness
Understanding what’s happening helps you avoid mistakes.
Key factors:
- High heat → drives off moisture quickly
- Oil coating → promotes browning
- Air circulation → prevents steaming
- Surface contact → enhances crisp edges
If any of these are missing, the result will be less crispy.
Common Mistakes to Avoid
1. Overcrowding the Pan
This traps steam and prevents browning.
2. Not Drying the Cauliflower
Even small amounts of water reduce crispiness.
3. Using Low Temperature
Leads to soft, pale cauliflower.
4. Too Much Oil
Causes sogginess instead of crispiness.
5. Stirring Too Early
Prevents crust formation.
Flavor Variations
Crispy roasted cauliflower is extremely versatile.
1. Garlic Parmesan Version
Add:
- Garlic powder before roasting
- Parmesan after roasting
Creates a rich, savory profile.
2. Spicy Roasted Cauliflower
Add:
- Chili powder
- Cayenne pepper
Perfect for those who like heat.
3. Middle Eastern Style
Add:
- Cumin
- Turmeric
- Tahini drizzle after roasting
4. Honey Glazed Version
After roasting:
- Drizzle with honey and a pinch of salt
Balances sweet and savory flavors.
5. Lemon Herb Version
Finish with:
- Lemon zest
- Fresh herbs
Adds brightness and freshness.
How to Make It Extra Crispy
If you want next-level crispiness:
- Use a preheated baking sheet
- Roast on the bottom rack first
- Turn on broil for the last 2–3 minutes (watch carefully)
This creates deeper browning and crunch.
Meal Prep and Storage
Storage:
- Keep in the fridge up to 3 days
Reheating:
- Use oven or air fryer (best for crispiness)
- Avoid microwave—it makes it soft
Nutritional Benefits
Cauliflower is:
- Low in calories
- High in fiber
- Rich in vitamin C and antioxidants
Roasting enhances flavor without adding excessive calories, making it ideal for healthy diets.
Serving Ideas
Crispy roasted cauliflower works as:
- A side dish with meat or fish
- A topping for salads
- A filling for wraps or tacos
- A snack on its own
Why This Dish Is So Popular
It combines:
- Simplicity
- Health benefits
- Deep flavor
It’s also:
- Budget-friendly
- Easy to customize
- Suitable for many diets