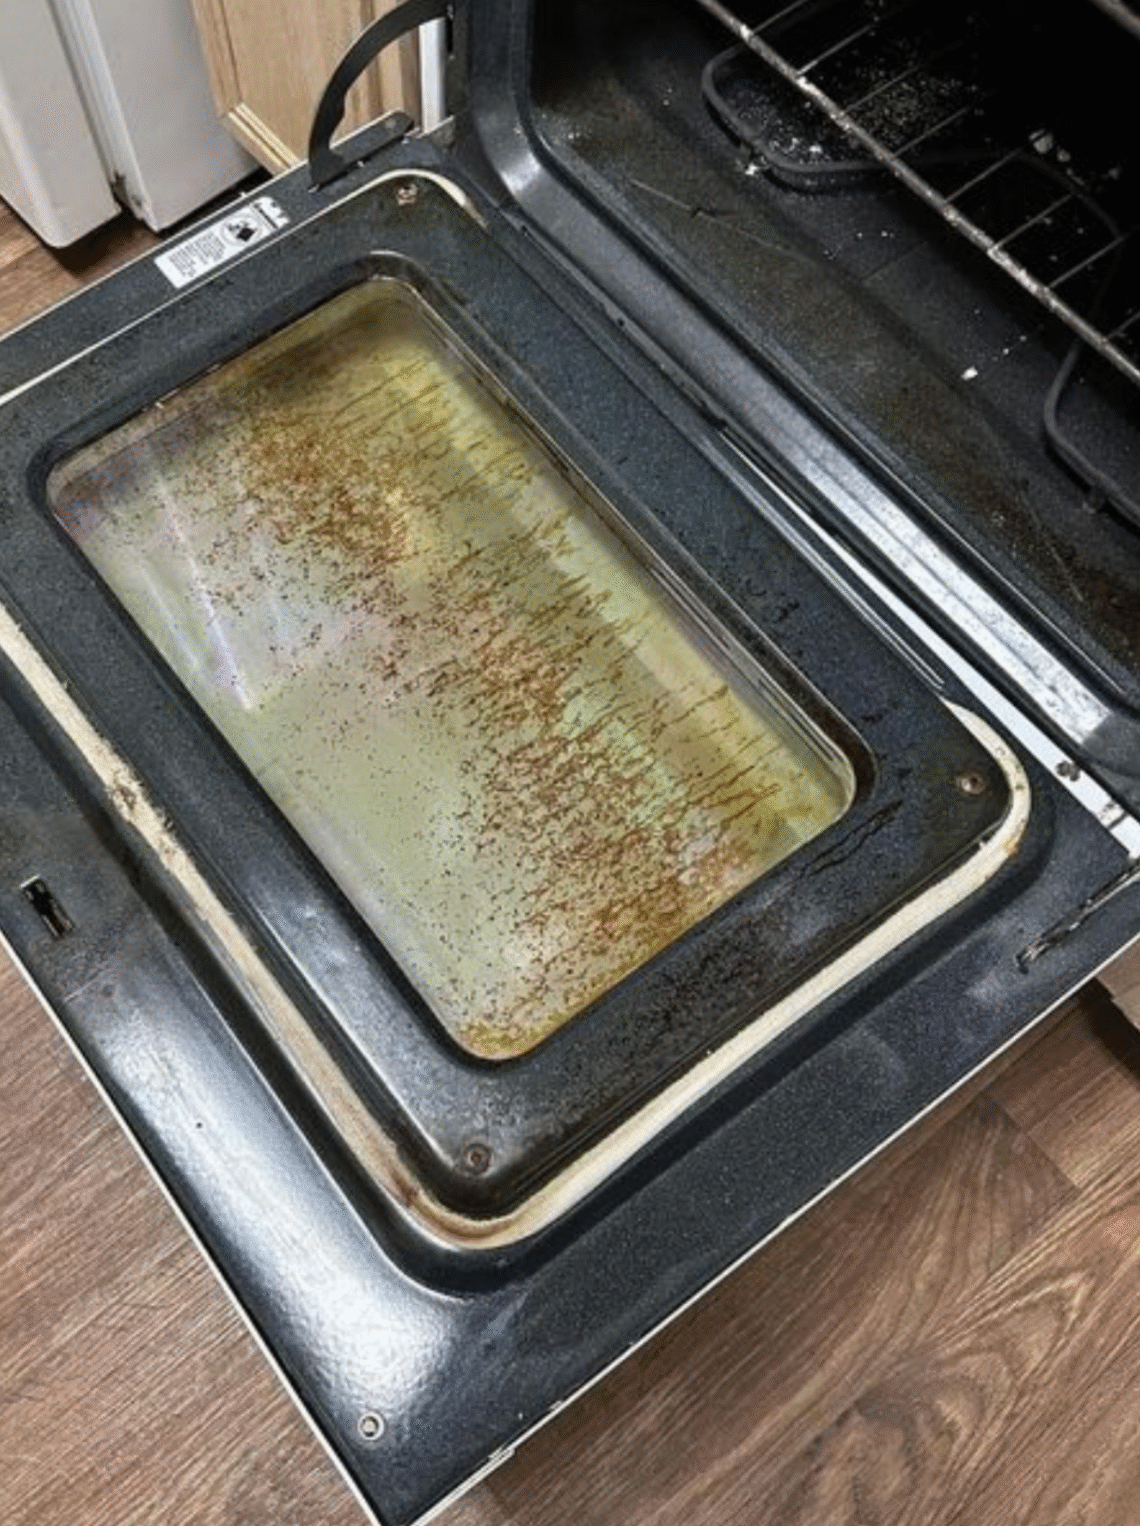
f your oven door looks foggy, the racks feel sticky, and there’s that faint burnt smell every time you bake — don’t worry, you’re not alone. Most of us put off cleaning the oven because it seems like such a daunting, messy task. The good news? You don’t need harsh chemicals, strong fumes, or expensive cleaning products to bring your oven back to life.
This Ultimate Deep Clean Guide will show you how to safely remove years of baked-on grease, grime, and burnt residue using non-toxic, natural ingredients you already have at home — like baking soda, vinegar, and a little bit of patience.
You’ll finish with an oven that looks almost brand new, smells fresh, and works more efficiently. And best of all? You won’t have to open every window or wear a gas mask to survive the cleaning!
Why It’s Worth Doing a Deep Clean
A dirty oven doesn’t just look bad — it actually affects how your food cooks and tastes.
- Burnt residue can release smoke that flavors your food with a bitter or charred taste.
- Grease buildup can reduce heat circulation, making baking uneven.
- Caked-on grime can even become a fire hazard if ignored for too long.
Cleaning it thoroughly every few months not only keeps your kitchen safer but also makes your oven smell neutral again — no more mystery odors every time you turn it on.
What You’ll Need
These are safe, simple household ingredients — no harsh chemicals, no toxic fumes:
Natural Cleaning Ingredients:
- Baking soda – ½ cup (the hero of this process, cuts through grime gently)
- White vinegar – ½ cup (dissolves residue and neutralizes baking soda)
- Warm water – 2 to 3 tablespoons (for mixing the paste)
- Lemon juice (optional – adds a fresh scent and extra degreasing power)
Tools:
- Rubber gloves – to protect your hands from grease and grime
- Old toothbrush or small cleaning brush – for scrubbing corners and edges
- Plastic or silicone spatula – to lift off loosened grime
- Spray bottle – for applying vinegar
- Soft sponge or microfiber cloth – for wiping down surfaces
- Old towel or paper towels – for catching drips and residue
- A bowl or small container – to mix your cleaning paste
- Garbage bag or plastic sheet (optional – to place oven racks on while cleaning)
Step-by-Step Deep Cleaning Instructions
Step 1 – Unplug and Cool Down the Oven
Before starting, make sure the oven is completely cool and unplugged.
Remove any trays, racks, and thermometers. Lay an old towel or newspapers under the oven door to catch drips and crumbs.
Safety first — even though we’re using natural products, always wear gloves to protect your skin from the acidity of vinegar and the abrasive nature of baking soda.
Step 2 – Remove and Soak the Racks
Take out the oven racks and place them in your bathtub or a large basin lined with an old towel (to avoid scratching the tub).
Fill with hot water, add a few squirts of dish soap or 1/4 cup baking soda, and let them soak for at least 2 hours — overnight if they’re really grimy.
This soaking step softens the grease, making it much easier to scrub off later.
(Optional Tip: Add a cup of white vinegar to the soaking water for extra cleaning power.)
Step 3 – Make Your DIY Oven Cleaning Paste
In a bowl, mix:
- ½ cup baking soda
- 2 to 3 tablespoons warm water
- 1 teaspoon lemon juice (optional)
You’re looking for a thick, spreadable paste — not too runny, not too dry. Adjust the consistency as needed.
This baking soda paste is your gentle yet powerful cleaner — it breaks down grease and grime without scratching the metal surface.
Step 4 – Apply the Paste to the Oven Interior
Using a brush or your hands (with gloves), spread the baking soda paste all over the oven walls, floor, and door interior— but avoid heating elements or vents.
Focus on the greasiest spots and corners, where buildup tends to harden.
As you spread it, the white paste will start to turn brown or yellowish — that’s the grease reacting with the baking soda, and it means it’s working!
Let it sit for at least 8–12 hours, or overnight if possible.
This resting time allows the natural ingredients to loosen years of burnt-on gunk.
Step 5 – Clean the Racks While You Wait
Once the racks have soaked long enough, scrub them with a brush or scouring pad to remove softened grime.
Rinse with warm water and dry thoroughly with a towel.
You’ll be amazed how easily the residue wipes away after soaking.
Step 6 – Wipe Out the Oven
After your baking soda paste has sat overnight, it’s time for the fun part: removing it.
Take a damp sponge or cloth and begin wiping out as much of the dried paste as possible.
If there are stubborn spots, use a plastic spatula to gently scrape them away.
Don’t rush — take your time to get all the loose grime out.
Step 7 – Spray with Vinegar
Now, pour white vinegar into a spray bottle and spritz the entire oven interior.
As soon as the vinegar touches the remaining baking soda, it will fizz and foam — this chemical reaction helps lift any leftover residue.
Let it bubble for 5–10 minutes, then wipe everything down again with a clean, damp cloth.
Repeat if necessary until the oven looks clean, shiny, and free of streaks.
Step 8 – Clean the Oven Door (Inside & Out)
The oven door often holds grease between its glass panels, but we’ll handle the accessible parts safely:
- For the inside glass, sprinkle baking soda directly on the glass.
- Spray with vinegar, let it fizz for 2–3 minutes, then wipe clean.
- For stubborn stains, lay a damp paper towel over the spot for 10 minutes before wiping.
For the outer door, just use a microfiber cloth with a mix of vinegar and water (1:1 ratio). It’ll leave the glass streak-free and gleaming.
Step 9 – Replace Racks and Final Touch
Once the oven is completely clean and dry, slide the shiny racks back in.
Wipe down the knobs and handles with a damp cloth, and you’re done.
Plug the oven back in, leave the door slightly open for a few hours to air it out, and enjoy that fresh, clean scent.
Optional: Lemon Steam Refresh (Bonus Step)
If you want your oven to smell extra fresh, do this quick refresh:
- Fill an oven-safe dish with water, add 2 sliced lemons, and bake at 120°C (250°F) for 30 minutes.
The steam loosens any last residue, while the lemon neutralizes odors and leaves a natural citrus fragrance.
Afterward, wipe once more with a dry cloth.
Maintenance Tips to Keep It Clean Longer
- Wipe spills right away. If something overflows, sprinkle baking soda on it while warm — it’ll lift off easily once cooled.
- Line the bottom rack with foil or a baking sheet to catch drips.
- Do a mini-clean monthly — just spray vinegar and wipe; it’ll prevent major buildup.
- Avoid harsh chemicals. They leave residues that can affect flavor and release unhealthy fumes.
- Keep the door glass spotless by wiping with a vinegar-water mix weekly.
What to Expect After Cleaning
- The oven heats up faster and more evenly.
- Food tastes fresher, with no burnt odors.
- The glass stays clearer, letting you see your baking without fog.
- You’ll actually want to use your oven again — it’ll look that good!
Why This Natural Method Works So Well
- Baking soda breaks down grease gently through mild alkalinity.
- Vinegar dissolves mineral and carbonized residue.
- Lemon cuts through oil and neutralizes odors naturally.
Together, they clean effectively — without the choking fumes or corrosive effects of commercial oven sprays.
Final Thoughts
Your oven deserves a little care — it’s one of the hardest-working tools in your kitchen.
And now that you know this natural, fume-free cleaning method, you can keep it spotless without dreading the task.
So the next time you open the door, you won’t see smoke or stains — just a gleaming oven ready to bake something amazing.