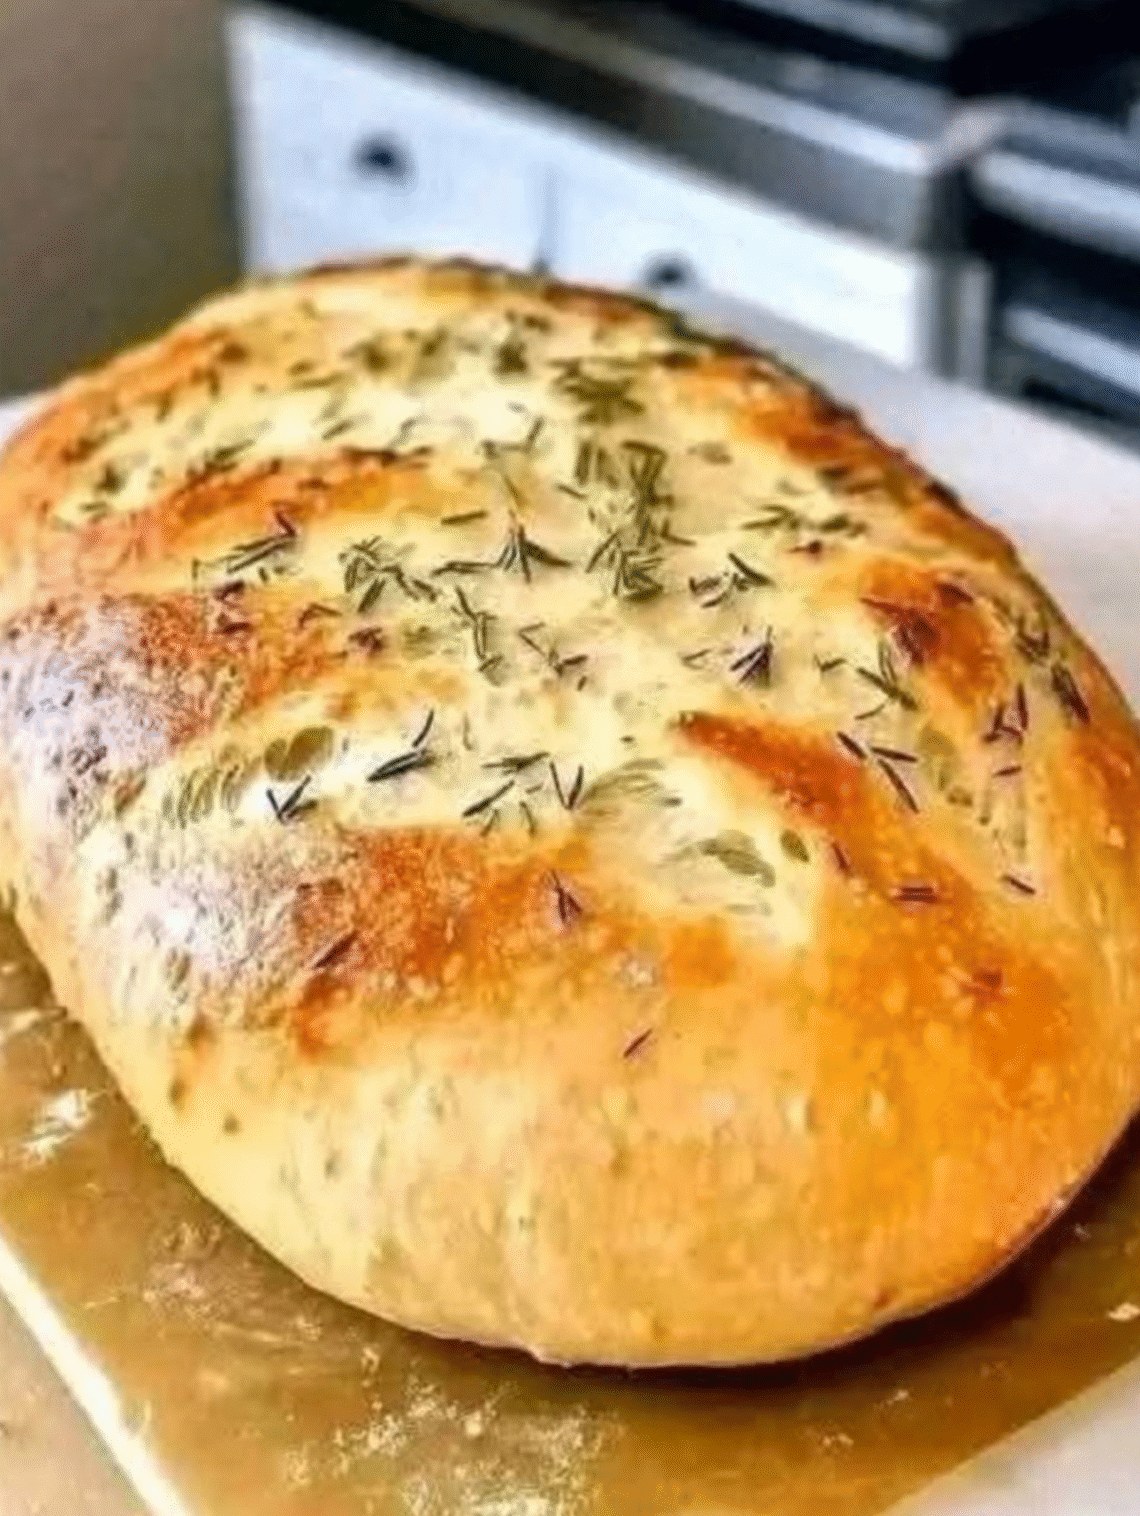
There are few things in the world as universally loved as freshly baked bread — especially when it’s infused with butter, garlic, and that irresistible golden crust. But what if I told you that you could make bakery-quality Garlic Bread at home — without kneading, without a mixer, without stress — and that it would still rise tall, bake beautifully, and fill your kitchen with the kind of aroma that makes people stop mid-conversation?
That’s the genius of this recipe.
It’s rustic yet refined, simple yet spectacular. It’s the bread that “just works.”
No kneading. No fancy technique. Just time, patience, and a few good ingredients that transform into something truly extraordinary.
Why This Recipe Works
This no-knead dough relies on time instead of effort.
Instead of pounding and stretching gluten with your hands, you let the yeast do the work slowly — developing deep flavor, perfect structure, and that airy, chewy crumb that artisan bakers pride themselves on.
And when you mix in roasted garlic, melted butter, and a hint of herbs — well, it becomes the kind of bread that disappears before it even cools down.
Ingredients (for 1 large round loaf)
For the Dough:
- 3 cups (380 g) all-purpose or bread flour
- 1 ½ teaspoons salt
- ½ teaspoon instant yeast (yes, that’s all you need!)
- 1 ½ cups (360 ml) warm water (about 40°C, comfortably warm to the touch)
For the Garlic Butter Mix:
- 1 small head of garlic (about 8–10 cloves)
- 3 tablespoons olive oil (for roasting the garlic)
- 4 tablespoons (60 g) unsalted butter, melted
- 1 tablespoon olive oil
- 2 tablespoons chopped fresh parsley (or 1 teaspoon dried)
- ½ teaspoon salt
- ¼ teaspoon black pepper
- Optional: ½ teaspoon chili flakes for a subtle kick
Step-by-Step Instructions
Step 1: Roast the Garlic (The Soul of This Bread)
Preheat your oven to 400°F (200°C).
Slice the top off the garlic head to expose the cloves. Drizzle with olive oil and wrap tightly in foil.
Roast for 35–40 minutes until the cloves turn golden, soft, and aromatic.
Once cool enough to handle, squeeze the cloves out — they’ll be sweet, buttery, and spreadable. Mash them gently with a fork and set aside.
This roasted garlic is what gives this bread its rich, mellow flavor instead of harsh raw garlic bite.
Step 2: Make the Dough
In a large bowl, whisk together the flour, salt, and yeast.
Add the warm water and stir with a wooden spoon or spatula until everything comes together into a sticky, shaggy dough.
At this point, it should look rough and wet — that’s perfect. Don’t be tempted to add extra flour.
Now, fold in your mashed roasted garlic, melted butter, parsley, and olive oil. Mix until everything is just combined — no need to overwork it.
Step 3: The Magic of the Long Rise
Cover the bowl with plastic wrap or a clean kitchen towel and let it rest at room temperature for 12 to 18 hours.
During this time, the dough transforms. The yeast slowly ferments the flour, building flavor and structure.
When you check it the next day, the surface will be dotted with bubbles and smell faintly yeasty and buttery. That’s your sign of success.
Step 4: Shape the Dough
Lightly flour your countertop and gently turn out the dough. It will be sticky and soft — handle it with care.
Using floured hands or a dough scraper, gently fold it a few times into a round ball. Don’t knead it — just shape it.
Place the dough seam-side down on a piece of parchment paper. Cover loosely with a towel and let it rest for another 30–40 minutes while you preheat the oven.
Step 5: Preheat the Oven & Dutch Oven
Place a cast iron Dutch oven (or heavy oven-safe pot with lid) into your oven and preheat both together to 450°F (230°C).
This step is crucial. The hot pot traps steam, creating that crisp, golden crust and tender interior that define artisan bread.
Step 6: Bake the Bread
Once preheated, carefully remove the hot Dutch oven. Lift the parchment paper with your dough and place it inside the pot (the parchment makes it easy).
Cover with the lid and bake for 30 minutes.
Then remove the lid and bake for another 10–15 minutes uncovered — until the crust is deep golden brown and your kitchen smells like a French bakery married an Italian trattoria.
Step 7: Cool (If You Can Resist)
Remove the bread and place it on a wire rack to cool for at least 30 minutes before slicing.
This resting period allows the interior to finish setting, ensuring the crumb stays soft and elastic, not gummy.
Serving Suggestions
Slice it warm and serve it just as it is — or go full indulgence by brushing extra garlic butter over the top right after baking.
It pairs beautifully with:
- Pasta dishes like spaghetti carbonara or lasagna
- Creamy soups like tomato basil or potato leek
- Cheese boards and dips (try warm brie or spinach-artichoke dip)
- Or simply with a drizzle of olive oil and a sprinkle of flaky sea salt
Storage & Reheating
- Room temperature: Keeps for up to 2 days in a bread bag or wrapped in a towel.
- Freezer: Slice and freeze in zip bags for up to 2 months.
- Reheat: Wrap in foil and warm in a 350°F (175°C) oven for 10 minutes — it will taste freshly baked again.
Pro Tips from the Kitchen
- Hydration is key: A sticky dough equals a light, airy bread. Resist the urge to add more flour.
- Fermentation = flavor: The longer you let the dough rest, the more complex the taste. Overnight is ideal.
- No Dutch oven? Bake in a covered casserole dish or use a baking stone with an inverted bowl to trap steam.
- Upgrade it: Add shredded mozzarella or grated Parmesan to the top during the last 10 minutes of baking for cheesy garlic bread perfection.
Nutritional Snapshot (Per Slice, Approximate)
- Calories: 180
- Carbohydrates: 28 g
- Fat: 6 g
- Protein: 5 g
- Fiber: 1 g
The Heart Behind the Loaf
This isn’t just bread — it’s the kind of recipe that restores faith in home baking. It’s proof that great things happen when you let time and simple ingredients work together.
There’s no kneading, no stress, no intimidation — only anticipation.
When that first crackle of crust meets your knife, when the steam escapes with that buttery garlic scent, you’ll understand why people call this “the bread that drives everyone crazy.”
It’s rustic perfection — a loaf that looks like it came from an artisan bakery, but was made in your kitchen with nothing more than a spoon, a bowl, and patience.